
A rant on splines
Why cutting splines for miters with a biscuit joiner is a great idea, explained with geometry.

This post is one I would typically put behind the paywall because of the amount of work required to get it together. But I think it has too much helpful information to do that, so I’m leaving this open. If you like this post and think what I’m doing here is helpful, please consider becoming a paid subscriber if you have the means. Thanks!
The other day, my friend Kelly shared a relatively uncommon method she uses for cutting splines in mitered picture frames. Rather predictably, there was a fair bit of criticism from folks who insisted that what she was doing was a bad idea.
I actually think the method, despite protests from the commentariat, is a great idea. The explanation of why is a worthwhile discussion that gets at some key concepts in woodworking.
Long vs. end grain
In this post l’m going to be talking a lot about long grain and end grain quite a bit. For the unfamiliar, whenever I say end grain, I’m referring to the cut ends of a board. Long grain is what is on the faces and sides of a board.
The discussion on the differences between them could go on forever, but just think of it this way — wood is essentially a bundle of straws held together tightly. The face grain is made up of the sides of those straws and the end grain the ends. This analogy should also be useful for understanding which surfaces are better for glue joints. Think about it and read on…
I want this post to be instructive for folks at all stages in woodworking, so let’s start off with talking about splines and why they are used. Typically, glue alone isn’t sufficient to hold together a miter joint. This is because that joint is mostly end grain to end grain contact - opinions vary wildly here, but it’s generally accepted that end grain surfaces are unreliable for keeping a glue joint together. To radically simplify things, the “straws” draw in too much glue to have it be effective.
To fix this, after the joint is put together temporarily with only end grain glue contact, a slot that spans it is cut in the edge of the stock. Inside that slot, there is exposed long grain on the top and bottom. Slip in a piece of glue-covered long grain stock (aka a spline) and the joint will be much stronger than before.
The discussion I want to get into today is all about how that slot is cut. There are innumerable ways to do it, but a common method is to use a jig in combination with a table saw or router table. The joint is suspended from above and pushed into the cutter. The result is a slot with a triangular shape.
When the spline is inserted, it should bottom out completely and leave no gaps on the edges. It’s very straightforward— a spline with a flat edge is making full contact on a flat surface. Nothing really to see here.
When Kelly cuts the slots for her splines, she does it a little differently. Instead of using a router table or table saw, she simply plunges the cutter of a biscuit joiner right into the edge of the joint.
Unlike other methods, this does not leave a slot that is triangular - instead, it’s sort of pizza shaped. This is all because of the circular shape of the cutter and how it’s plunged into the stock instead of cutting across it. This means that when a spline with a flat edge is inserted into the slot, it does not bottom out completely, and contact is only made at very edges.
In this image below, the light grey section is the part of the slot that is filled by the spline — the dark grey section ends up being an empty void inside the joint.
So is this a problem? Well, according to a cadre of Internet Commenters, yes. The first complaint I saw was about how the spline is not fully seating and that possible glue contact is being left on the table. If the edge of the spline was fully contacting the bottom of that slot, it would be a stronger joint.
My response to this is that the bottom of that slot is mostly end grain - making glue contact with it isn’t going to do a dang thing to strengthen the joint. Especially when there is ample long grain to long grain contact doing the heavy lifting. This is why when I’m assembling a dovetail joint, l only spread glue on the walls of the pins— those points of contact are the ones that matter.
When this explanation wasn’t sufficient, I was told that it would be better to shape the spline to match the profile of the cutter not to necessarily make contact with the bottom of the slot, but to provide more long grain to long grain contact in the joint.
I will admit that this would increase long grain contact by completely filling the slot and getting rid of the void. But by how much?
According to one of the commenters, a flat edged spline would only fill the slot by about 50%. Meaning that if you were to shape the spline to match the profile of the cutter, you would double the glue contact. Now I’m no geometry genius, but when I read this I was immediately skeptical.
Fortunately, we don’t have to take his word for it and can instead use math.
Consider the following example. We’re making a mitered picture frame using ¾” wide stock. We’ve glued together the frame and are now ready to cut the slots for splines with a biscuit joiner. To keep things easy, we’re going to plunge the biscuit joiner to a depth where a ¾” deep cut is visible on the outside of the joint.
Since we know that the biscuit joiner has a 4” cutter (and we assume the center of that cutter is moving in line with the miter), it’s easy to calculate which percentage of this joint is not filled by a standard spline.
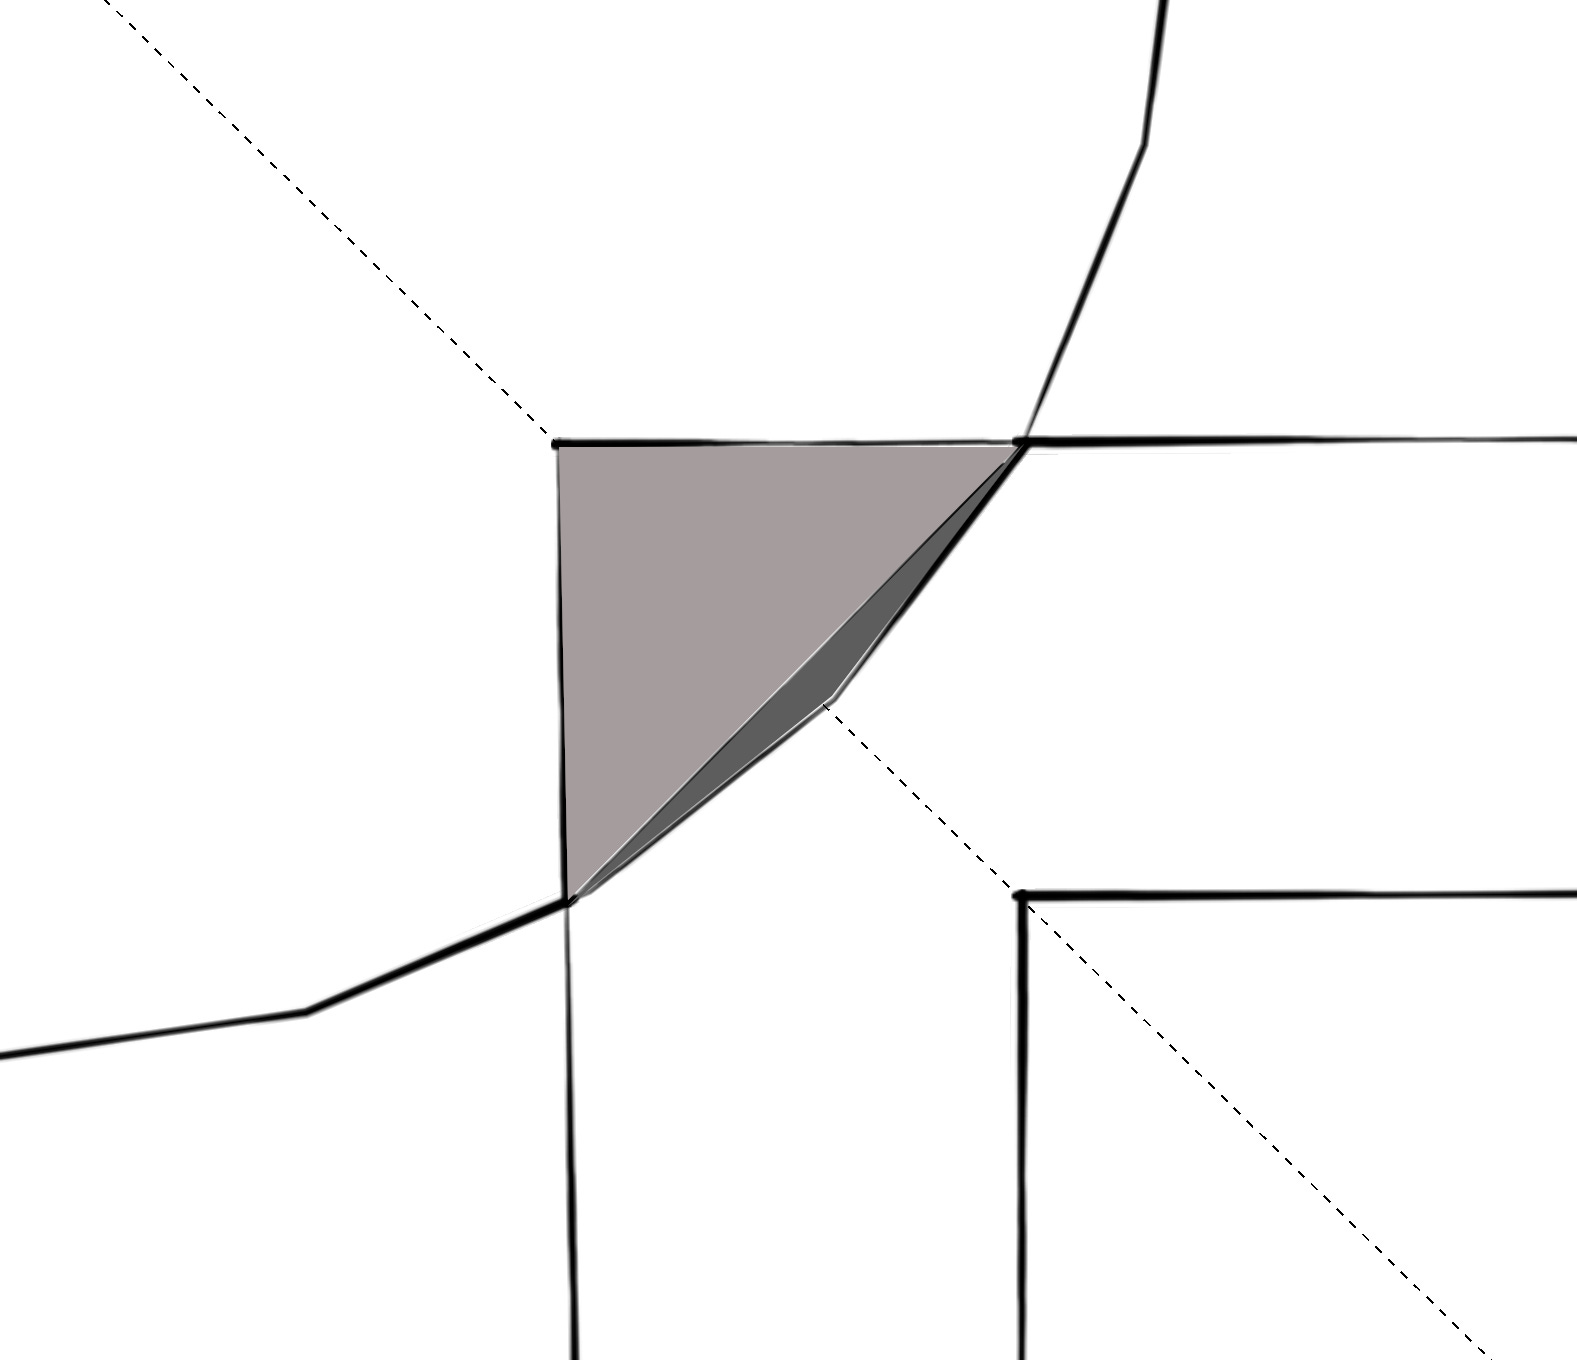
Below, I’ve sketched out and labelled what’s happening here. Again, the dark grey section represents the empty void in the joint.

To calculate that area, we just use the formula for the area of a circular segment — “a portion of a circle that is enclosed between a chord and an arc.” There’s any number of ways to do it, but as long as we can snag two variables from the ones shown in the image below, we can get there.

In this example, r is equal to the radius of the cutter (2”). We can also easily calculate the chord length (a) since it’s just the hypotenuse of a triangle with a base of ¾” and a height of ¾.”
Based on these variables, the void is equal to 0.104 sq. in. of lost long grain glue contact (0.052 sq. in. on the top of the slot and the same on the bottom). The total area of potential glue contact is the void plus the triangle, or 0.104 + 0.5625 = 0.6665 sq. in. That means that about 15.6 percent of the slot is not filled by the spline.
15.6 percent, you may notice, is quite a bit lower than 50. For me, that’s just not enough to worry about. Remember, we’re talking about literally one-tenth of a square inch of potential contact not being made. If you want to insist that is going to make a difference in the integrity of a joint that will most likely have no stress exerted on it anyway, you go right ahead. But I think it’s safe to chill out.
Now, this percentage is indeed variable and does increase as the depth of the slot does. But even at the absolute maximum depth of cut possible, the void still doesn’t come close to accounting for 50% of the total area.
OK, but why not just shape the splines anyway? Even if it’s only a little more glue contact, it’s still worth the effort, right?
I actually think it’s a pretty bad idea. Sure, you will probably increase the amount of glue contact, but you risk running into a gap at the visible part of the slot. When the curved bottom slot is filled with a flat edged spline, it is extremely easy to make sure it is making full contact at the very edges where things are visible. That “scooped out” area in the slot is helping us here - it’s making sure the spline fully seats where it matters and providing a place for excess glue to go.
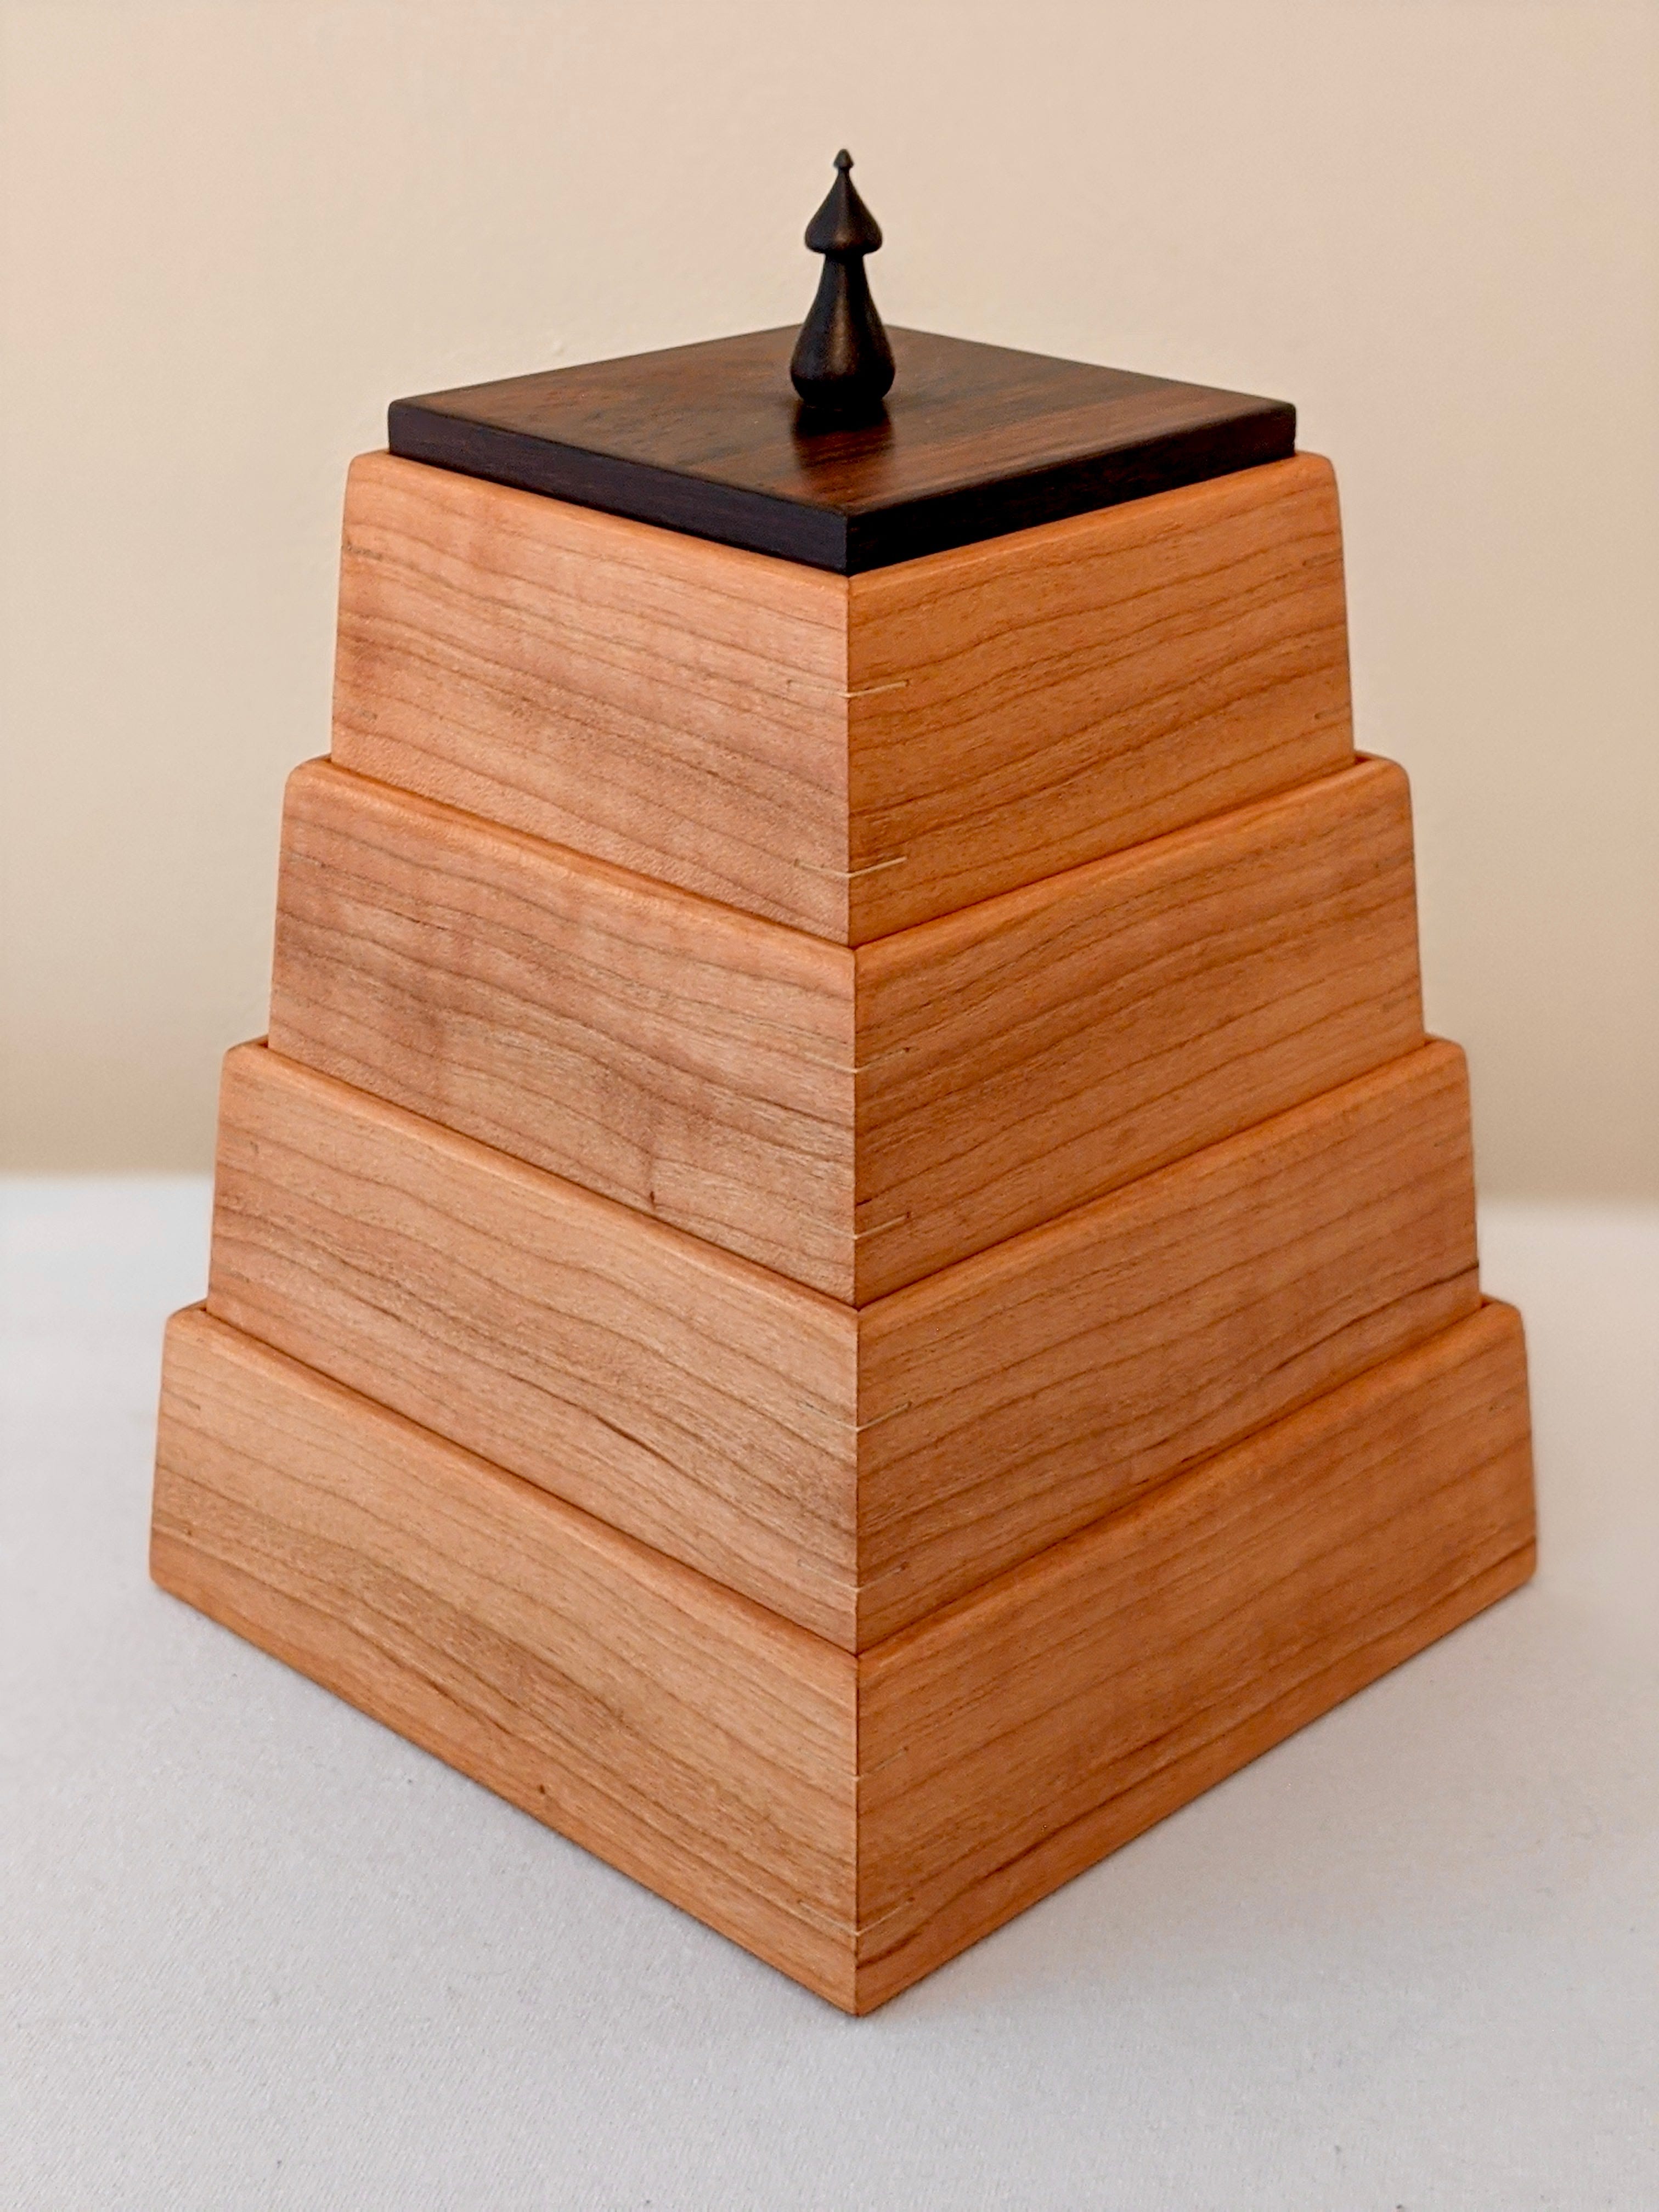
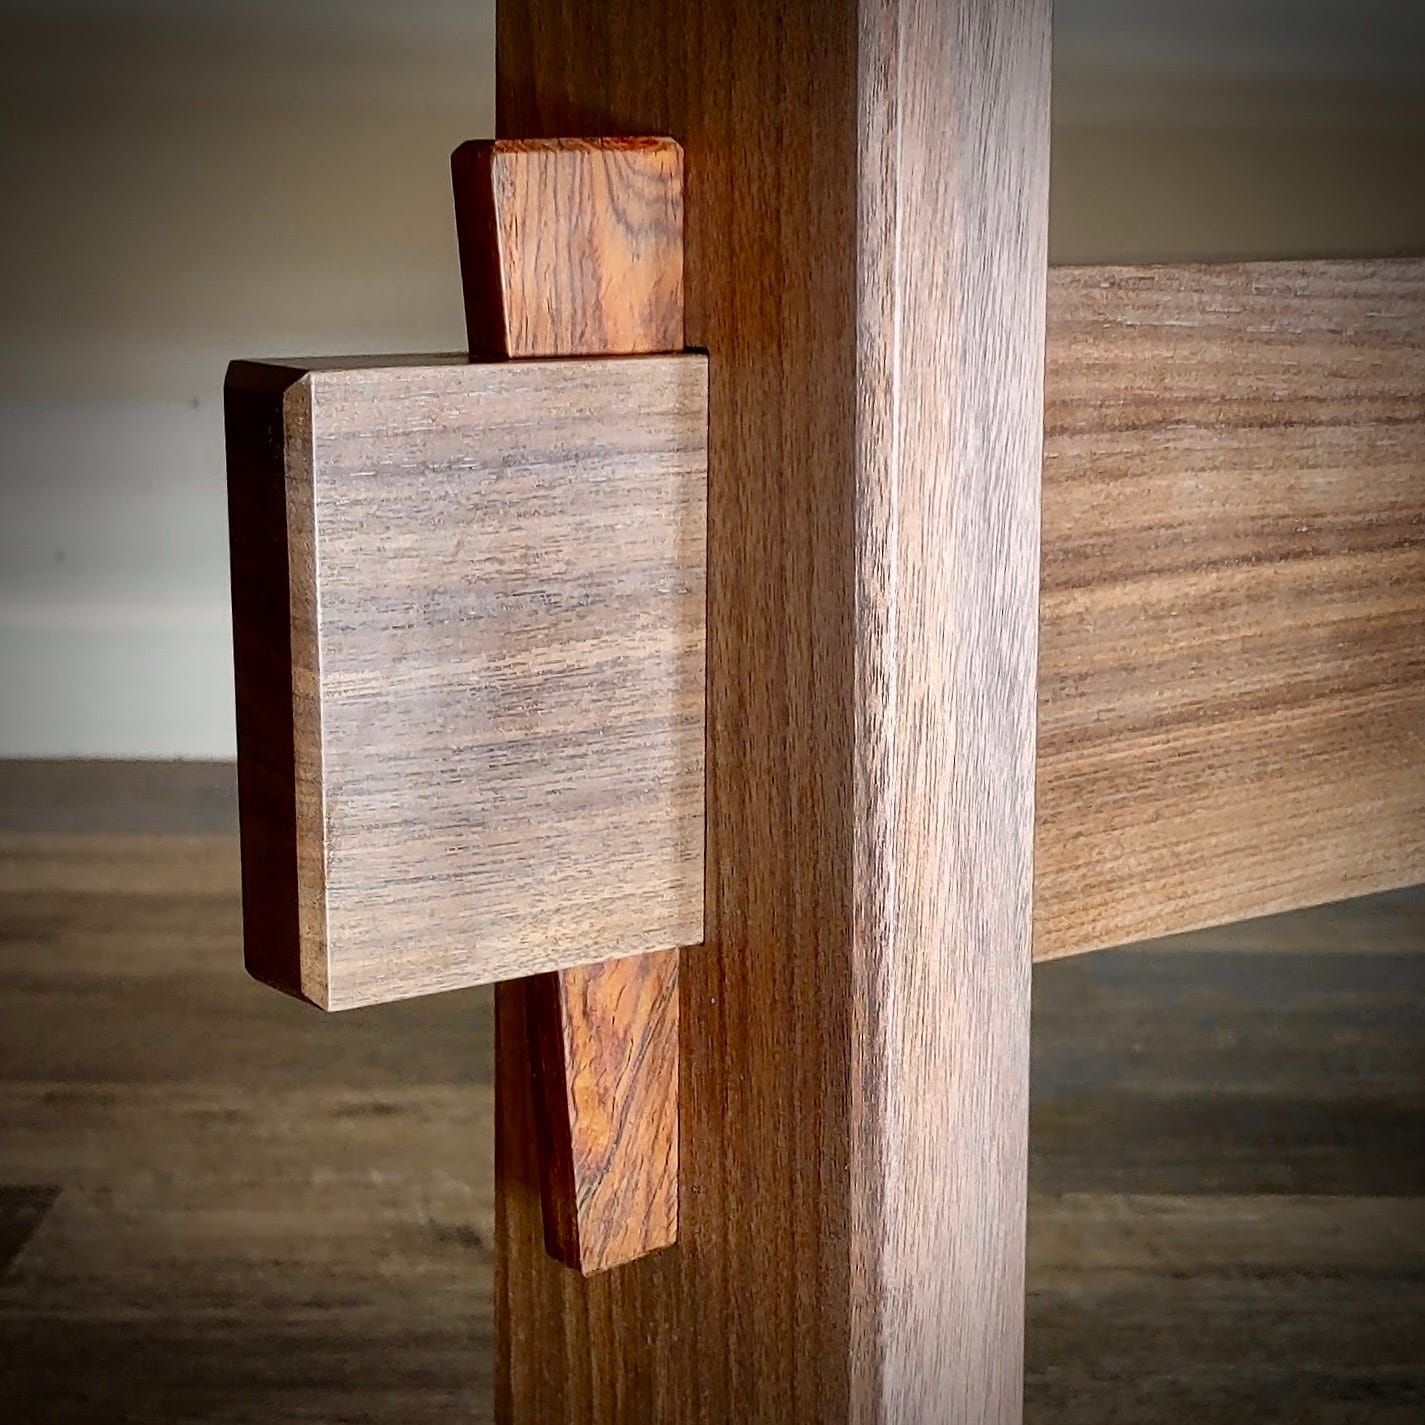
This is essentially the same as when you’re chopping waste in dovetails - you overcut a bit to avoid creating a hump that can cause problems later. The same method is typically employed for tusked tenons. In the image below, the angled wall of the wedge’s mortise was “scooped out” to ensure the wedge only makes contact at the top and bottom. It’s a much stronger joint this way than it would be if there were a slight hump on that wall, so I just removed the possibility entirely.
As I get deeper into woodworking, I realize that so much of getting better at it depends on being able to identify when things matter and when they don’t, and then using that information to your advantage. For me, using a biscuit joiner to cut splines is some big-brained stuff — it cuts a clean slot quickly, and overcutting in a section that doesn’t matter ensures that things come together where they do.
So before you cast something aside because it seems unorthodox, really think about what is going on. You just might learn something.
A miter itself is a compromise of strength for aesthetics. But then people will argue about the strongest way to make a compromised joint. I like how math saves us from the drama on this one.
Great post. Knowing the things that affect the quality of a joint is essential if you need to make trade offs.