

An idea I couldn't quit
When doodling get's real.

As I get older, I’m realizing that a lot of the things I thought were true for everyone are really just true for me.
I’m certainly grappling with the fact that a significant portion of the country has very different underlying beliefs than I do (and they control everything!), but don’t worry, that’s not what I’m talking about. You don’t come here to read about that stuff.
If you look at a lot of the work I’ve done over the past few years, you’ll probably notice that some of it is all over the place. I’ve done a ton of completely random projects that seemingly come out of nowhere and then when I’m done, I’m done.


The reason why all of these exist is because either a random thought popped into my head or a friend suggested something I found intriguing. I think it’s normal for folks to have lots of random ideas throughout the day. Maybe they get written down to return to later or simply left to dissipate into the ether.
I’m finding that the difference with me is that I have a pretty intense inability to give up on an idea once I have it. Things will stick in my brain and I’ll think about them over and over. I’ll go through the methods and steps I’d use to make it, tweaking things as I ponder them. Eventually I’ll get to the point where I’ve convinced myself that bringing things to fruition is going to be easy enough. Once I’m there, there’s no turning back.
This is both a blessing and a curse. A blessing because it has pushed me to get better at woodworking. All that musing really does create new pathways in the brain that make future problem solving a lot easier. There have been multiple times I’ve employed a method or joint that I “made” in my head on a project that comes years later.
It’s also what has pushed me to learn new things. Sometimes while thinking through an idea, I’ll hit a brick wall and realize it requires some technique or method that I’ve never employed before. Because I can’t let things go, that often means learning new skills out of necessity. I might move on from the project once it’s done, but the skills are always going to remain.
The curse of being like this is that, well, you always have an idea that you just have to work on. Having an abundance of ideas sounds fantastic until you realize there are only so many hours in the day to get things done. If you have an inability to give up on an idea like I do, this can be torture. Once of the most infuriating things about my absolutely unnecessary daily commute is that it is eating up time I could be using on my ideas. I know this is dramatic, but thinking about them while I’m stuck in bumper-to-bumper traffic and unable to do anything sometimes feels like being trapped in a cage.
Overall, though, I’m not complaining. I just wanted to share a bit of my personal journey in realizing my brain is indeed quite different. Also, I needed to set things up for the stuff below.
I’ve been doodling quite a bit lately, mainly in the interest of getting up to speed to produce some illustrations for my forthcoming book. Most of what I’m doing amounts to scribbles in a random page of my notebook, but the other day I ended up following an idea.
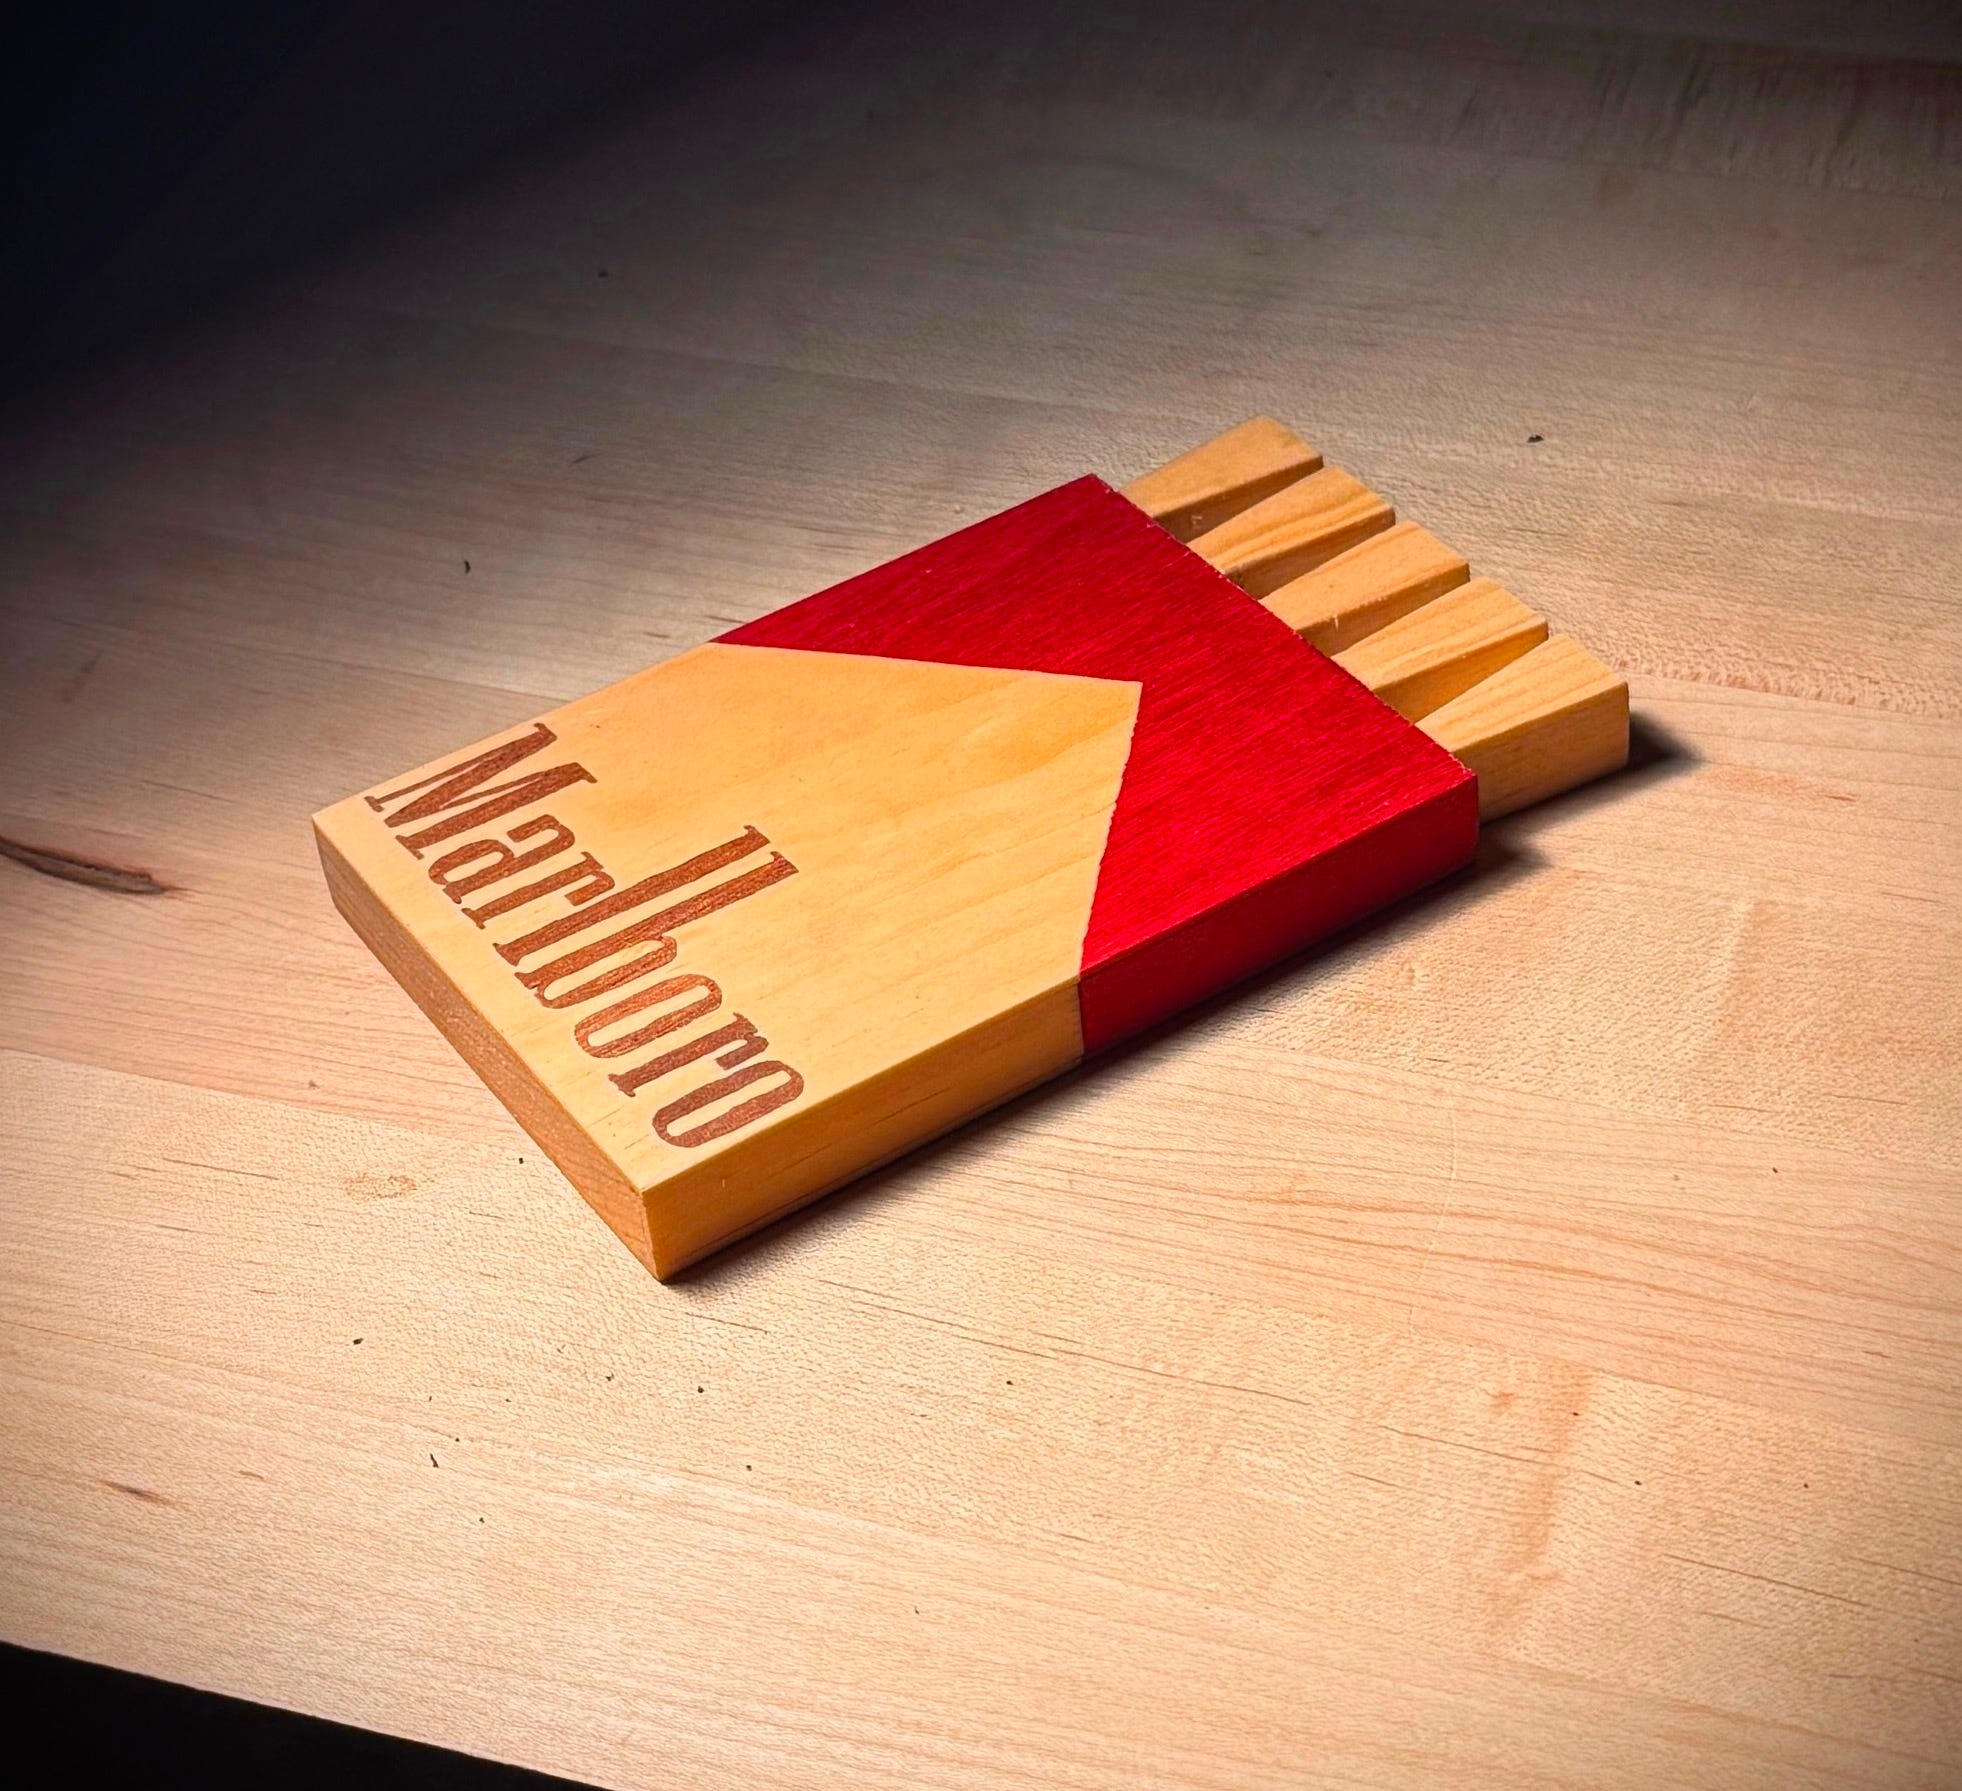
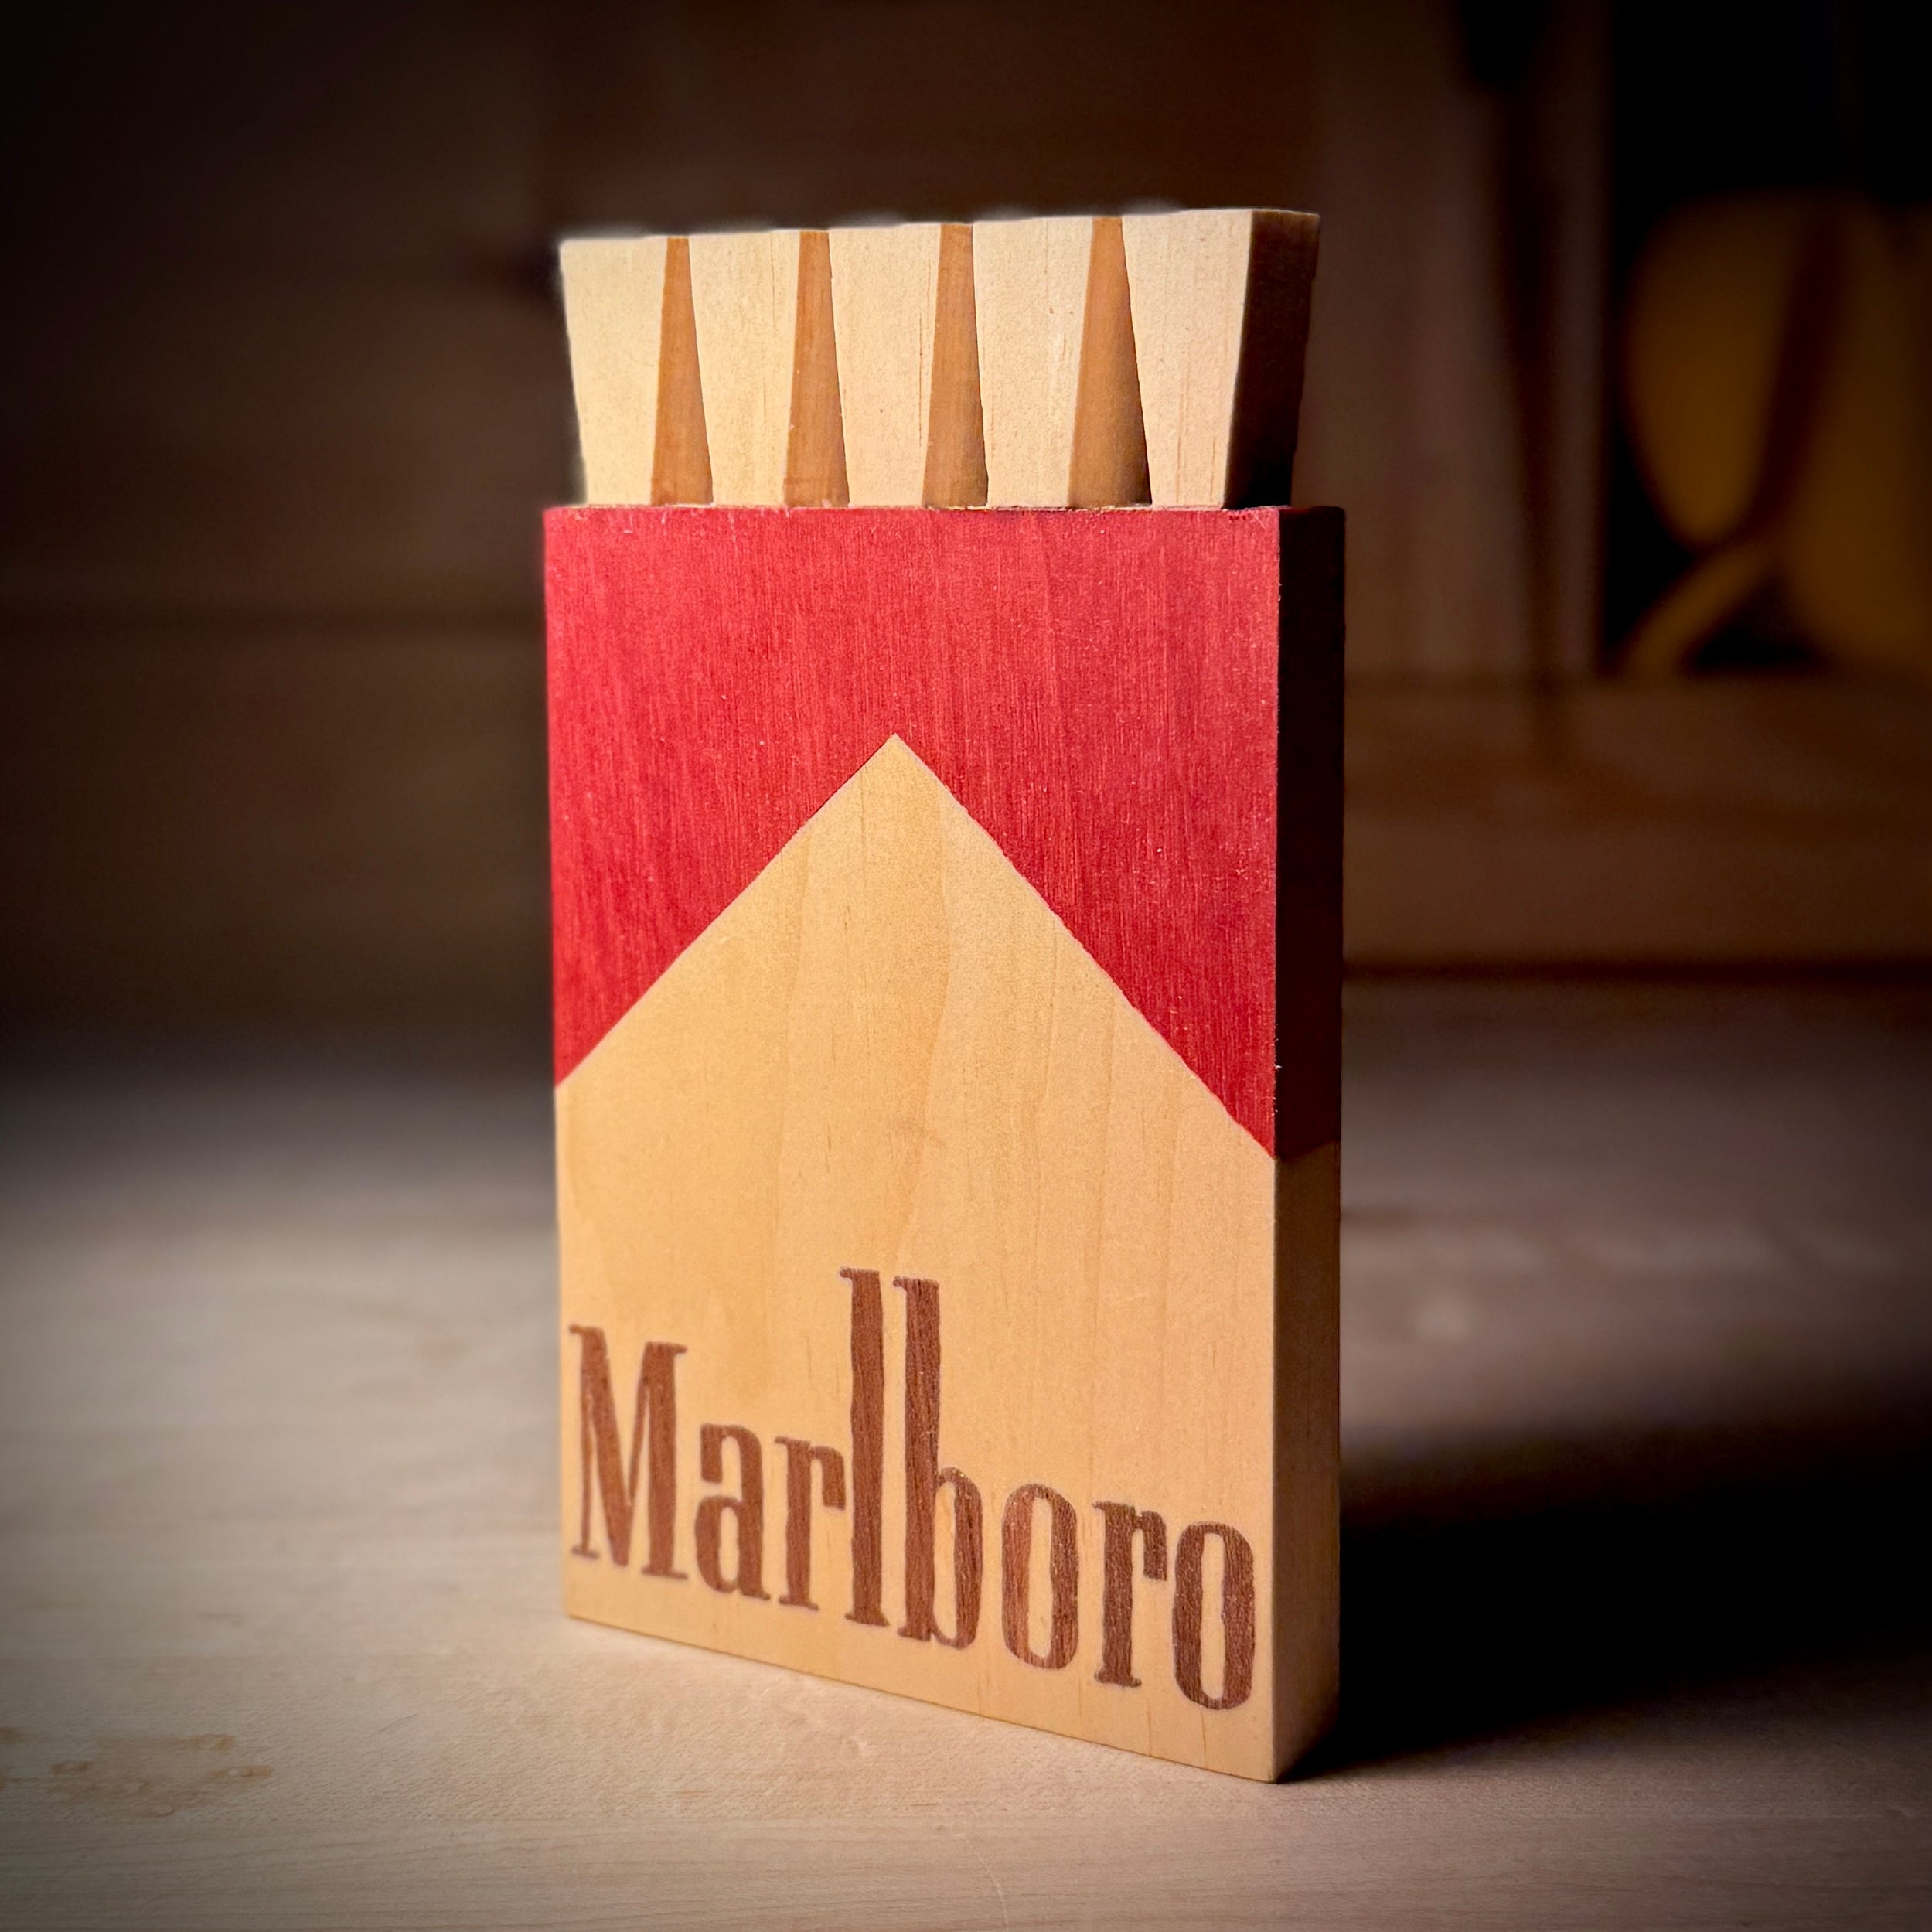
I shared this the other day, but while I was drawing a board with dovetails, I noticed that it’s upright orientation made it look like a pack of cigarettes. So I slapped a Marlboro logo on there.
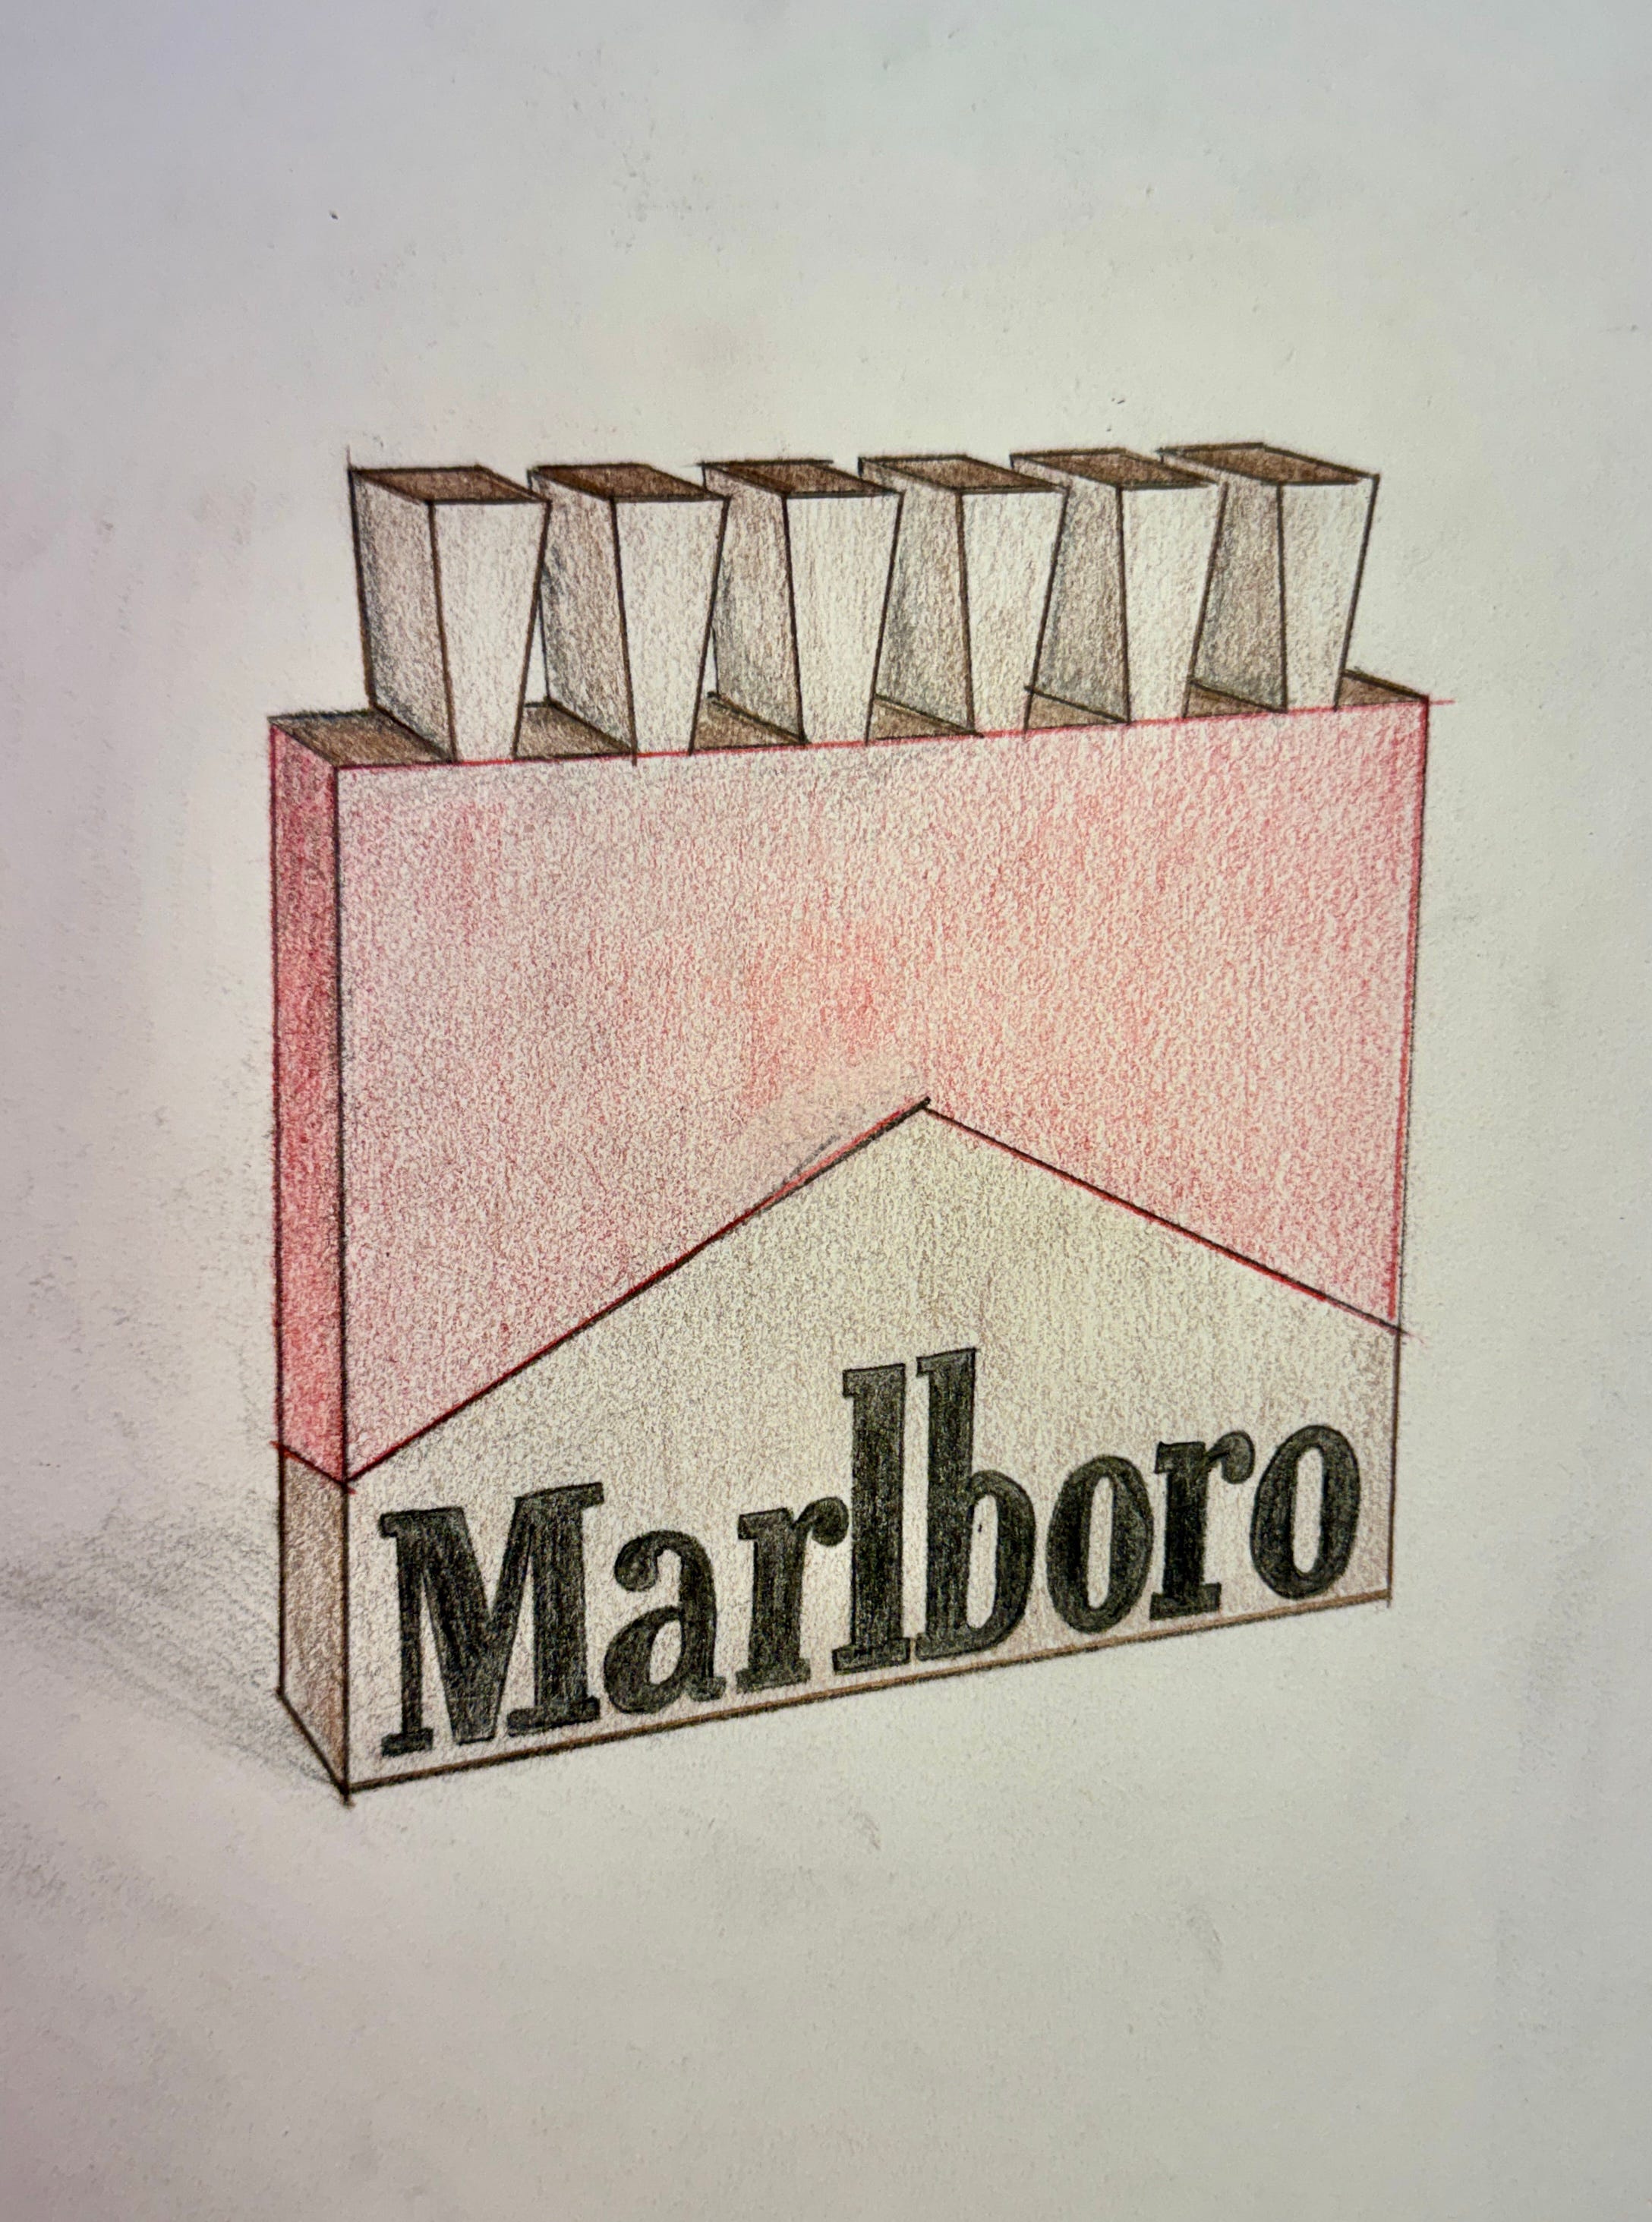
Shortly after I posted that drawing on Instagram, I got a text from my friend Kelly saying that now I had to actually make it. I let her know that it of course crossed my mind, but I was resisting the urge. I’m just too busy.
But then I did the thing I do where I just think and think until I figure hell, I may as well just do it.
Before I got started, I had to figure out what size I wanted this thing to be. A standard pack of cigarettes is about 2.25” by 3.5”, and I didn’t want to stray from that ratio all that much. That width seemed a tad too narrow, so I just scaled everything to get the width to about 3.5” (about 5 1/4” long). Those are just the dimensions for the section that will have the Marlboro logo. I still need some additional length for the dovetails.
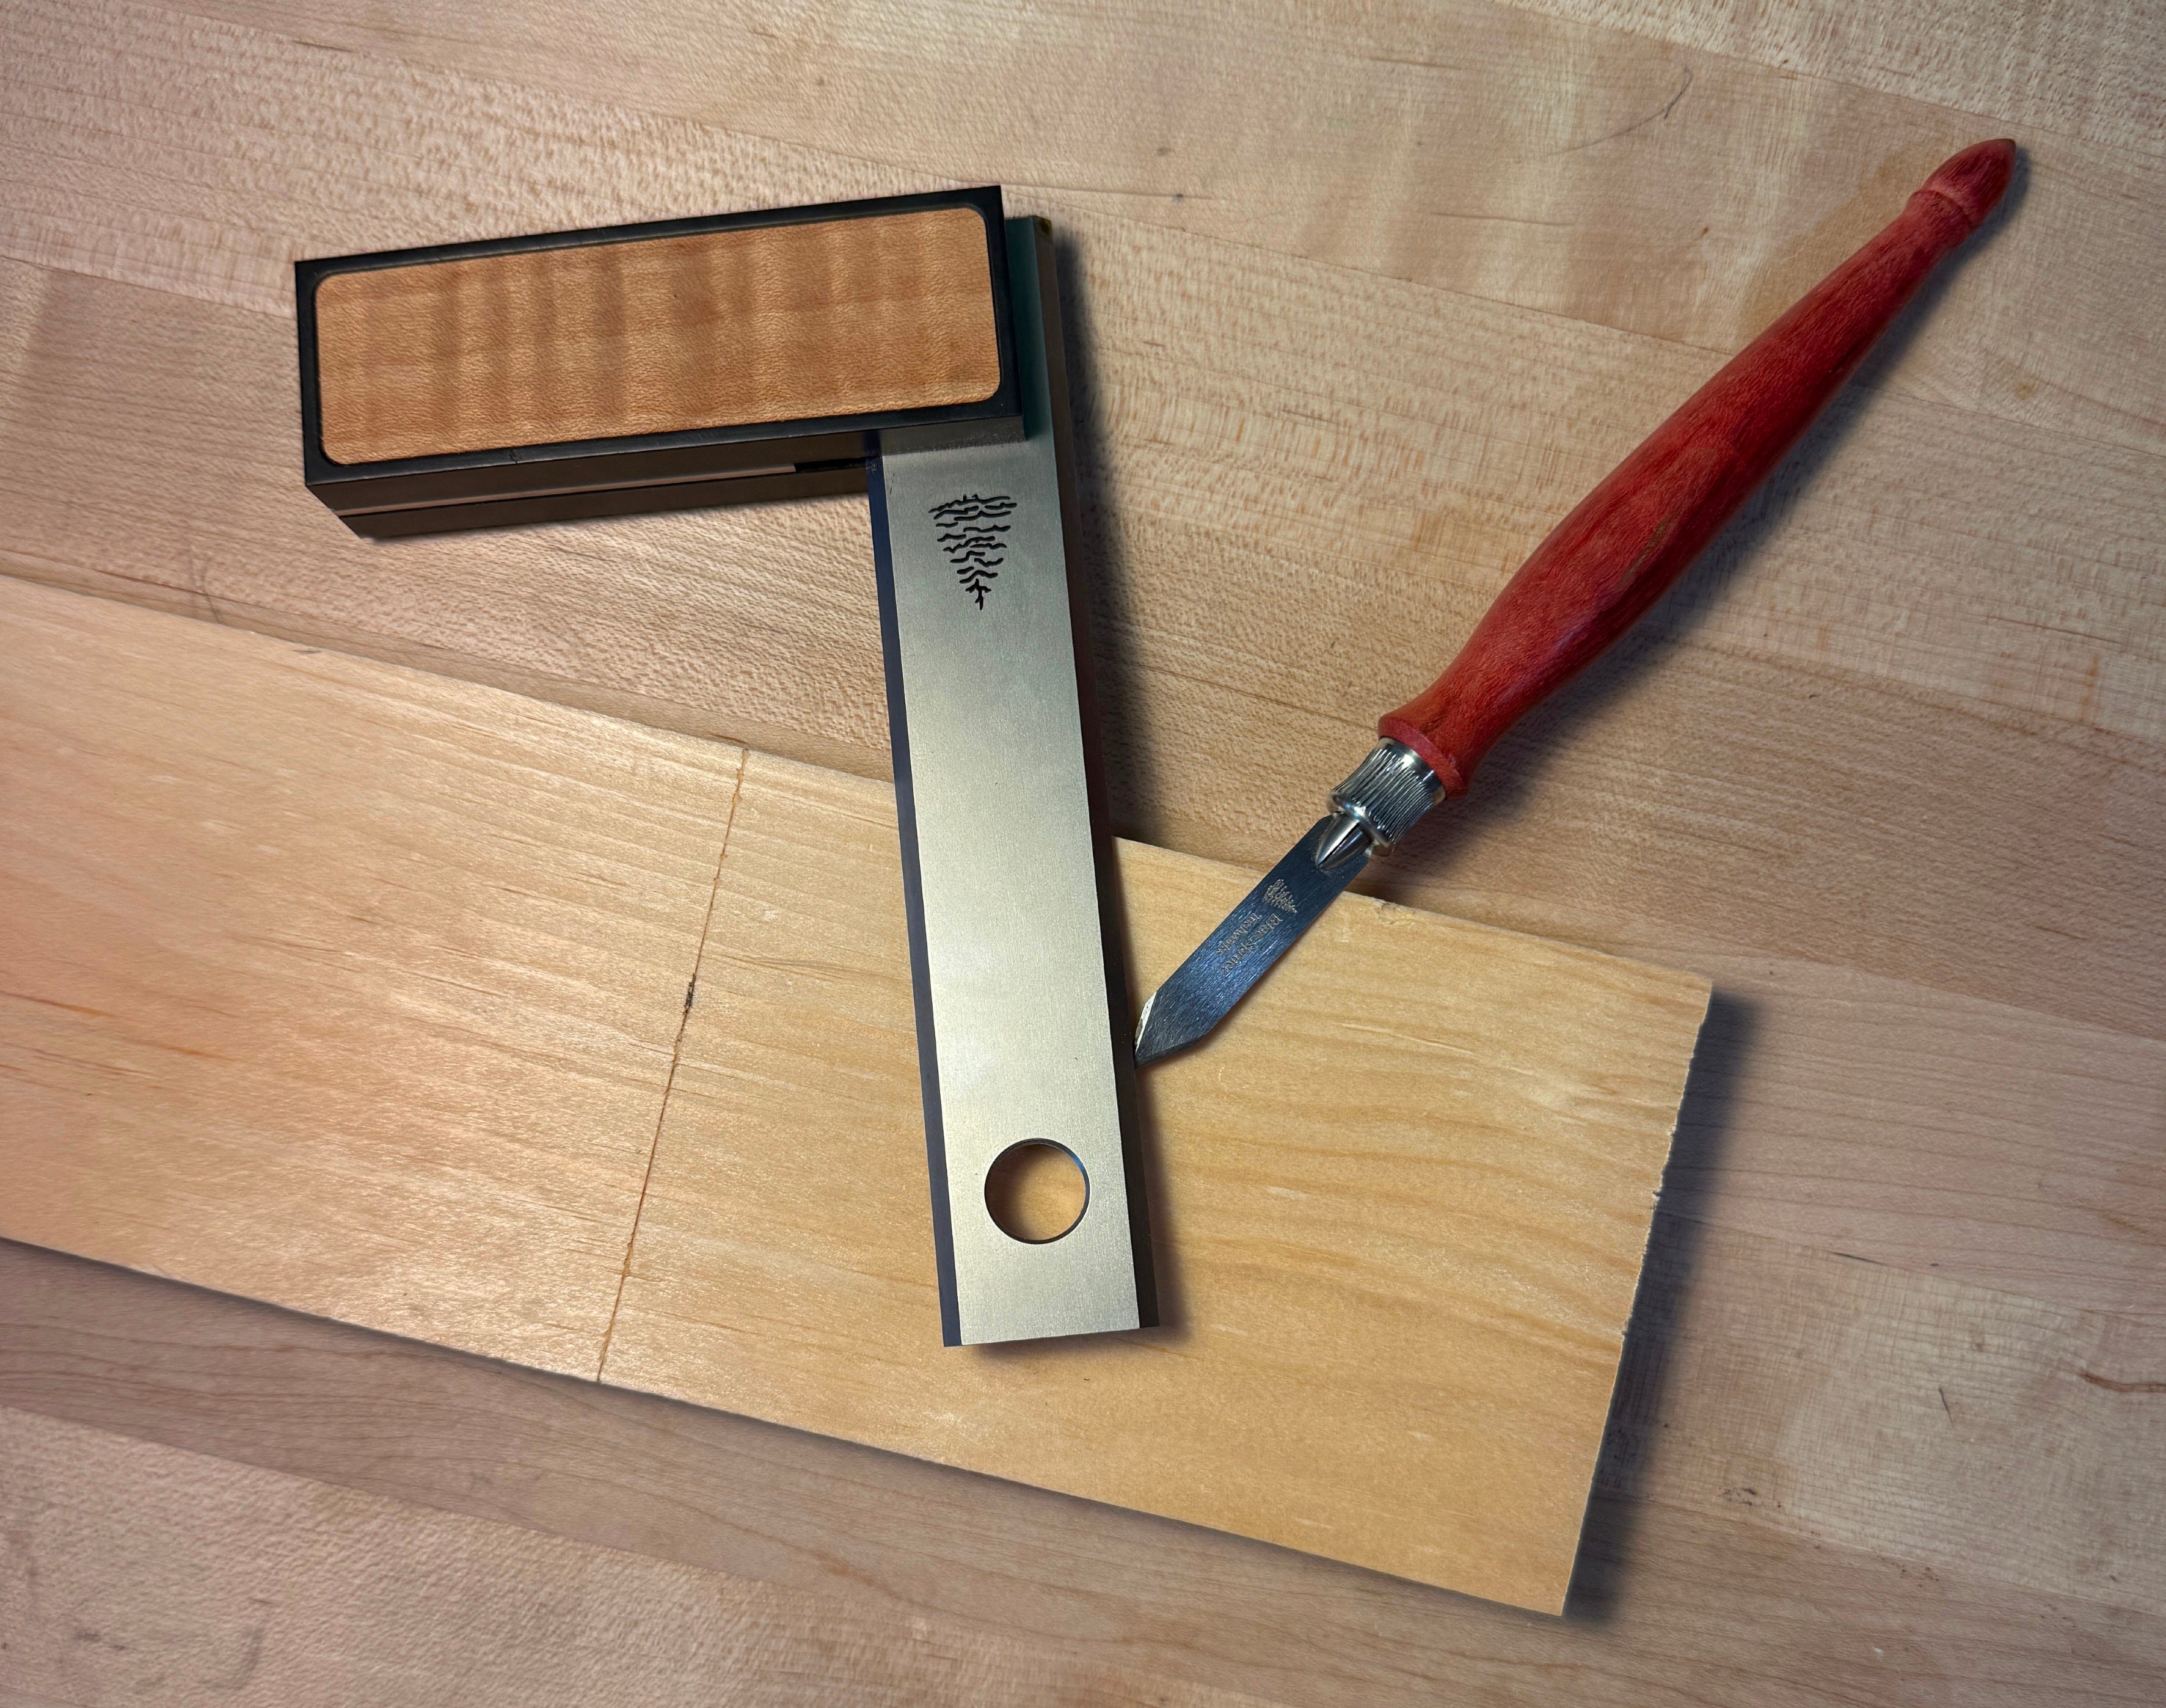
Thinking through my process, I ended up starting with a blank about 12” long. I scribed a line on all four faces of the board with a marking knife 5 1/4” from the bottom. This line would eventually become the baseline for the dovetails.
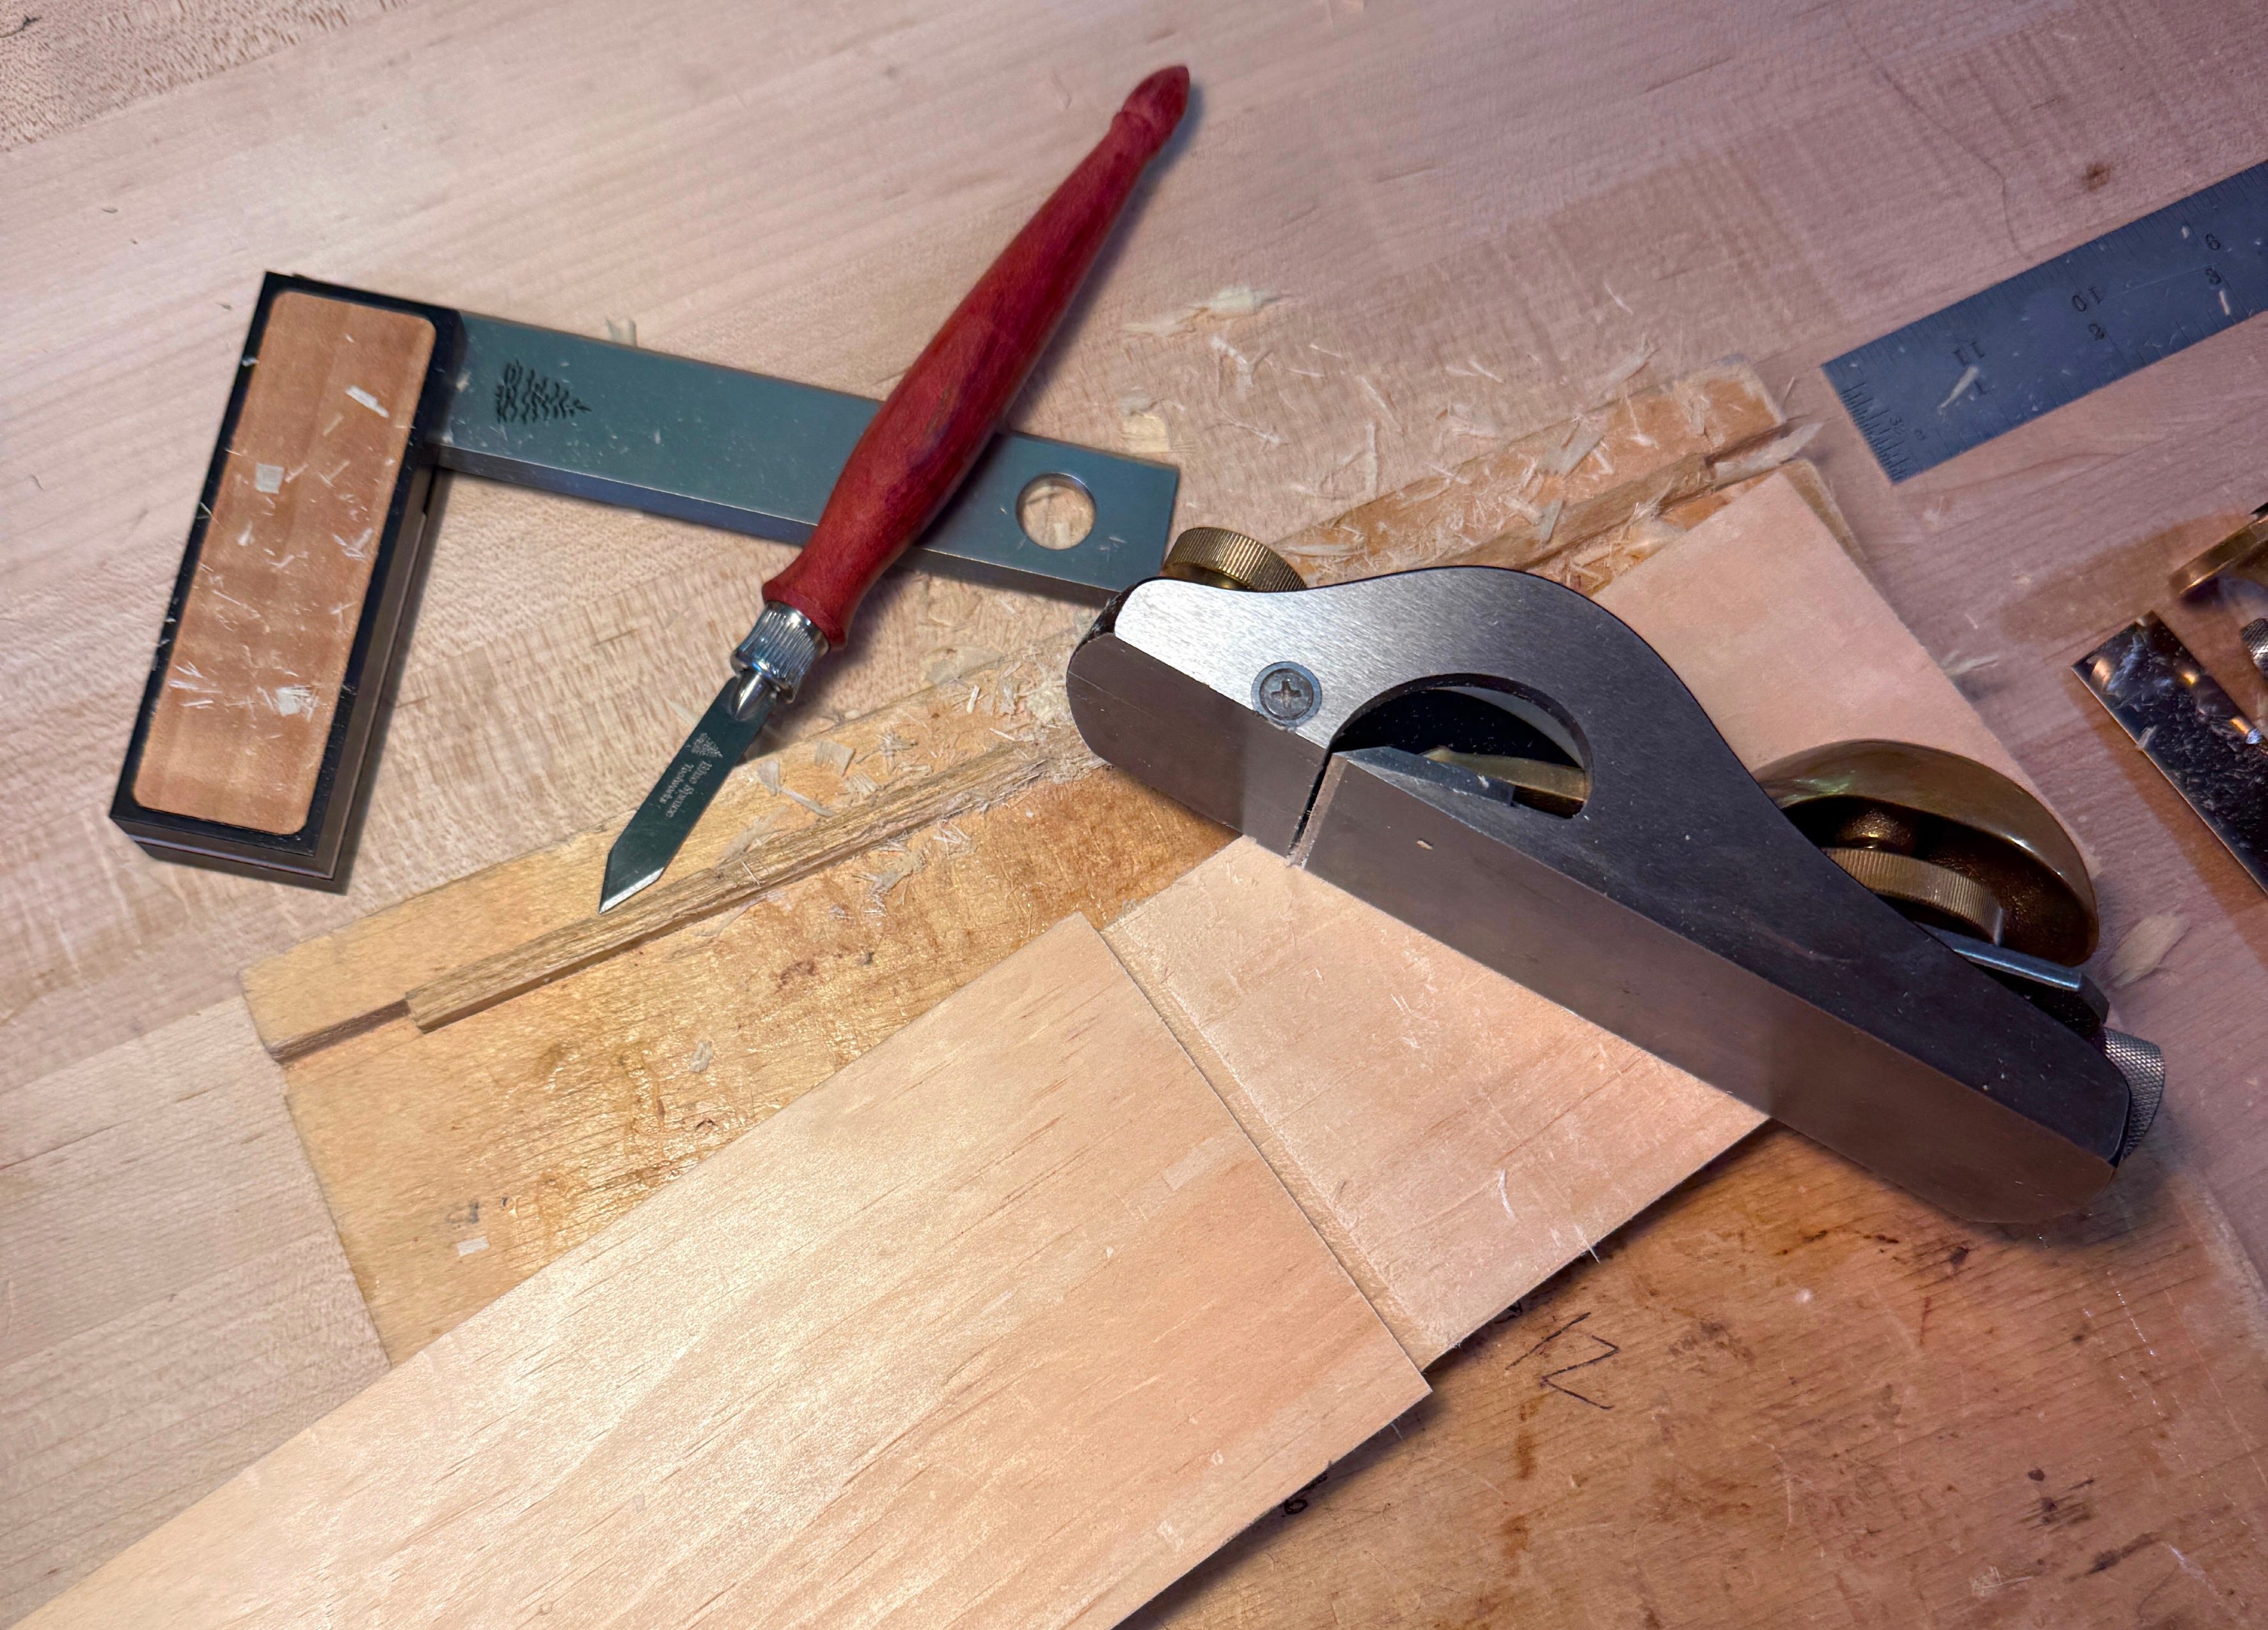
Over at the table saw, I used my miter gauge to turn the section that the Marlboro logo will occupy into a tenon - this is why I ended up keeping all that extra length. I removed 1/16” of material on all four sides, working from the line I scribed in the previous step all the way to the end of the board. I didn’t use a flat-top blade (too lazy), so I quickly cleaned up the surface with a shoulder plane.
With the blank all prepared I moved on to the marquetry. I scaled the Marlboro logo, printed it, and glued it to a field veneer that’s the same species as the blank. From here, I just had to fill in the letters for the logo and fill in the red section.
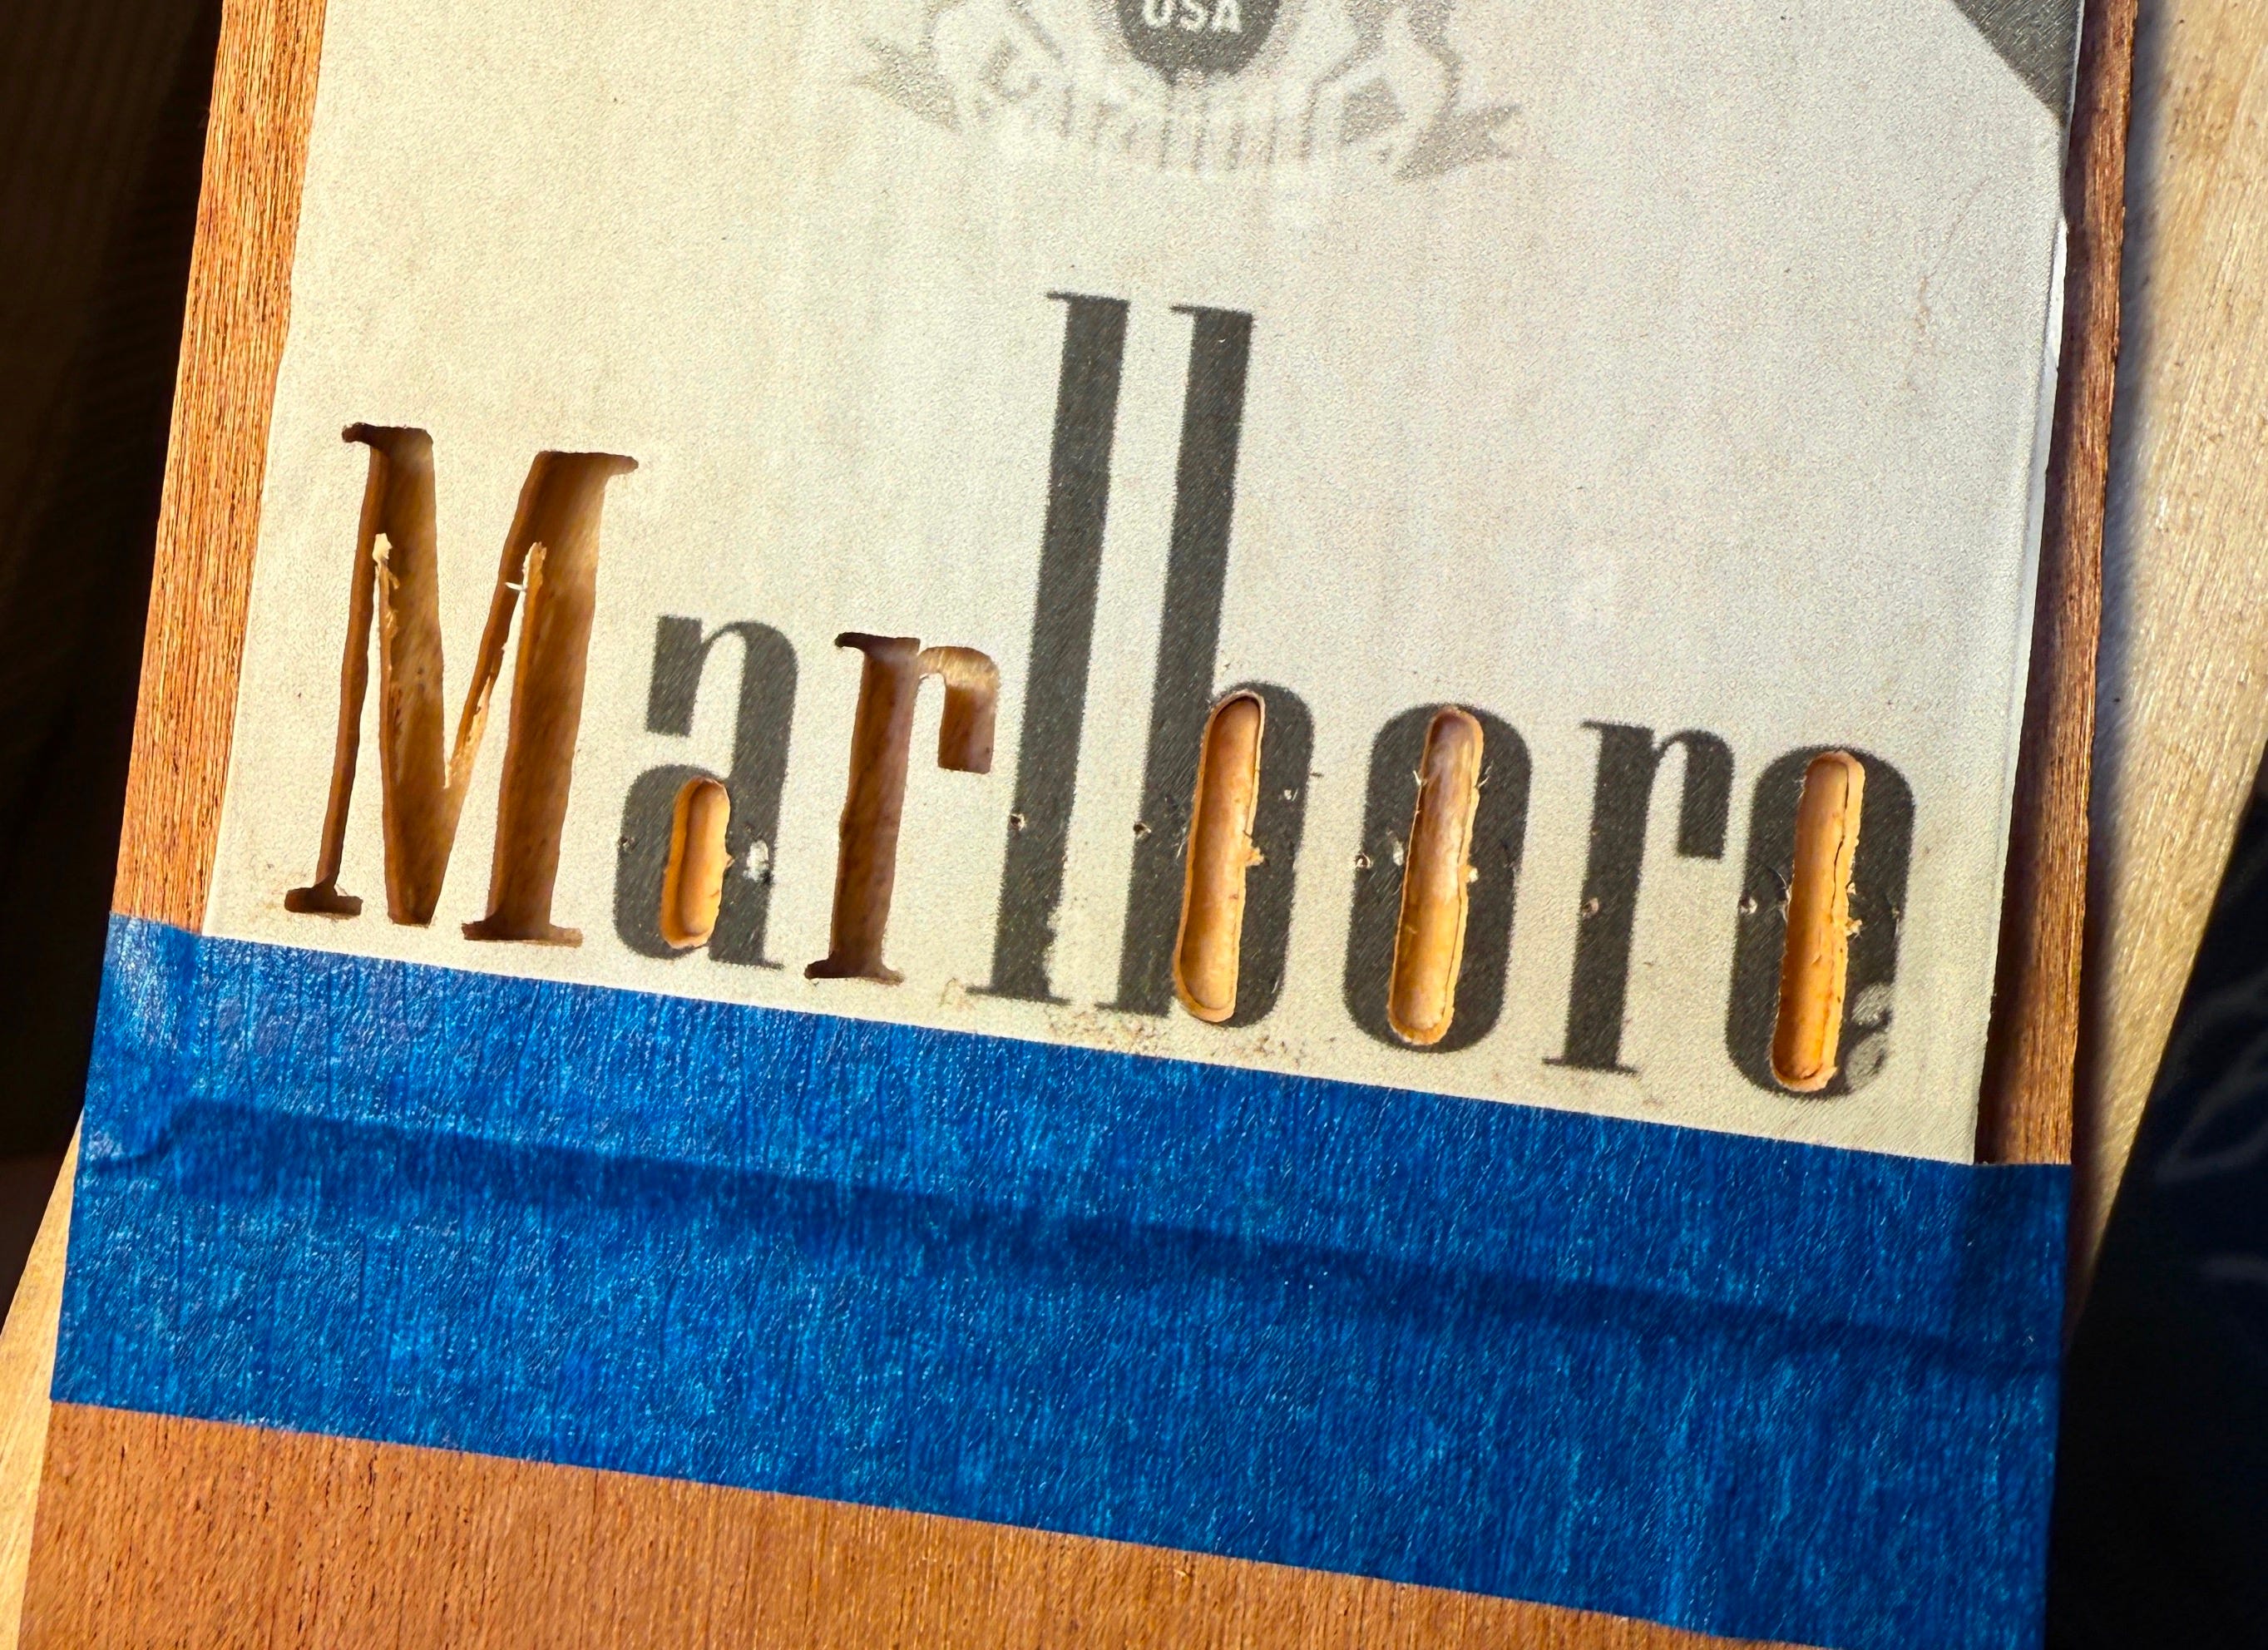
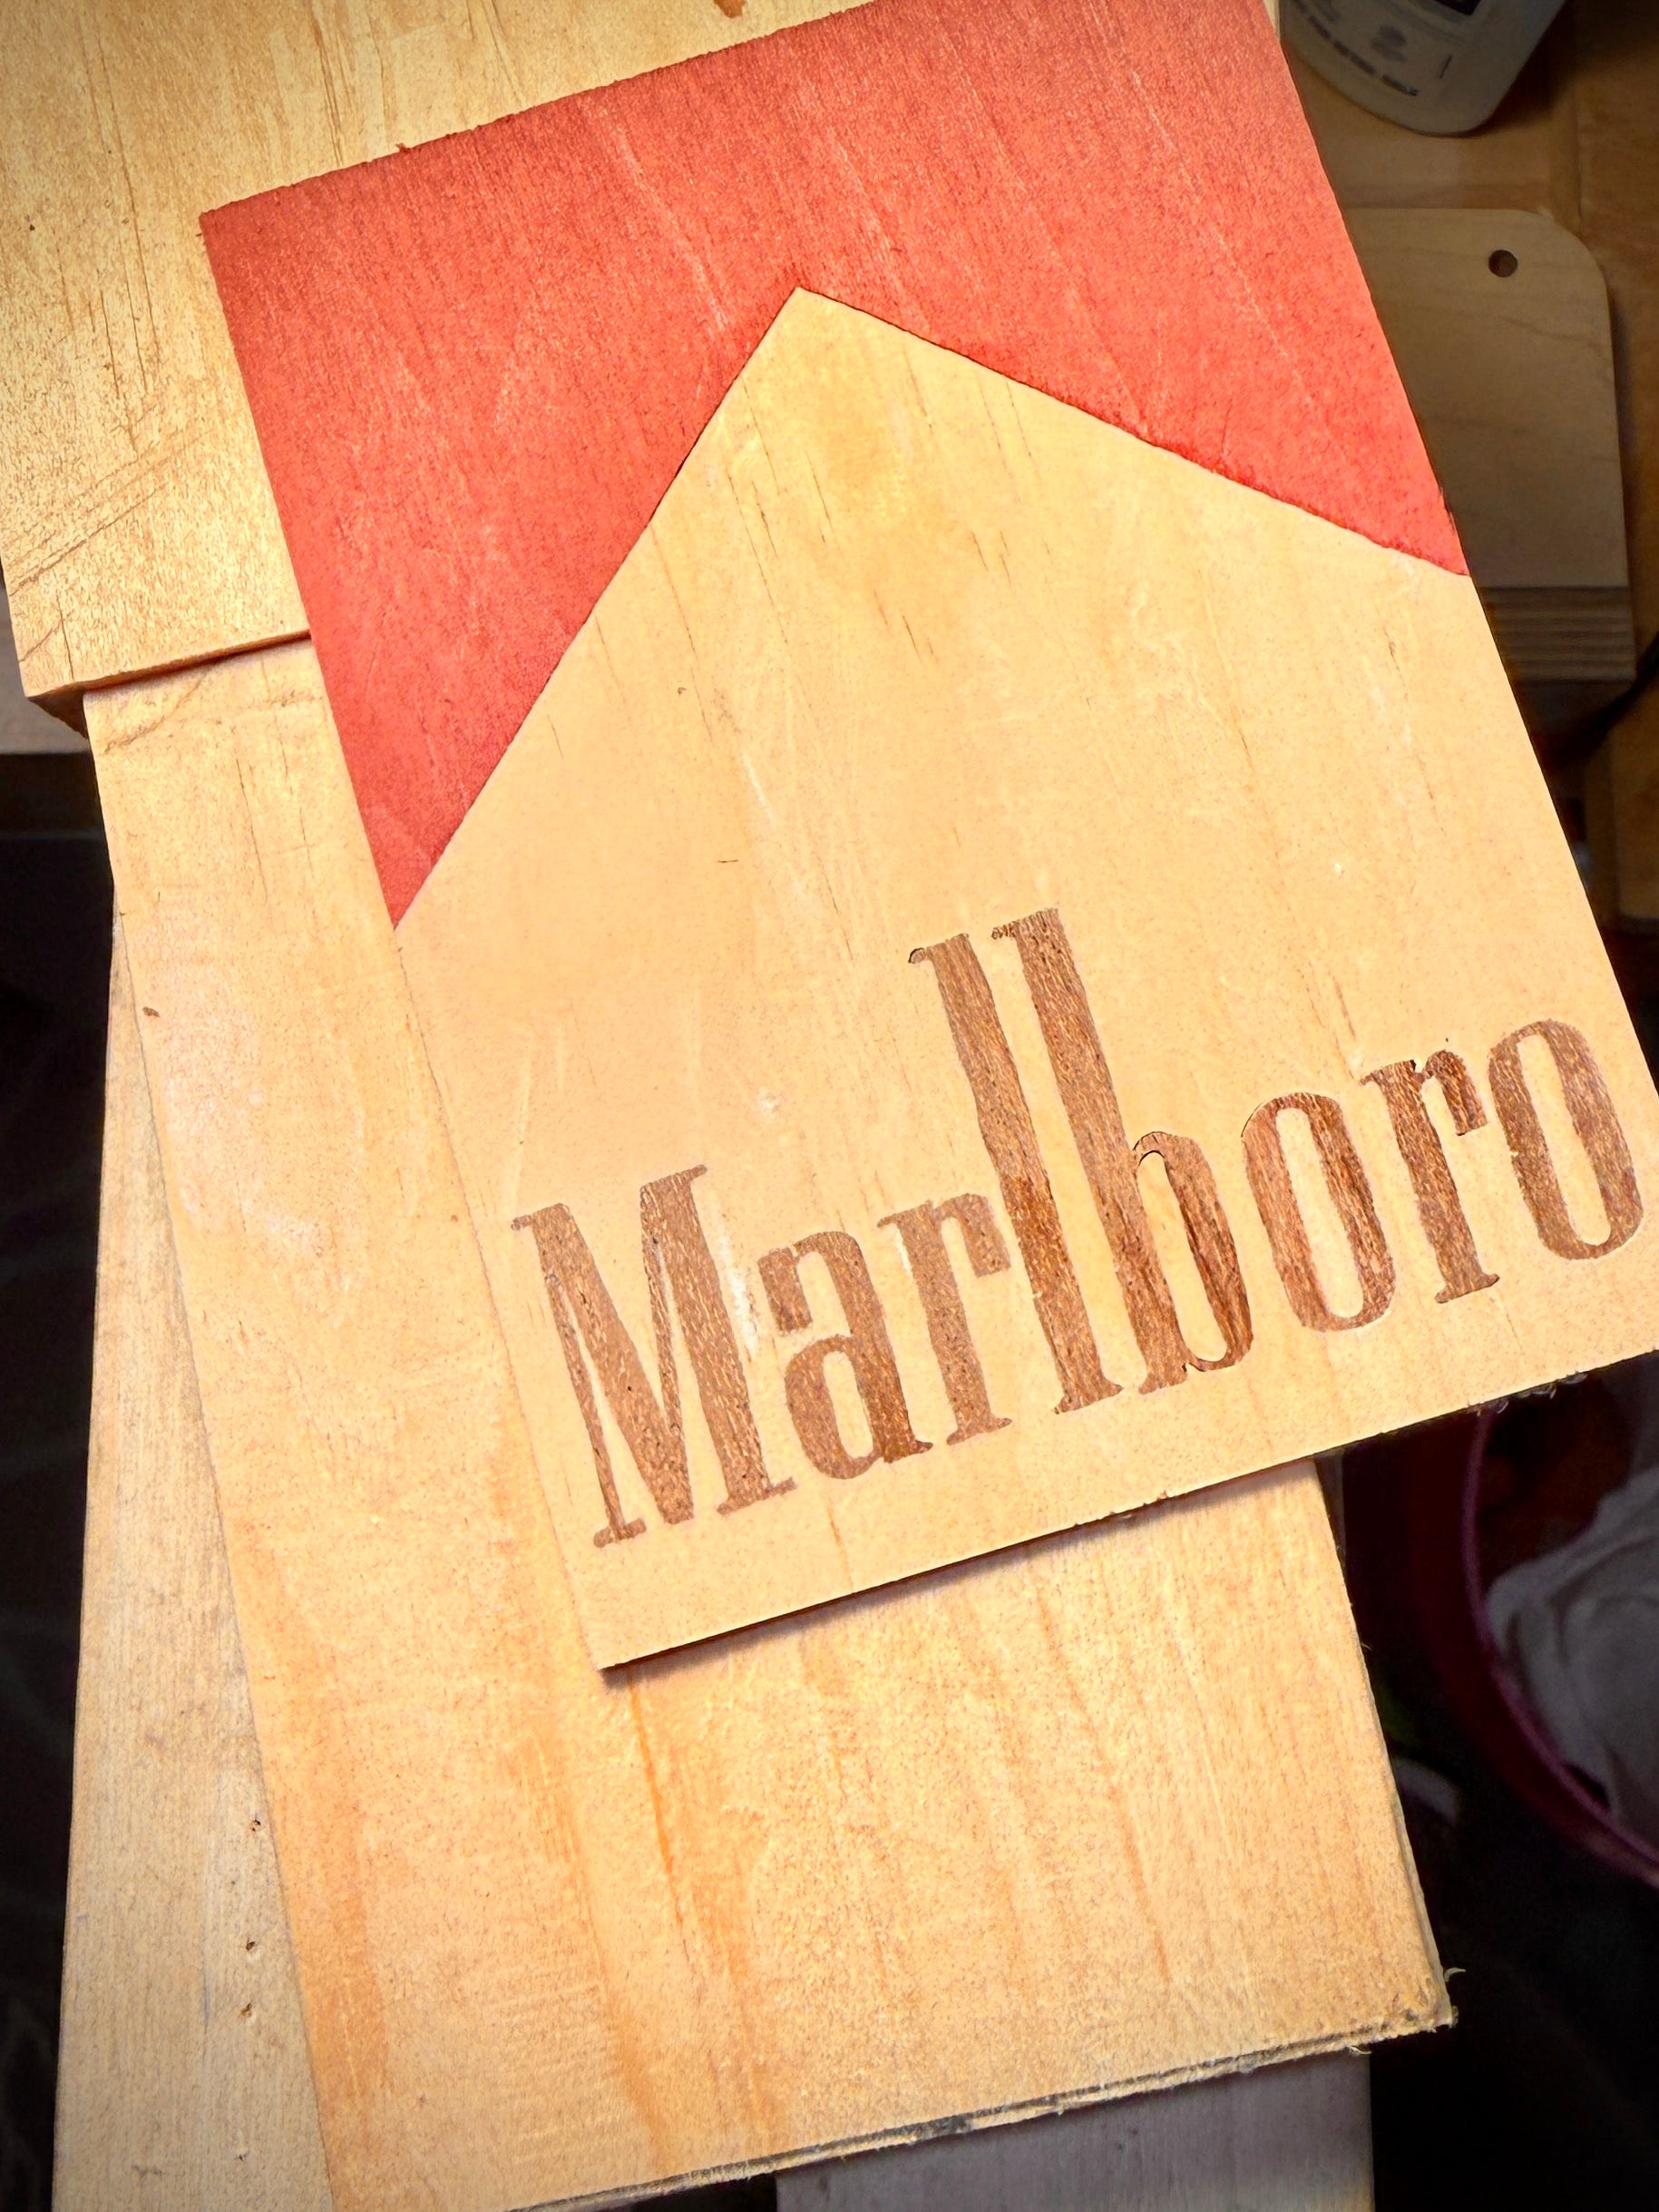
I didn’t want the cigarette-box theme to be confined to the front, so I also prepared appropriate veneers for the sides and back. The back was done using double bevel marquetry, but since the sides are just a straight joint, I was able to get away with gluing some veneers straight on.
When it came time to assemble, I made sure that all my veneers were properly jointed along the top edge. If there were any imperfections there, gaps would appear where the veneer meets the dovetail baseline. I glued the front on first, pushing the top edge of the veneer firmly against the baseline. Because of the “tenon,” the front was 1/8” wider than the spot it was getting glued to — I made sure that 1/16” was hanging over on each side.
After that dried, I glued the side pieces on one by one to ensure the red sections remained continuous as they wrapped around. Notice that the ledge from the top overhang creates a nice registration point for gluing.
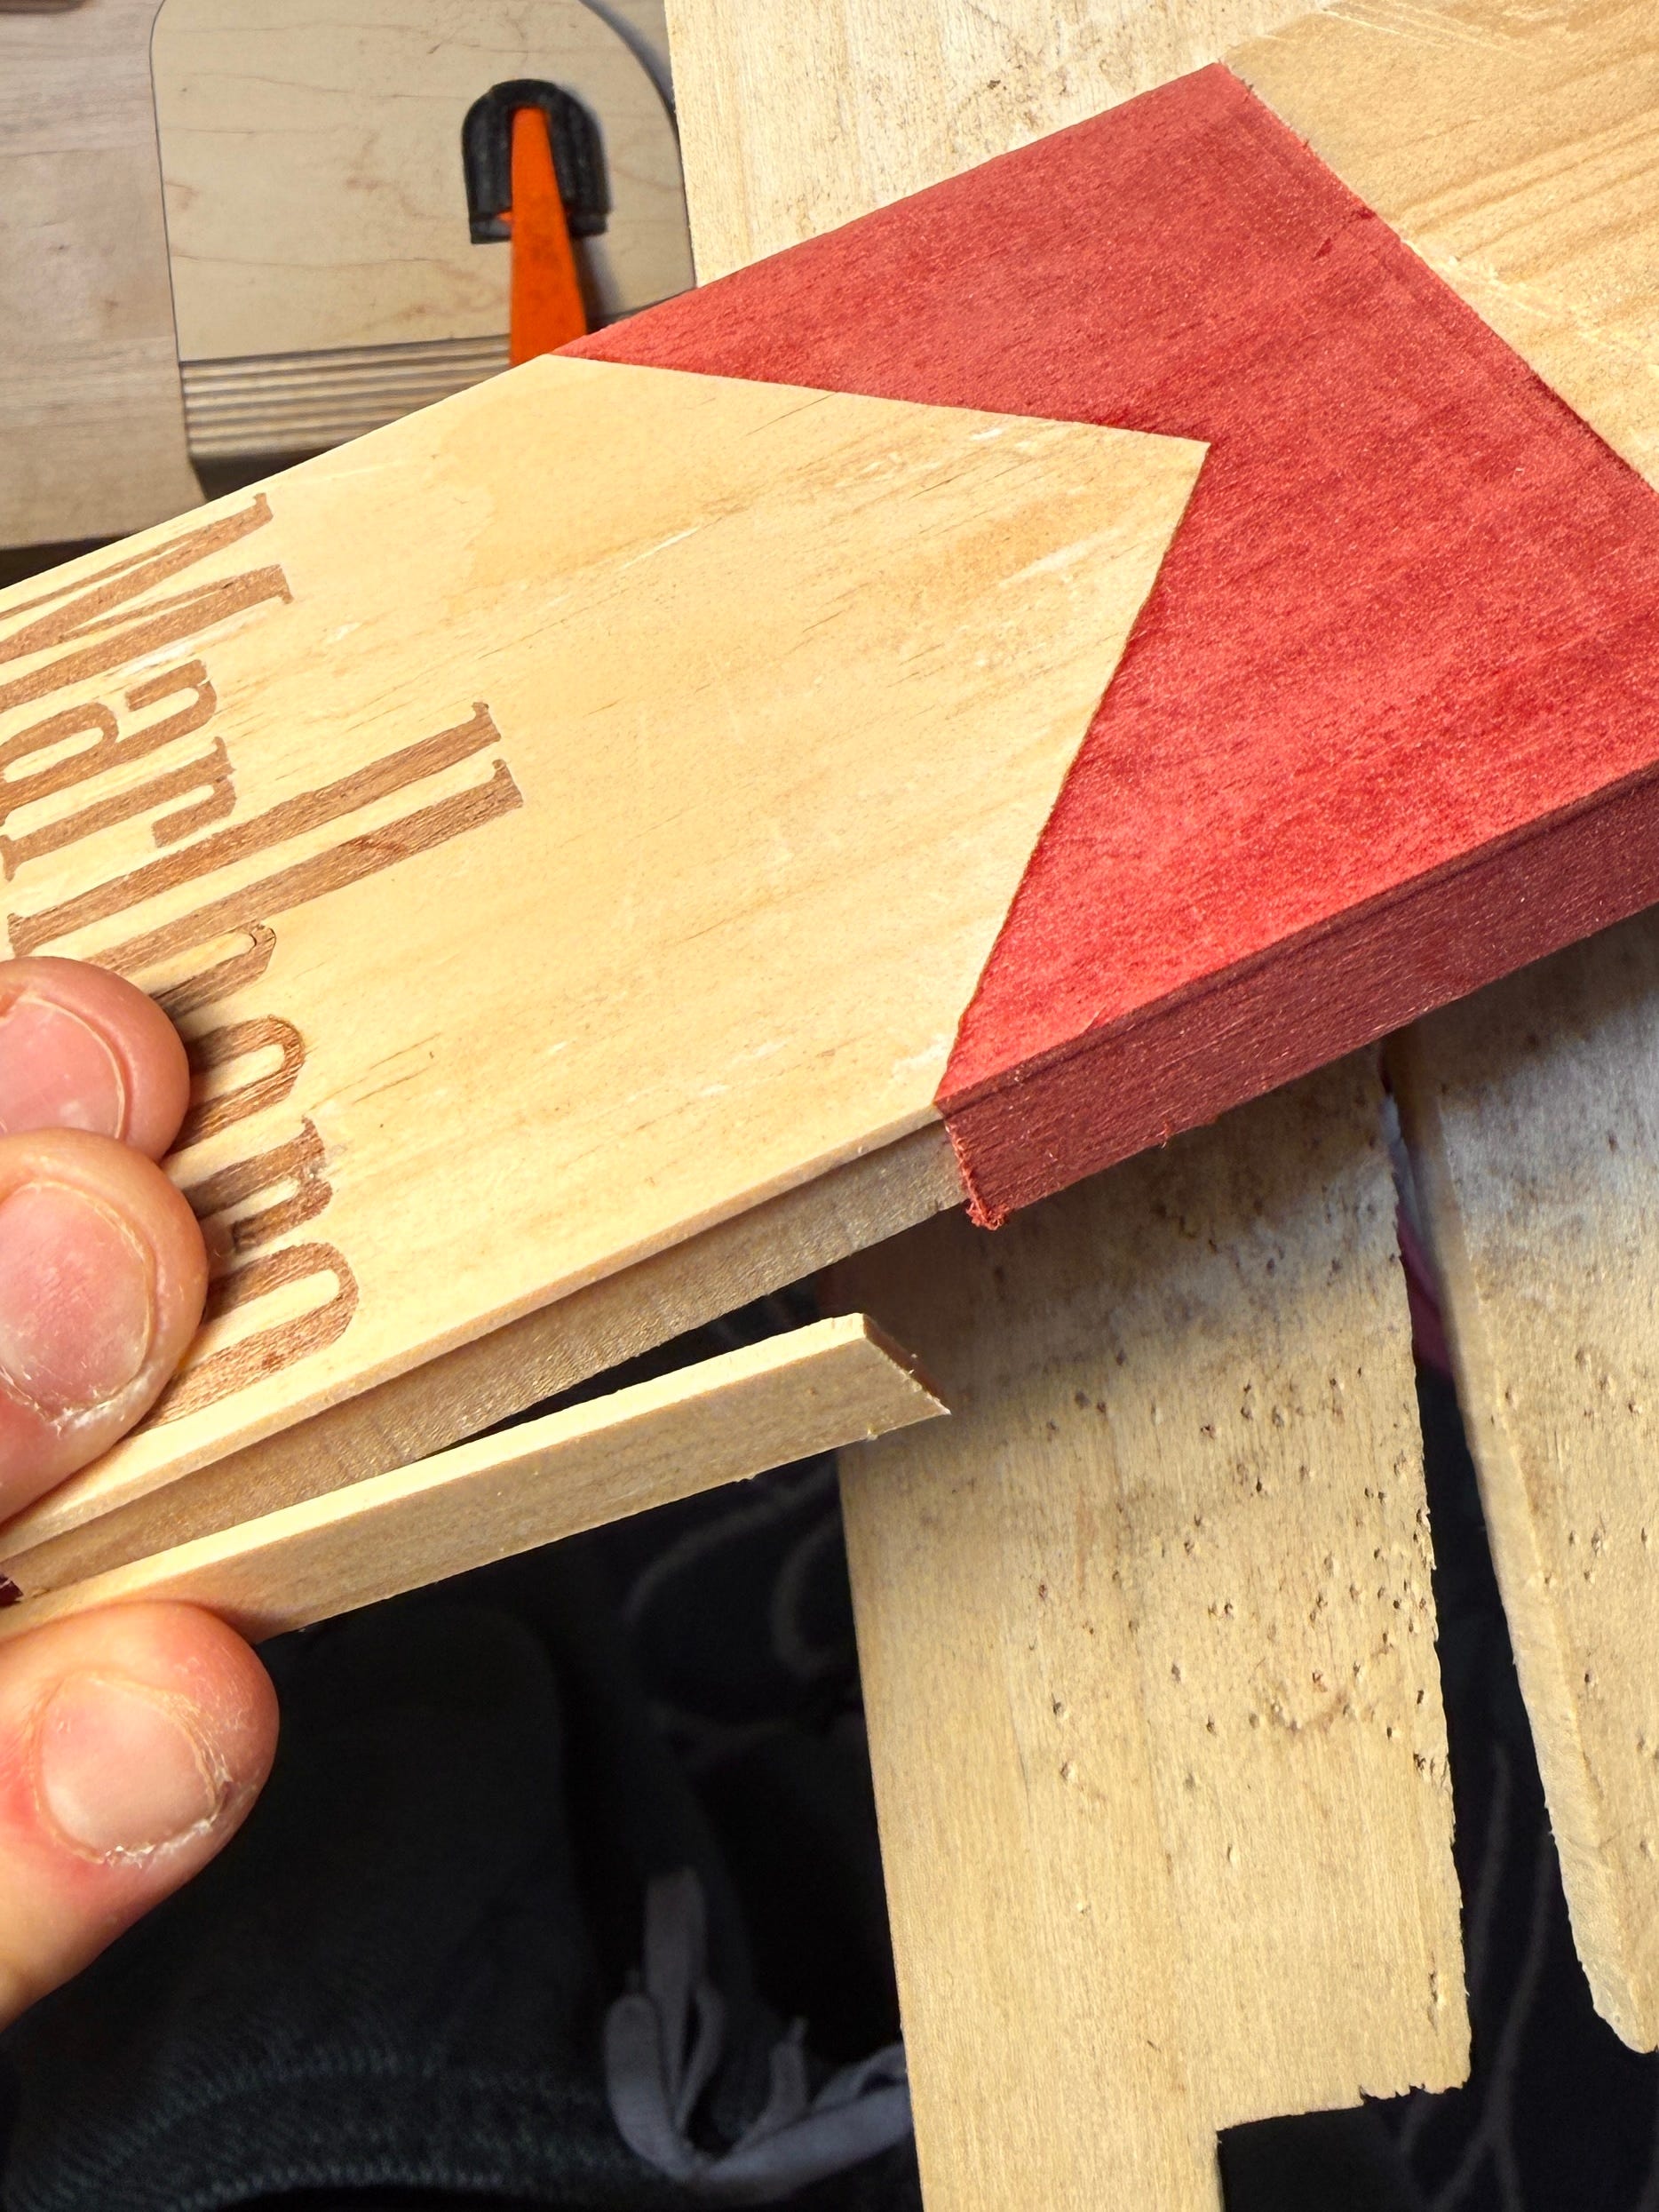
Note - I considered having the veneers wrap around the tenon with miter joints, which is totally doable. My approach in this instance would be to use a mitered shooting board to put a 45 degree bevel the sides of each veneer. I’d have to nail the fit before glueup, but that’s easily achieved by slowing down and working intentionally.
The reason I didn’t miter the edges is I didn’t think it was worthwhile. All corners have long grain on one veneer touching long grain on another. There is no visible engrain to hide, so the miter seems like a bunch of fuss for nothing. I also suppose I could make the case that miters have a tendency to open up over time, but that’s beside the point.
Once the sides were dried, I trimmed any excess and glued on the back piece. After that, I simply crosscut the excess on the non veneered side, leaving just enough for the desired length of my dovetails.
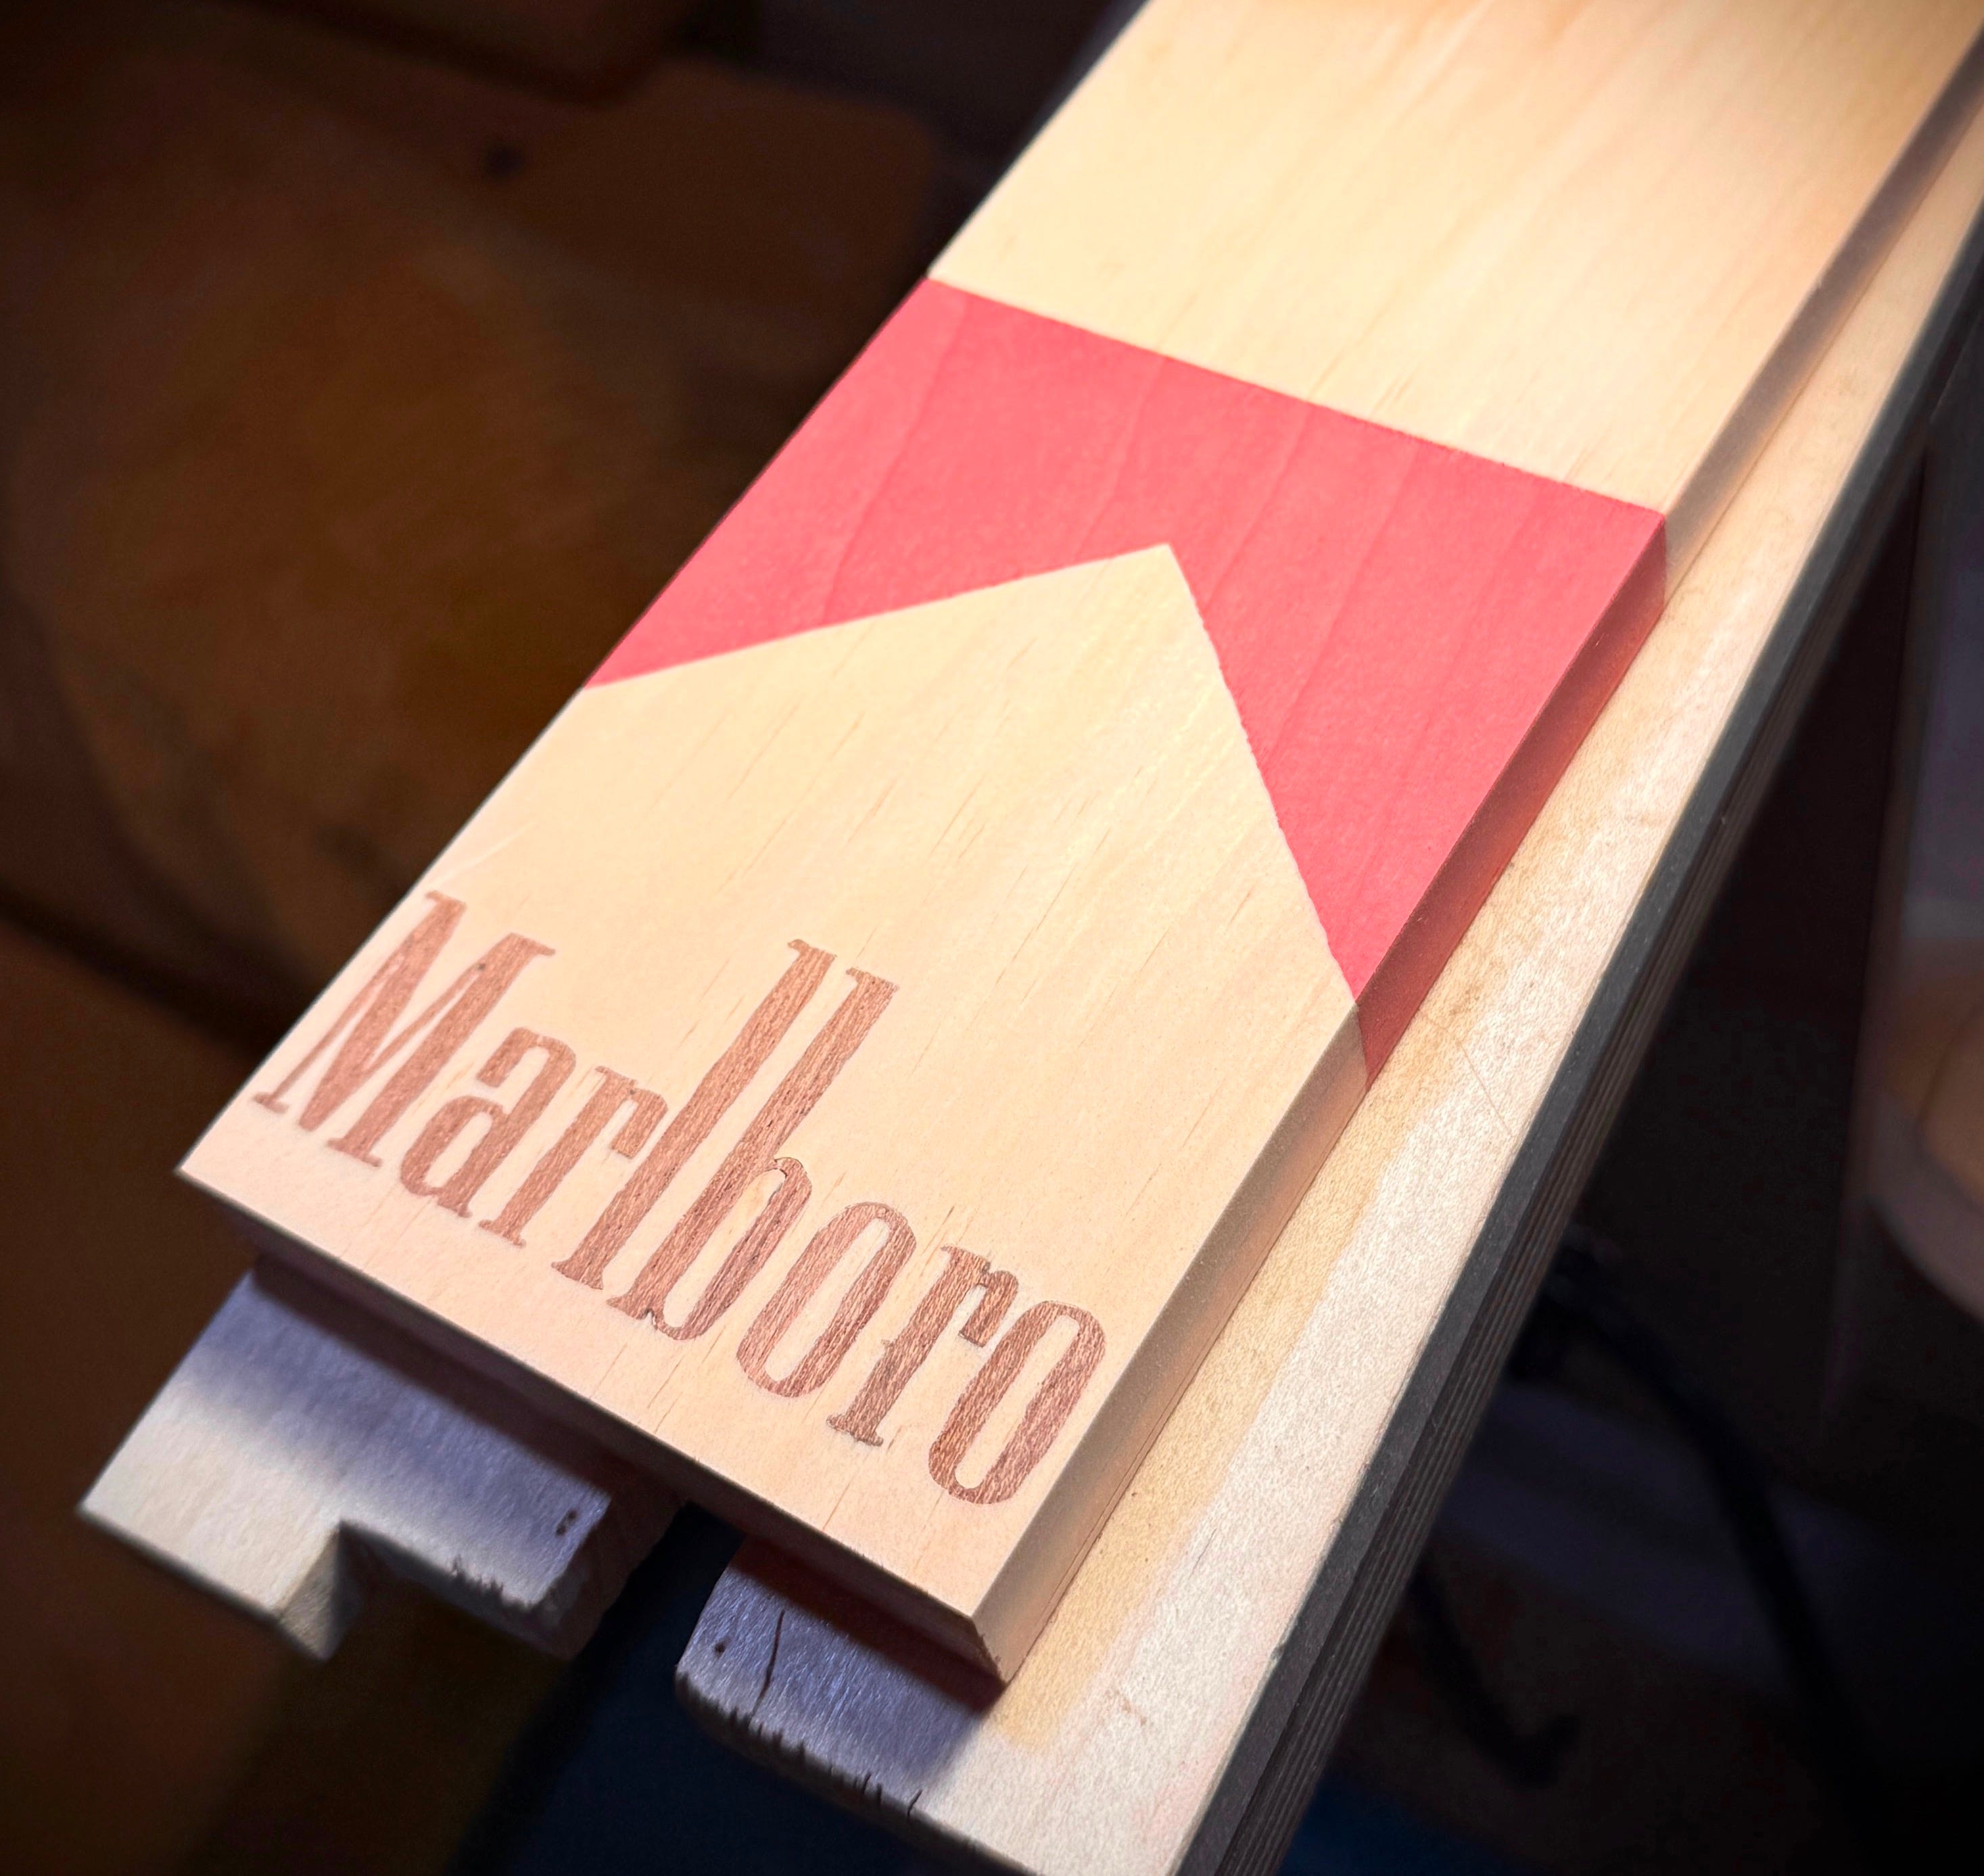
From there it was just a matter of cutting the dovetails (more on my process for that can be found here or in my first book) and finishing things up.
I realize that this is an extremely goofy project and it serves pretty much no purpose whatsoever. But I guarantee at some point when I’m making something that does matter, I’ll use something I first discovered here.
I've always felt all projects matter and the differentiation is intent. Serious v fun being the main one setting the general vibe. I love the way this turned out man