

Another sawing tip from class
Something you might already have lying around the house could be the key to sawing straight.

As I’m writing the various sections of my book, I’ve been going through the stacks of notes I’ve compiled over the past few years.
If you’ve taken a class with me, you may have noticed that the entire time, I’ll have a notebook open and ready to go in front of me. I don’t use or need it to teach — everything I say is pretty much off the top of the dome. Instead, I keep it with me to write down anything brilliant a student may bring up.
These student suggestions and ideas have been invaluable resources when writing this book, and it makes sense why. The entire purpose of my writing is to make marquetry more accessible to beginners. It follows that I should then listen to the beginners when they offer something that has made their learning easier.
I’ve already covered a few of these (with attribution, always!) throughout this blog and they’re certainly peppered throughout the writing of my book. Just the other saw I shared a tip from my friend Matt Parkes about replacing the thumbscrews on a fret saw for easier use, and in that spirit, I wanted to share another tip to help out your sawing technique.
A few months ago, I was teaching at Peter’s Valley, and a student of mine was struggling with keeping their sawing plumb. It was kind of an issue. In double-bevel marquetry, everything works because pieces are cut on a specific angle. That angle is set at the cutting table, which then assumes perfectly plumb sawing. If you deviate from that, pieces won’t fit.
When this happens, I usually just tell students to either increase or decrease their table angle to match their natural sawing tendencies and still have pieces fit. I stand by that general advice, but it’s still a good idea to get the feel for sawing plumb and at least try to hit that target.
During in-person classes, I’ll usually go around and watch people sawing and tell them when it’s plumb. Inevitably, every single person is shocked at what that feels like — they always think they are angling the saw.
I was explaining this to the student when she suggested that to improve her sawing at home, she’ll likely just set a mirror in front of her cutting table to observe and adjust. Genius!
One piece of advice I’ll give students when sawing is to pick something in their line of sight that is perpendicular to the ground and use that to guide their sawing straight up and down. It’s a surprisingly useful approach, but putting things right on a mirror seemed like a much better idea. I had to try it out.
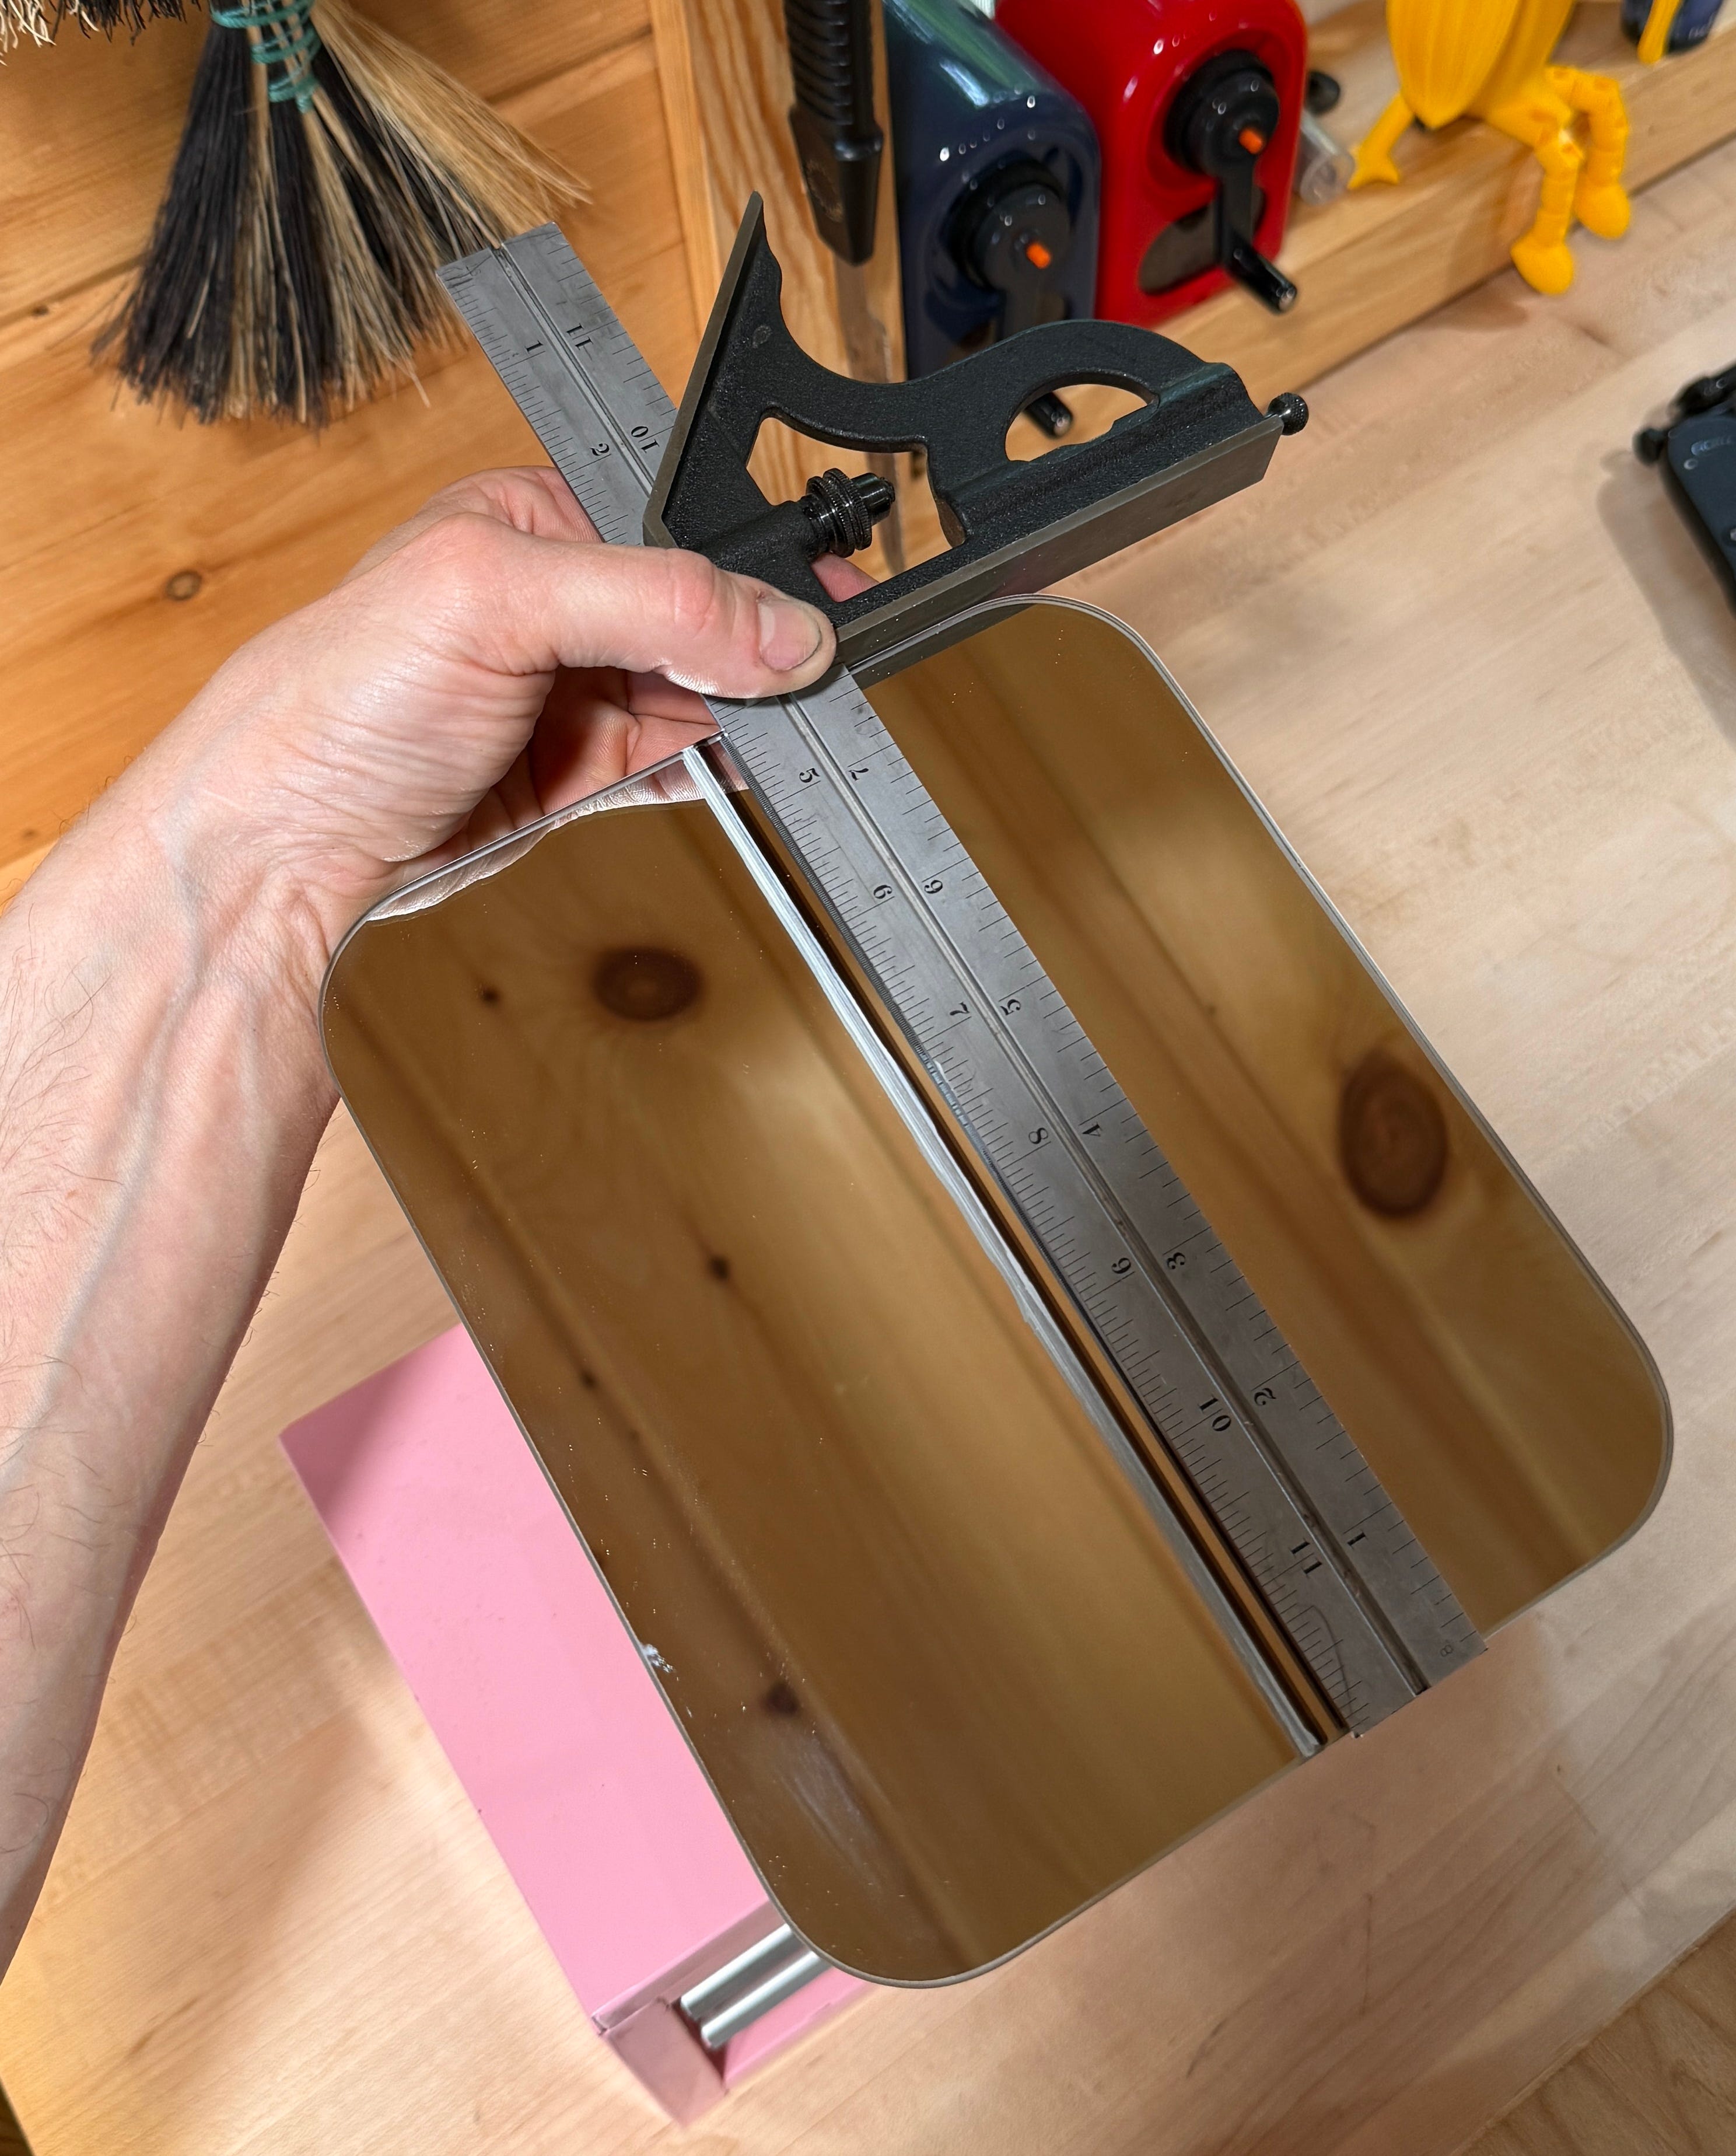
I bought a cheap desktop mirror from The Bad Store and struck a line down the center with both black and white paint pens (that way the line would stand out no matter the background).
I placed the mirror in front of my donkey so it was focused on the area above my cutting table and used a combination square to make sure the line was pointing straight up. The line provides a perfect visual guide while I’m sawing — I can literally see it in the mirror and adjust my movements accordingly.
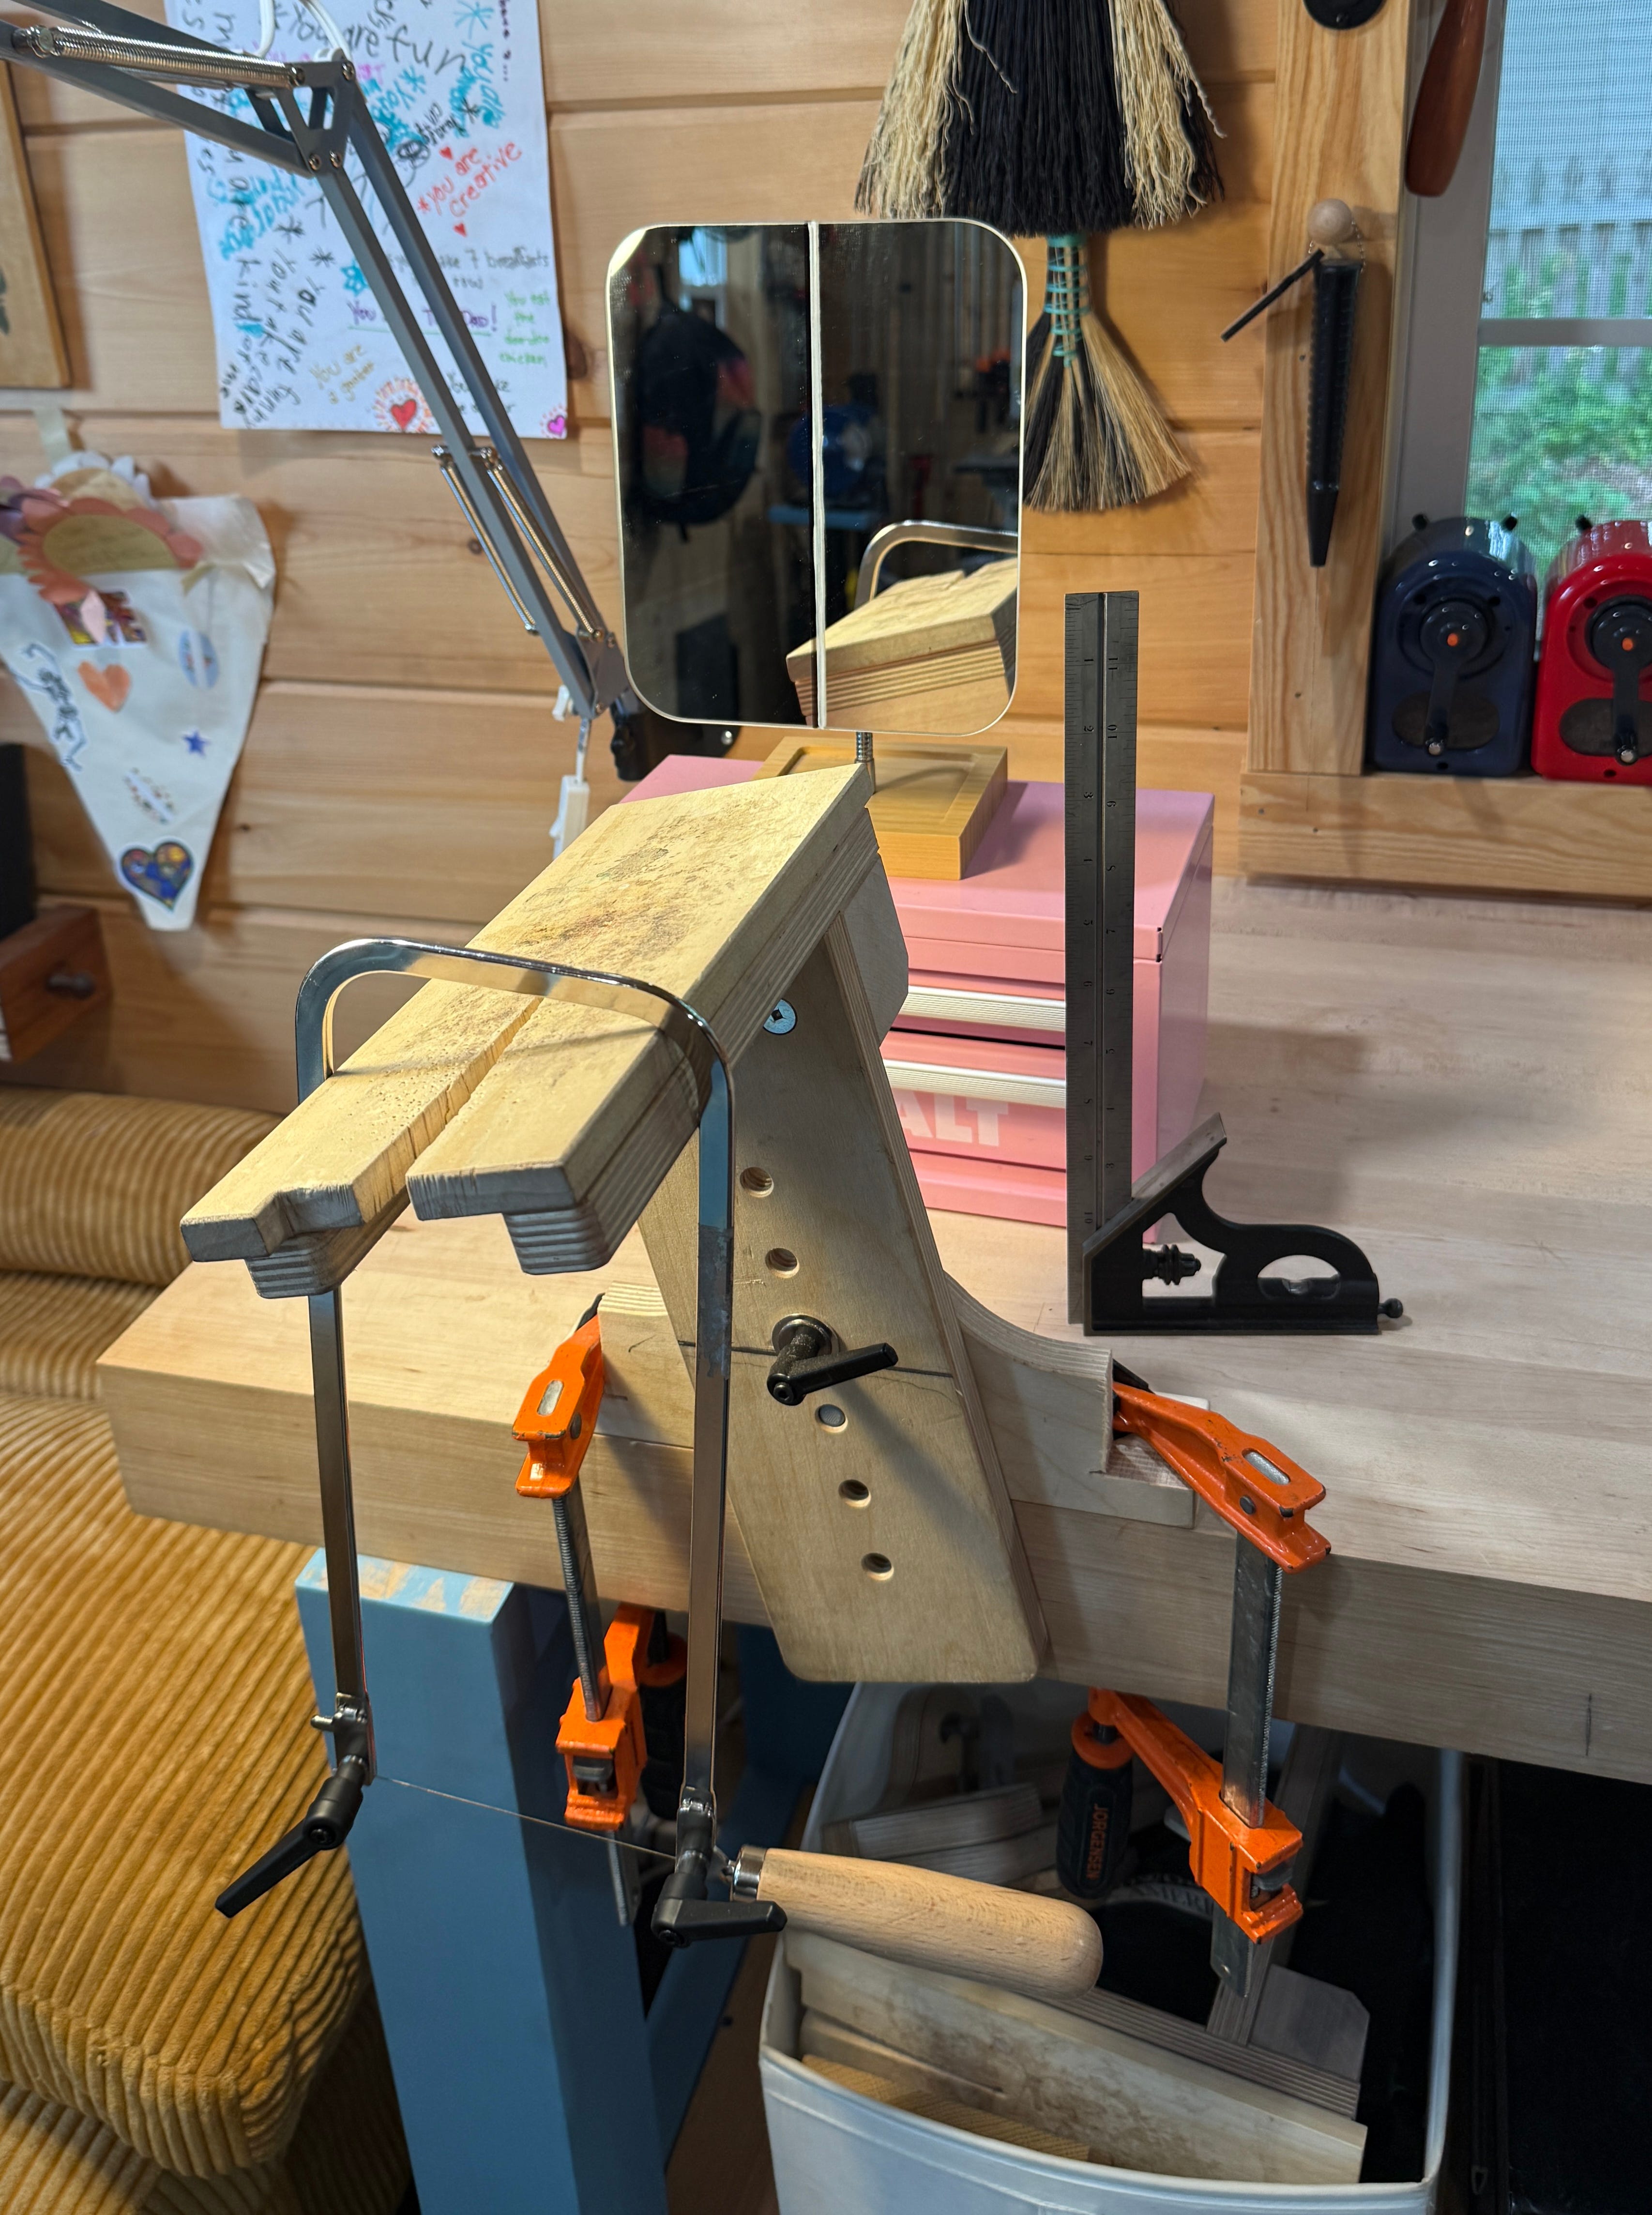
An absolutely brilliant suggestion that reminds me why if I’m going to be writing about this stuff, I’ve got to be teaching it too!
Love this. So many applications this can help.
This is like the saw plate reflection trick. Genius!