

Bench press
The Hand Tool Haven hangover is fading and I'm ready to get to work. I should probably have a bench for that.

The past few months have been pretty overwhelming for me. I’ve had multiple teaching commitments, commissions, writing, and more to do, and it’s gotten pretty intense.
Leading up to Hand Tool Haven, I was working non-stop to finish the door prizes that I promised to provide. And when I say non-stop I really do mean that — there were times when I told myself I didn't have time to check my email or texts. I ended up getting them done, but it wasn’t pretty. Working that hard under that much pressure for a sustained amount of time will break anyone.
Looking forward, my schedule is much more relaxed. My classes are spaced out over weeks instead of full day back-to-back sessions, the commissions I have are all long term, and I don’t have any travel in my near future. My plan for the summer is to keep things that way and use the much-needed extra time to do things around the house and write my book.
A bench for Borat voice my wife
Coming back from Hand Tool Haven, I started doing just that. While I was there, I purchased a bunch of lumber from you know who with the intent of making a bench for my wife. These kind of projects have the tendency to get pushed to the back burner over and over again — who doesn’t have that project for the house that they keep avoiding? — so I wanted to make sure that didn’t happen. To speed up the build, I bought four pre-milled 3”x3”s for the legs and a fully finished and sanded 2” thick butcher block slab for the top. That way, all I had to do when I got home was mill the stretchers, cut the joinery, and assemble.
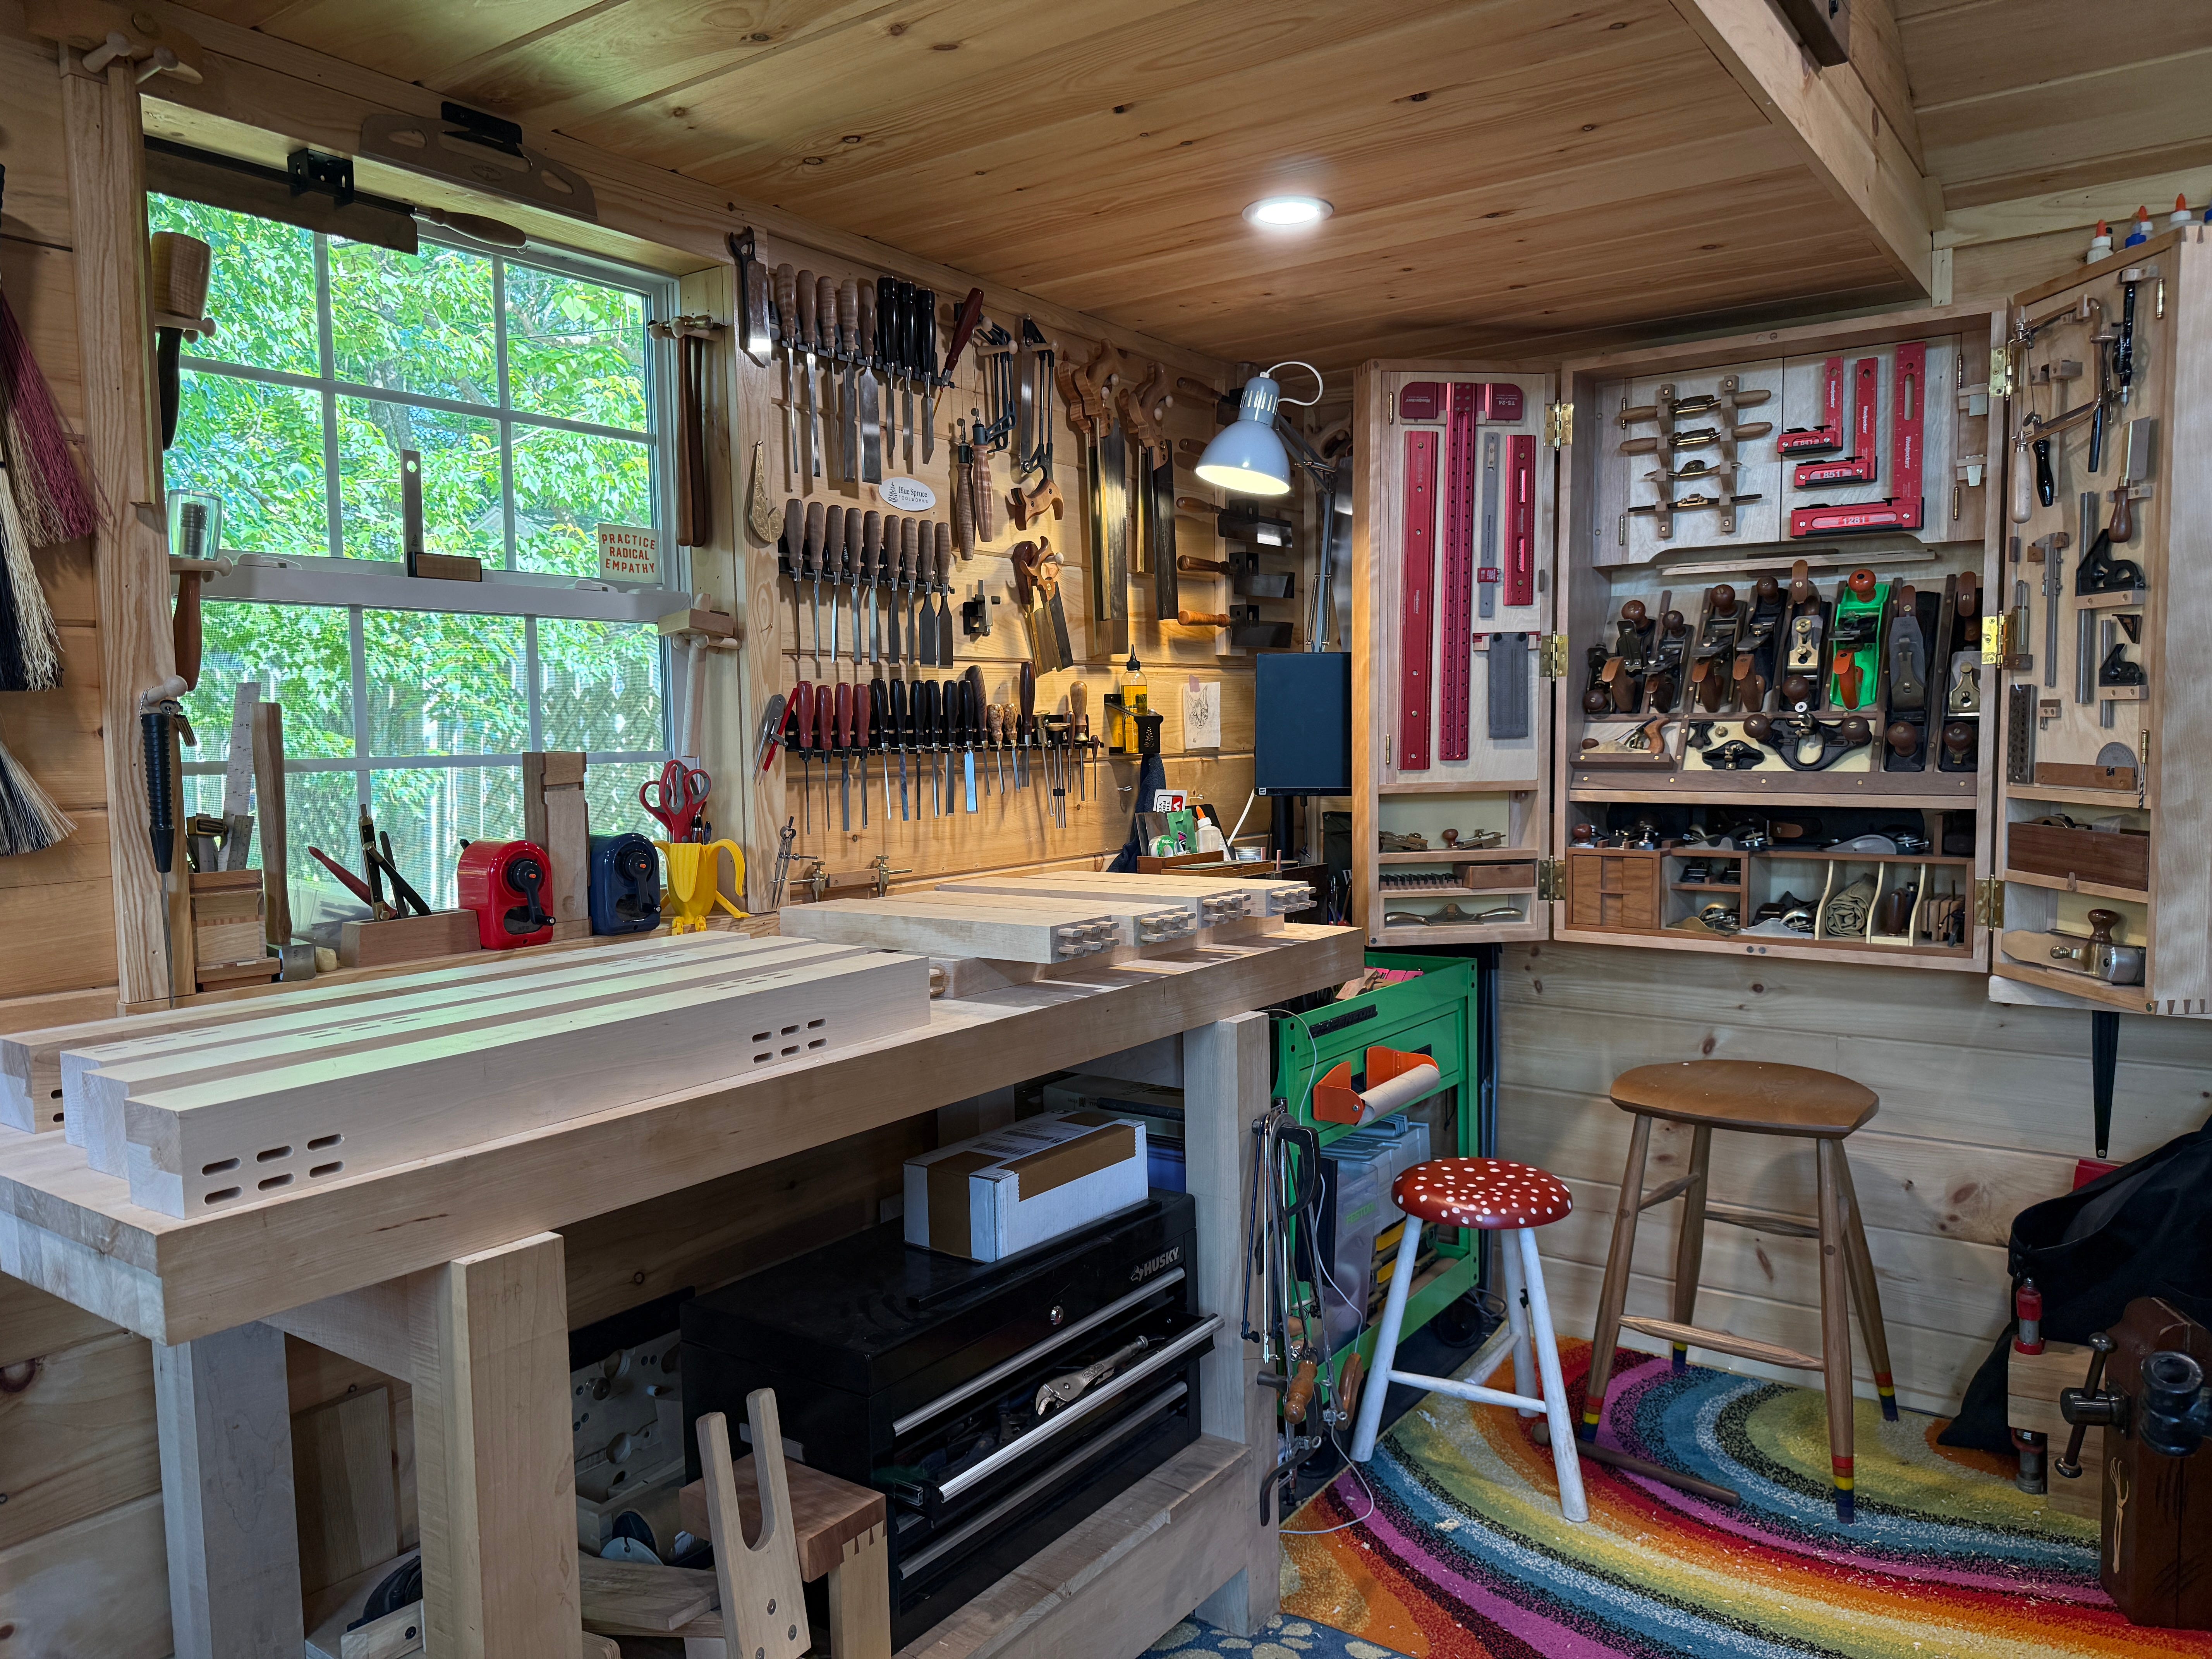
To speed things up even more, I opted to use my domino joiner instead of cutting traditional mortise and tenon joints. I realize this isn’t the “right” way to make a proper bench, but I don’t care. There isn’t a scenario in this bench’s future where these joints don’t hold up — it’ll be fine.
Building this felt….freeing. It had absolutely no timeline, a lot of the really hard steps had been purchased instead of done, and I didn’t spend time worrying about the tedious stuff that usually occupies my brain (grain selection, color matching, species, blah blah blah). And because I was so relaxed, I finished the entire thing within 24 hours of getting home with the materials.
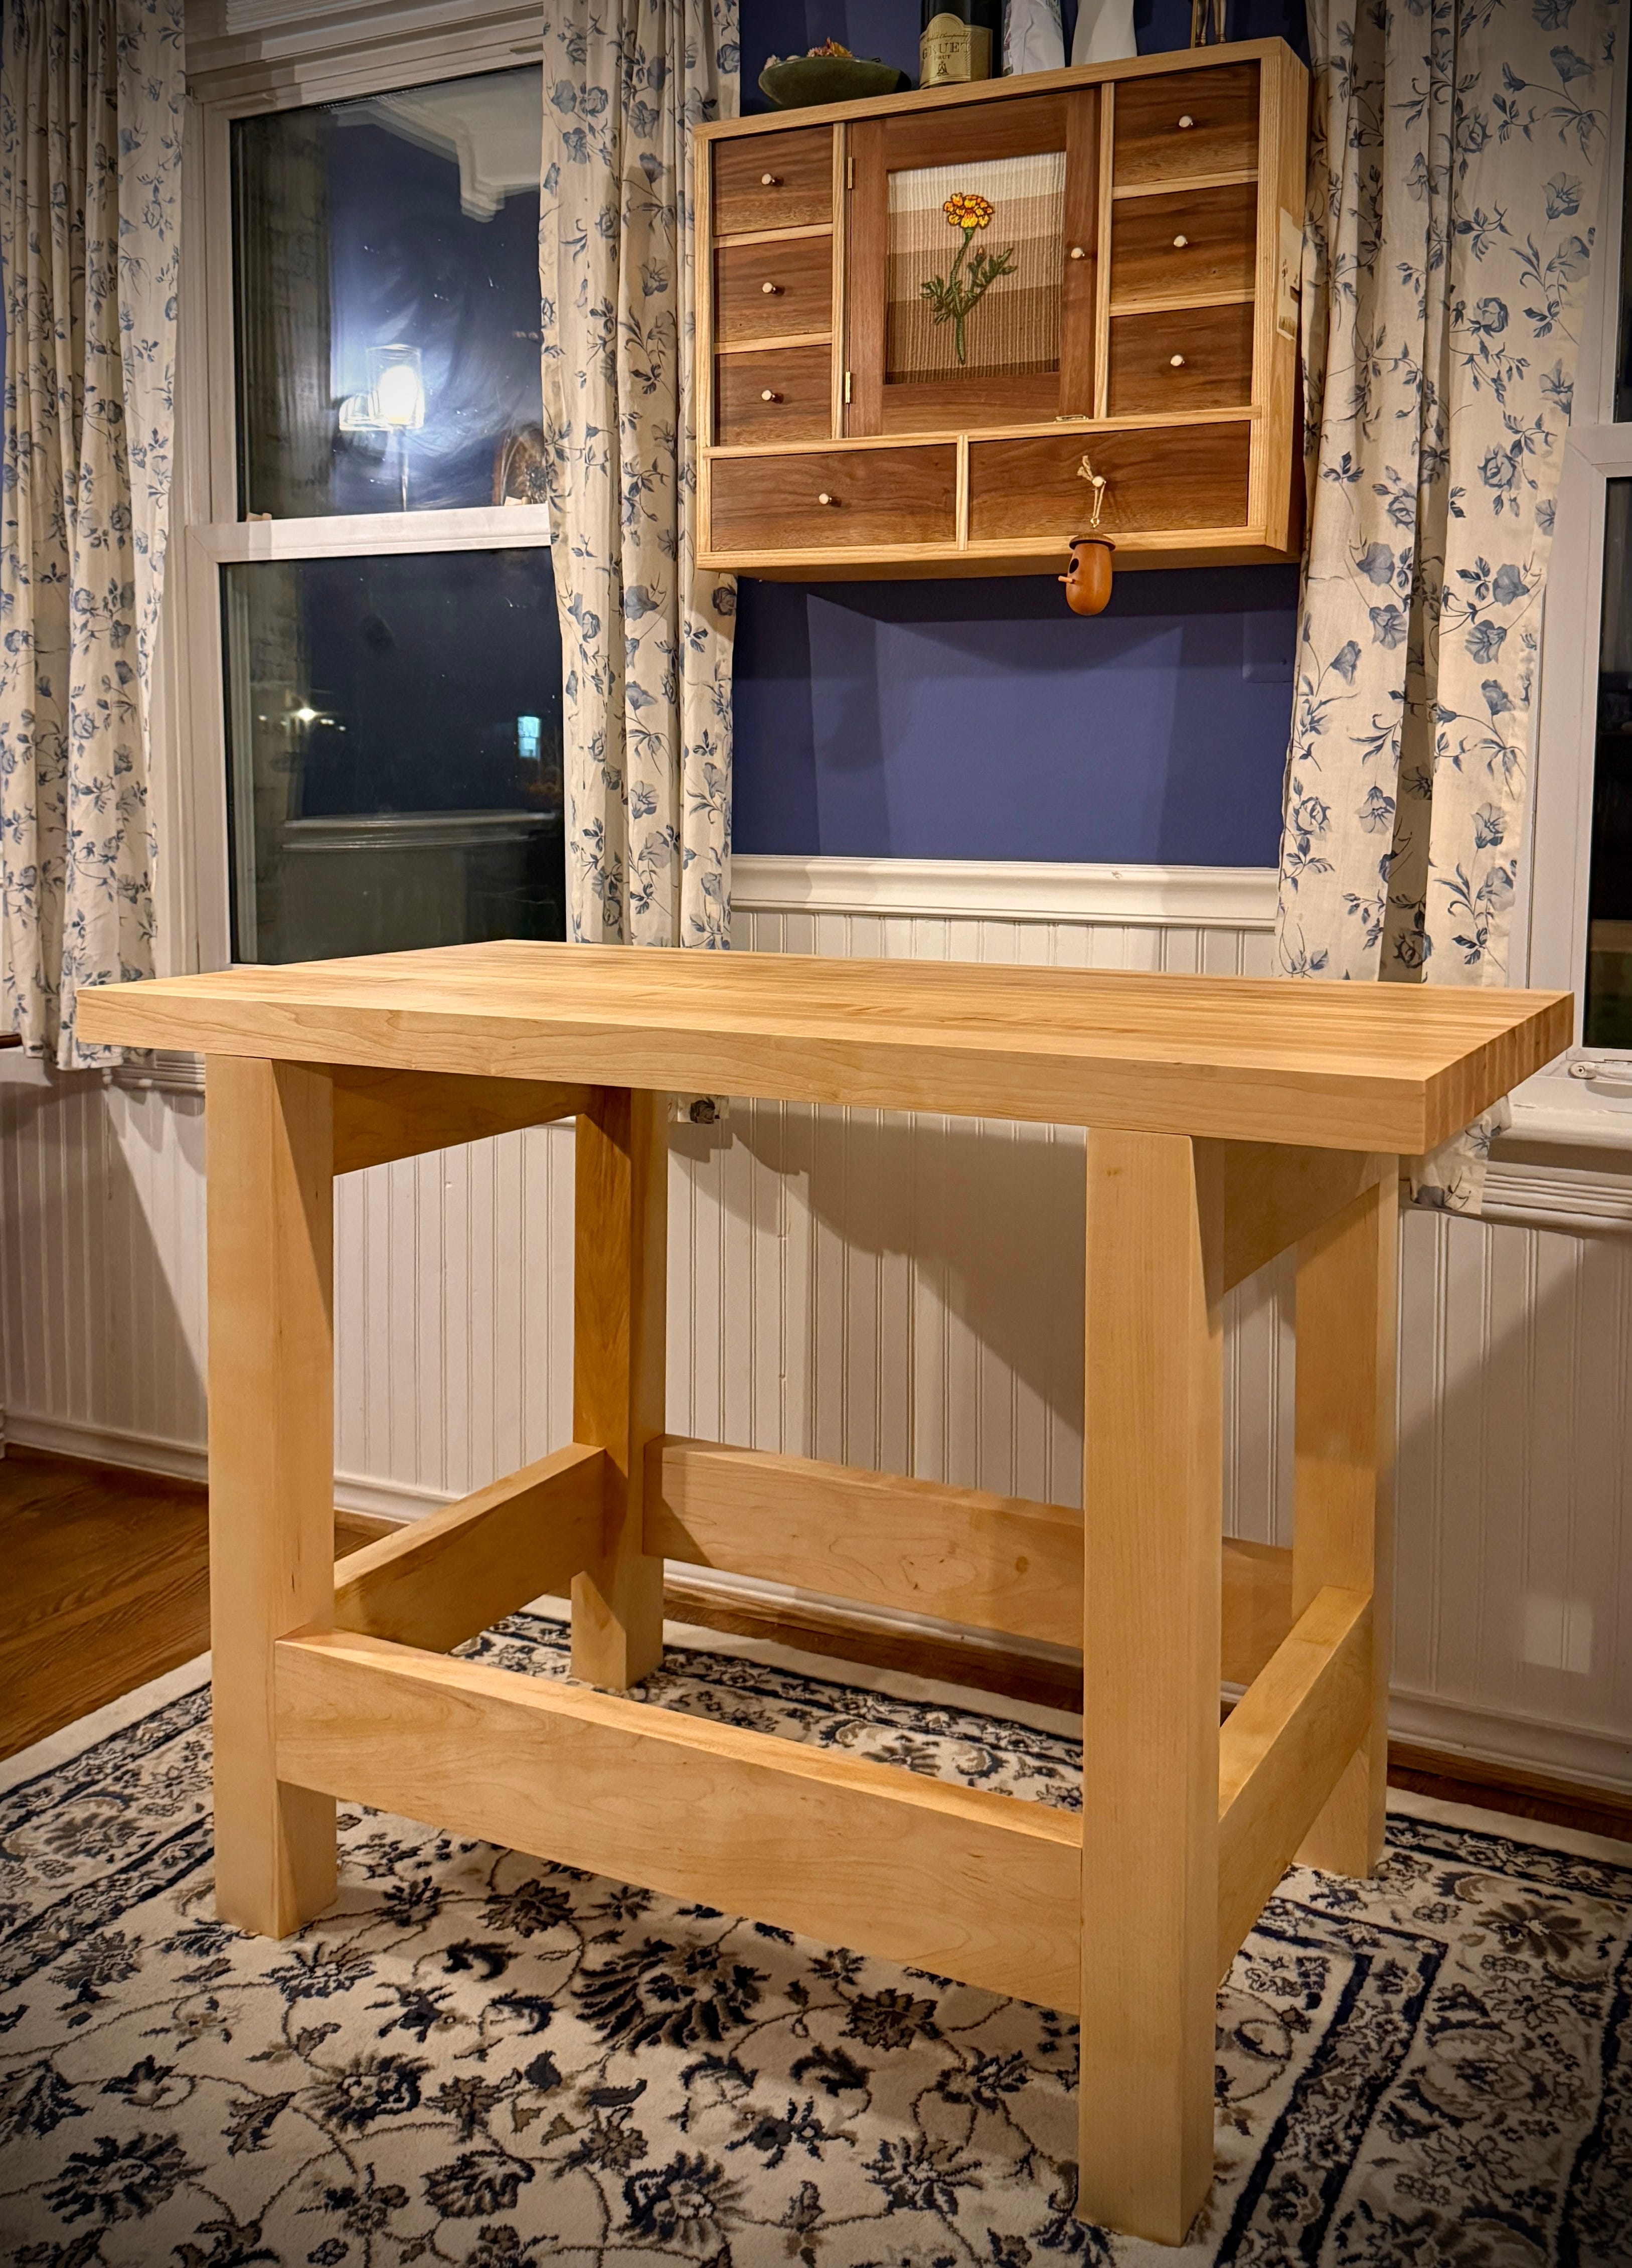
The bench now sits in our living room, which my wife is converting into her crafting space. I haven’t installed a vise or any other work holding because I’d like her to break it in to see what she really needs. Storage, perhaps some paint, and certainly some marquetry are on deck in the near future, but for now it feels good to get something off the checklist.
A bench for me
After I finished building my wife’s bench, I packed up my tools and brought them back into my shop. Then I stared at my own bench for a bit.
I’ve written about this before, but for the past year, that thing has been a work in progress. I acquired all the material for it at the end of 2024 and actually made quite a bit of progress. Then I got a book deal, started writing more, started teaching, etc.
Of course, I’ve still been using it. To make do, one of the leg assemblies was just dry fit together and the top was just plopped on there with nothing to secure it. That all worked, but it wasn’t exactly ideal. The top would shift around more than you’d expect, and every once in a while I’d have to hammer the dry fit joints back together. And there weren’t any vises on it at all.
As I was looking at it, I thought about how easy it was to just go ahead and make my wife’s bench. And then I thought about how ridiculous it was that she had a more proper bench than I. There’s always going to be a reason to not do something, and thats especially true if that thing is for myself. If something like this is going to get done, I have to make the time and commit to it. I really need a bench and I’m about to start a very intense writing process, so I think it’s fair to dedicate the time here.
The base
As you can probably imagine from what I wrote above, step one in getting this bench done was finishing up the base. Luckily, that didn’t require all that much work.
One of the leg assemblies was completely glued up and sanded. The other had the mortise and tenons already dry fit and cleaned up, so all I had to do was slather on some glue and clamp things up. The stretchers on the bench were attached using Benchcrafted’s barrel nuts. I had installed those a few years ago and they work perfectly, so there was nothing to do there.
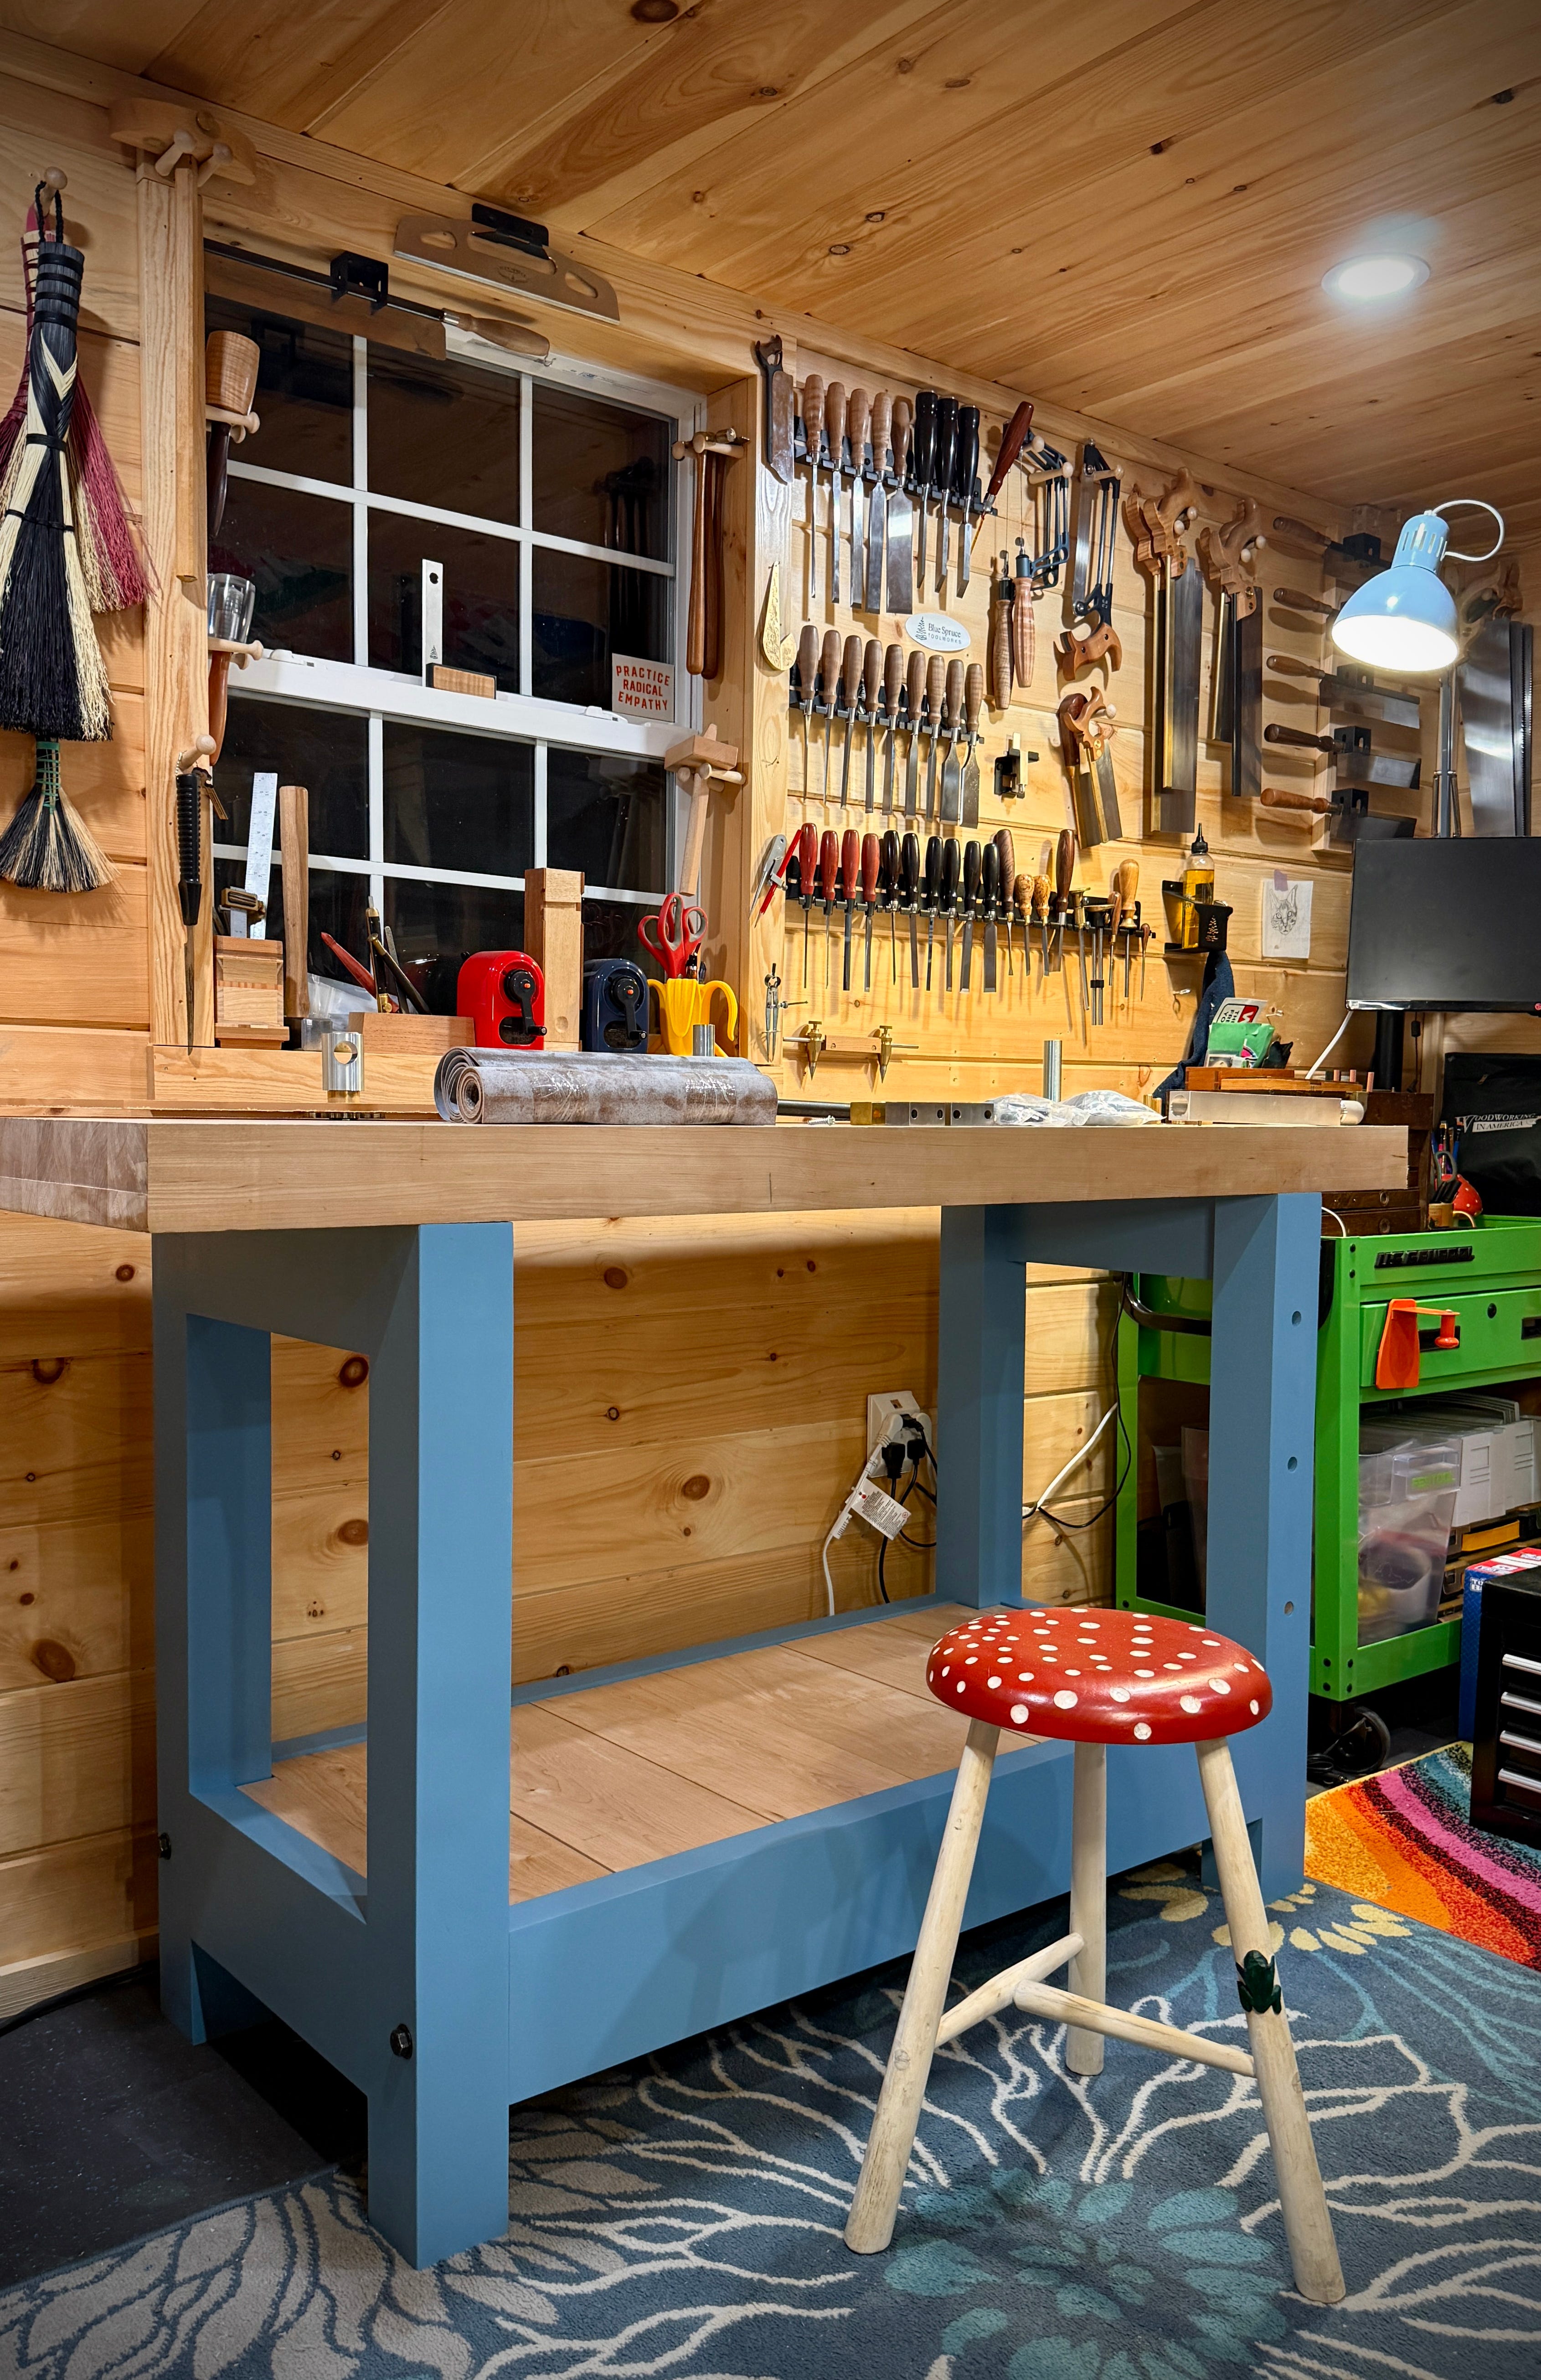
Seeing just how little work had to be done, I’m a bit ashamed I had put it off so long. Then again, having time to sit on things made me realize I wanted the base to be painted. I resisted my instincts to paint each piece a different color and put down a nice coat of General Finishes halcyon blue milk paint (I know I know, it’s not actually milk paint you don’t have to tell me). I think it looks pretty dang awesome.
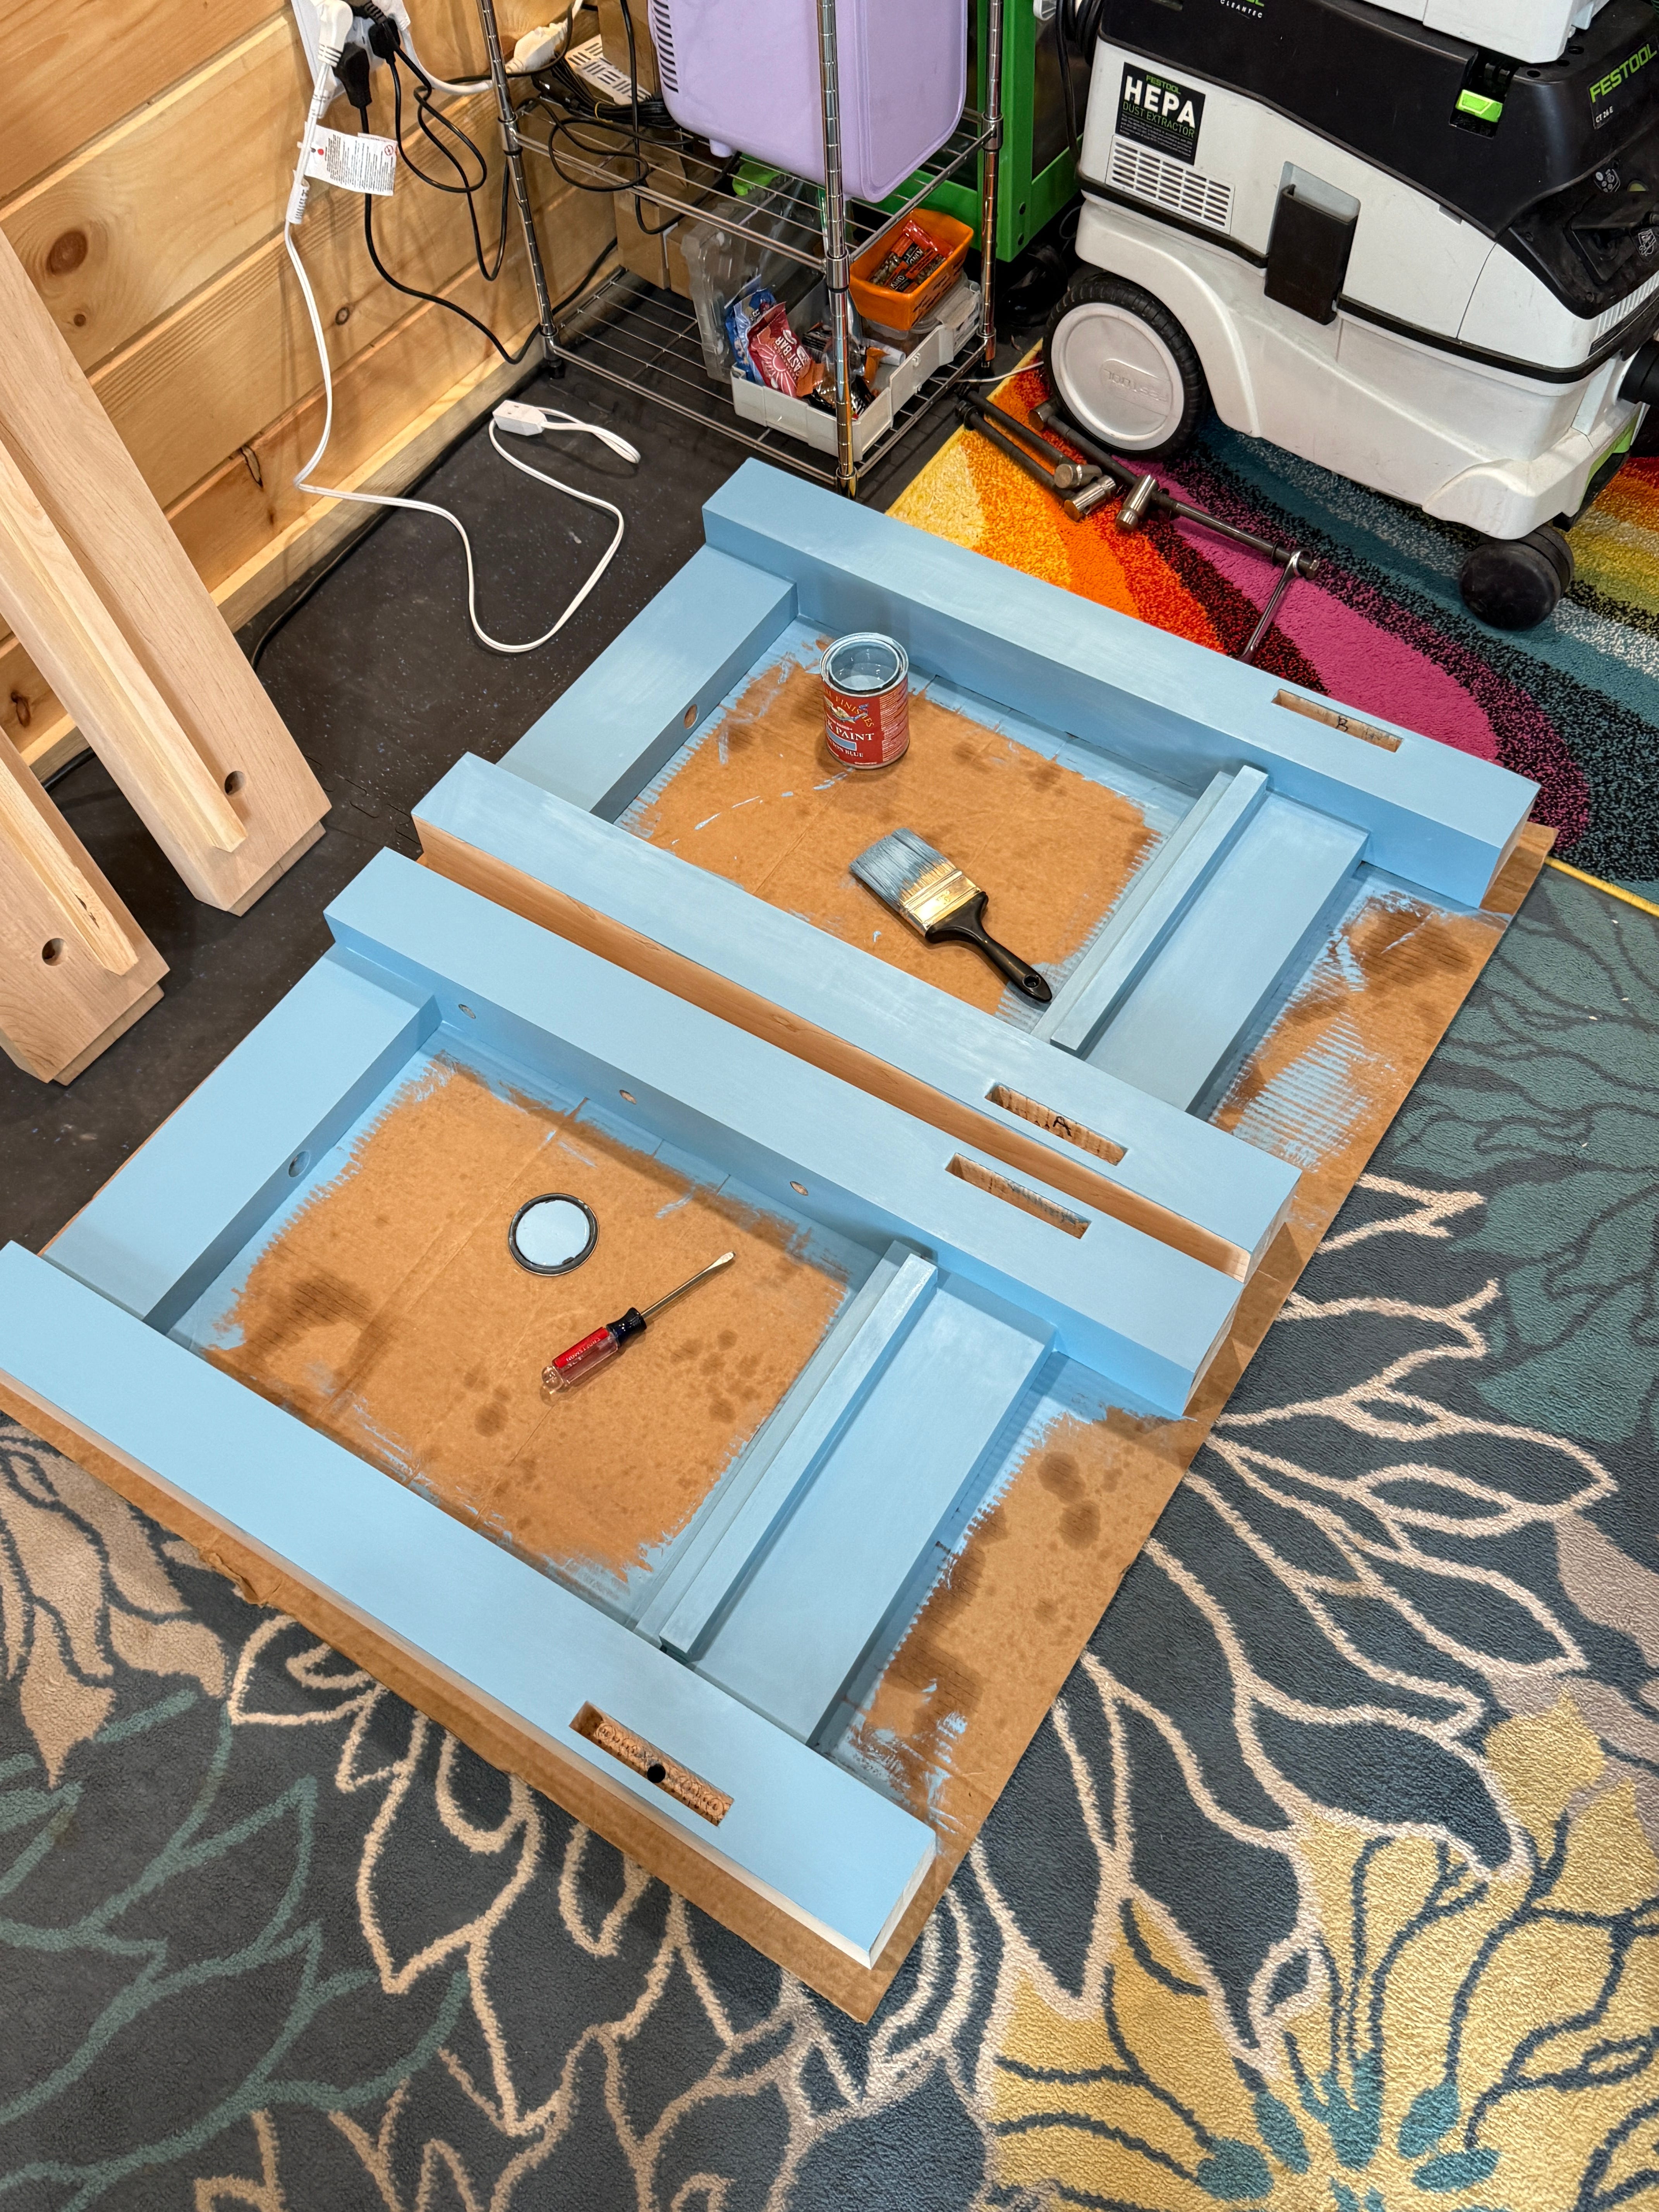
After I put the base back together, it was time to deal with the lower shelf. Up until now, I had just rested some maple boards across the stretchers so I could store things down there. They were over length and over width (on purpose to trim later), so I wanted to take care of that.
In the photo above, you can see I glued a little piece of stock on the inside face of the lower stretchers. I did this so that the shelf boards would have something to rest on/be attached to. I could have cut a rabbet on the stretchers instead, but I didn’t feel like it.
After that, I just trimmed and spaced the maple boards to my liking, allowing a bit of room on each side for expansion/contraction. I used black screws here intentionally — I love them against the maple and the blue.
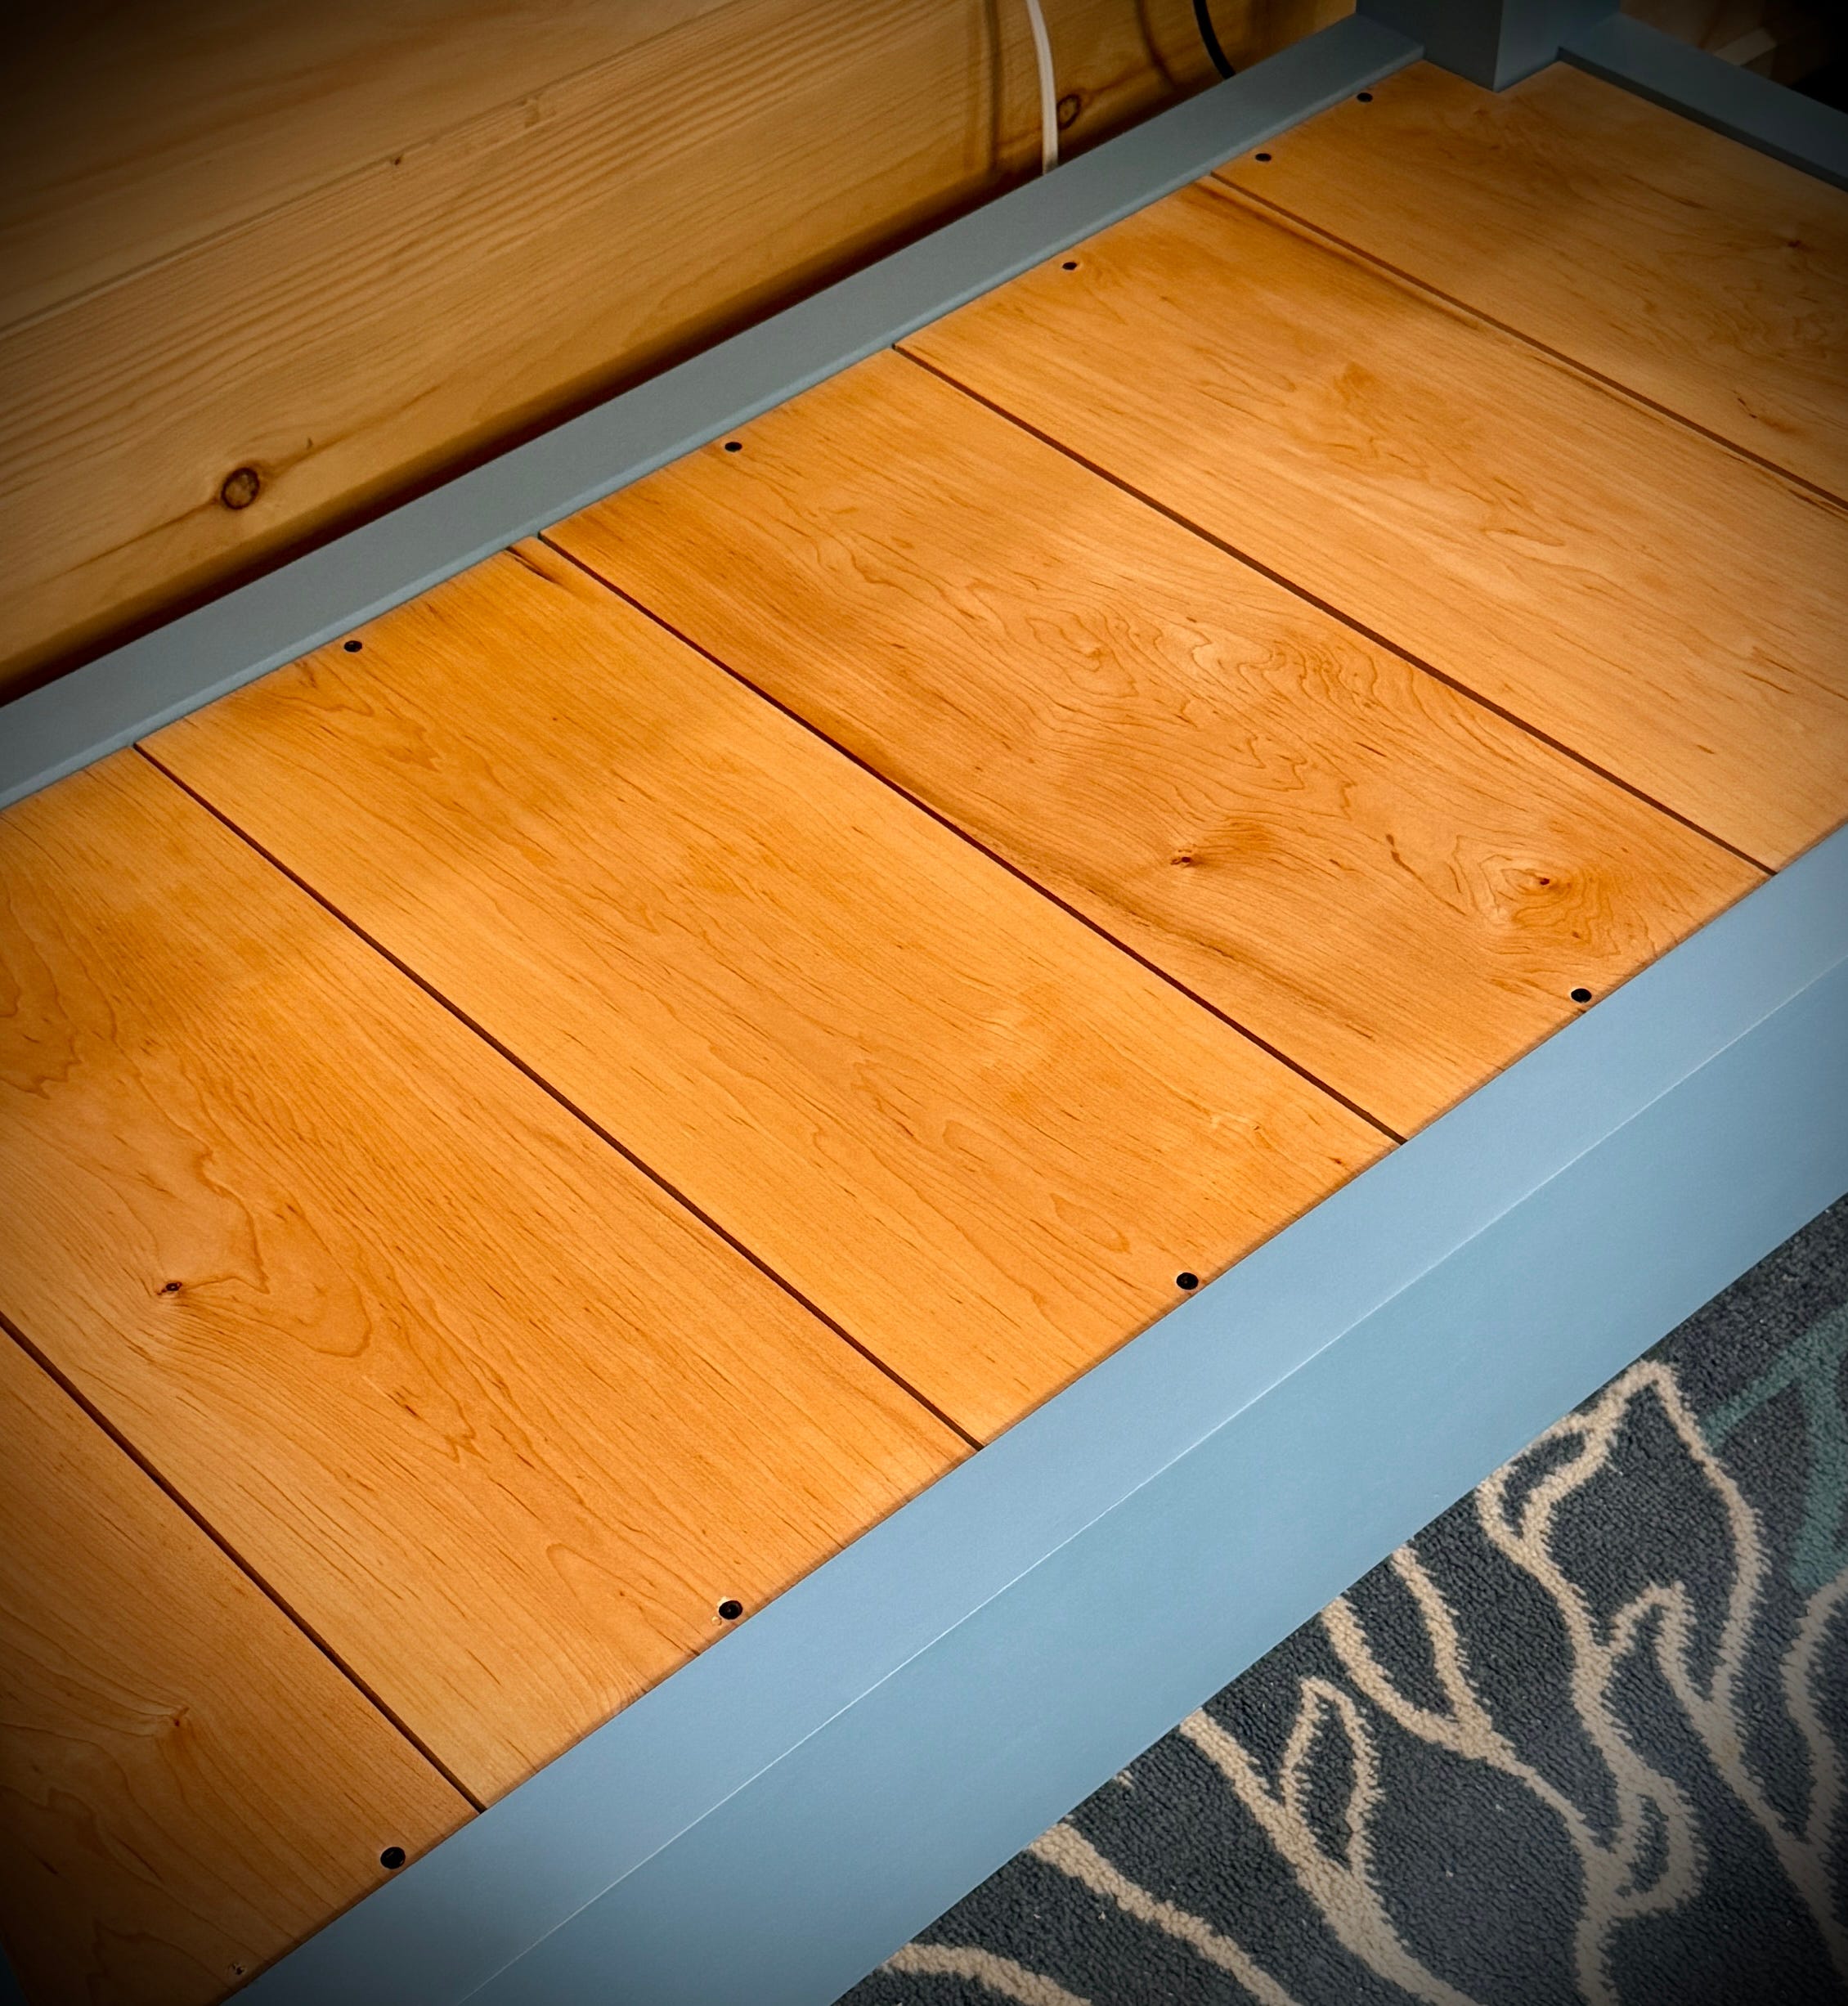
All the boards are arranged with the bark side facing down — this makes it so I can affix them with a single screw in the center and not have to worry about the sides cupping upward. Flipping the boards the other way would require screws near each edge of the board to resist cupping. But then the screws would resist seasonal movement and risk cracking the boards!
The vises
As I mentioned earlier, for the past year I’ve been working on my bench without any vises. This is possible, but in my experience, it isn’t all that fun.
Front vise
When I decided to build this bench two long years ago, I did a bunch of research on all different kinds of vises. For the front vise, I’m just going with an upgrade of what I used to use in my old shop. For years, I used a Veritas twin screw vise that I bolted on to a Harbor Freight Piece Of Garbage. It looked pretty ridiculous, but it suited my workflow and I came to really love the design.
My two big complaints about that vise are: 1) it takes absolutely forever to open and close the front jaw, and; 2) when the jaw is open beyond a certain amount, it sags, which makes turning the screws difficult. Neither of these are really dealbreakers for me, but there just so happens to be a twin screw vise on the market that solves both those problems.
For Christmas in 2024, my wife bought me Andrew Klein’s Twin Turbo vise. You’ve undoubtedly seen these things kicking around for a while. They’re pretty cool looking, and from what I’ve heard, they work quite well. I’ve had mine in the box so long that there’s actually an updated model being released soon — yikes, lol. Regarding the issues above, the Twin Turbo has guide blocks that prevent sagging, and the gear-driven design allows for high and low speed movement of the front jaw.
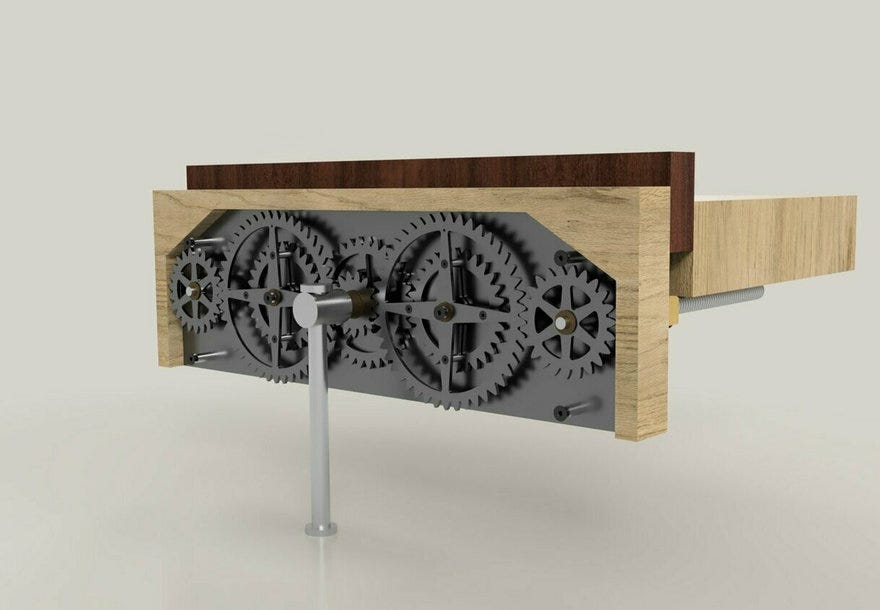
I have the 24” version and I’ll be using it as a front vise. That’s a bit uncommon for these, but it suits my needs so that’s what I’m doing. I’m a bit stalled on getting it done for now — I don’t have stock wide enough to make the jaw. But finally getting it out of the box and on my bench has me itching to get going, so it won’t be long.
Tail vise
For the tail vise, I wanted to keep things as simple as possible. Traditional tail vises like Benchcrafted’s look like an absolute pain to install, so I wanted to steer clear of that altogether.
Instead, I ended up going with the HNT Gordon from Heartwood Tools. To install it, you simply cut a three-walled mortise at the end of your bench and drop it in. I had some fun with my install and did a lot of material removal with a mortise chisel.
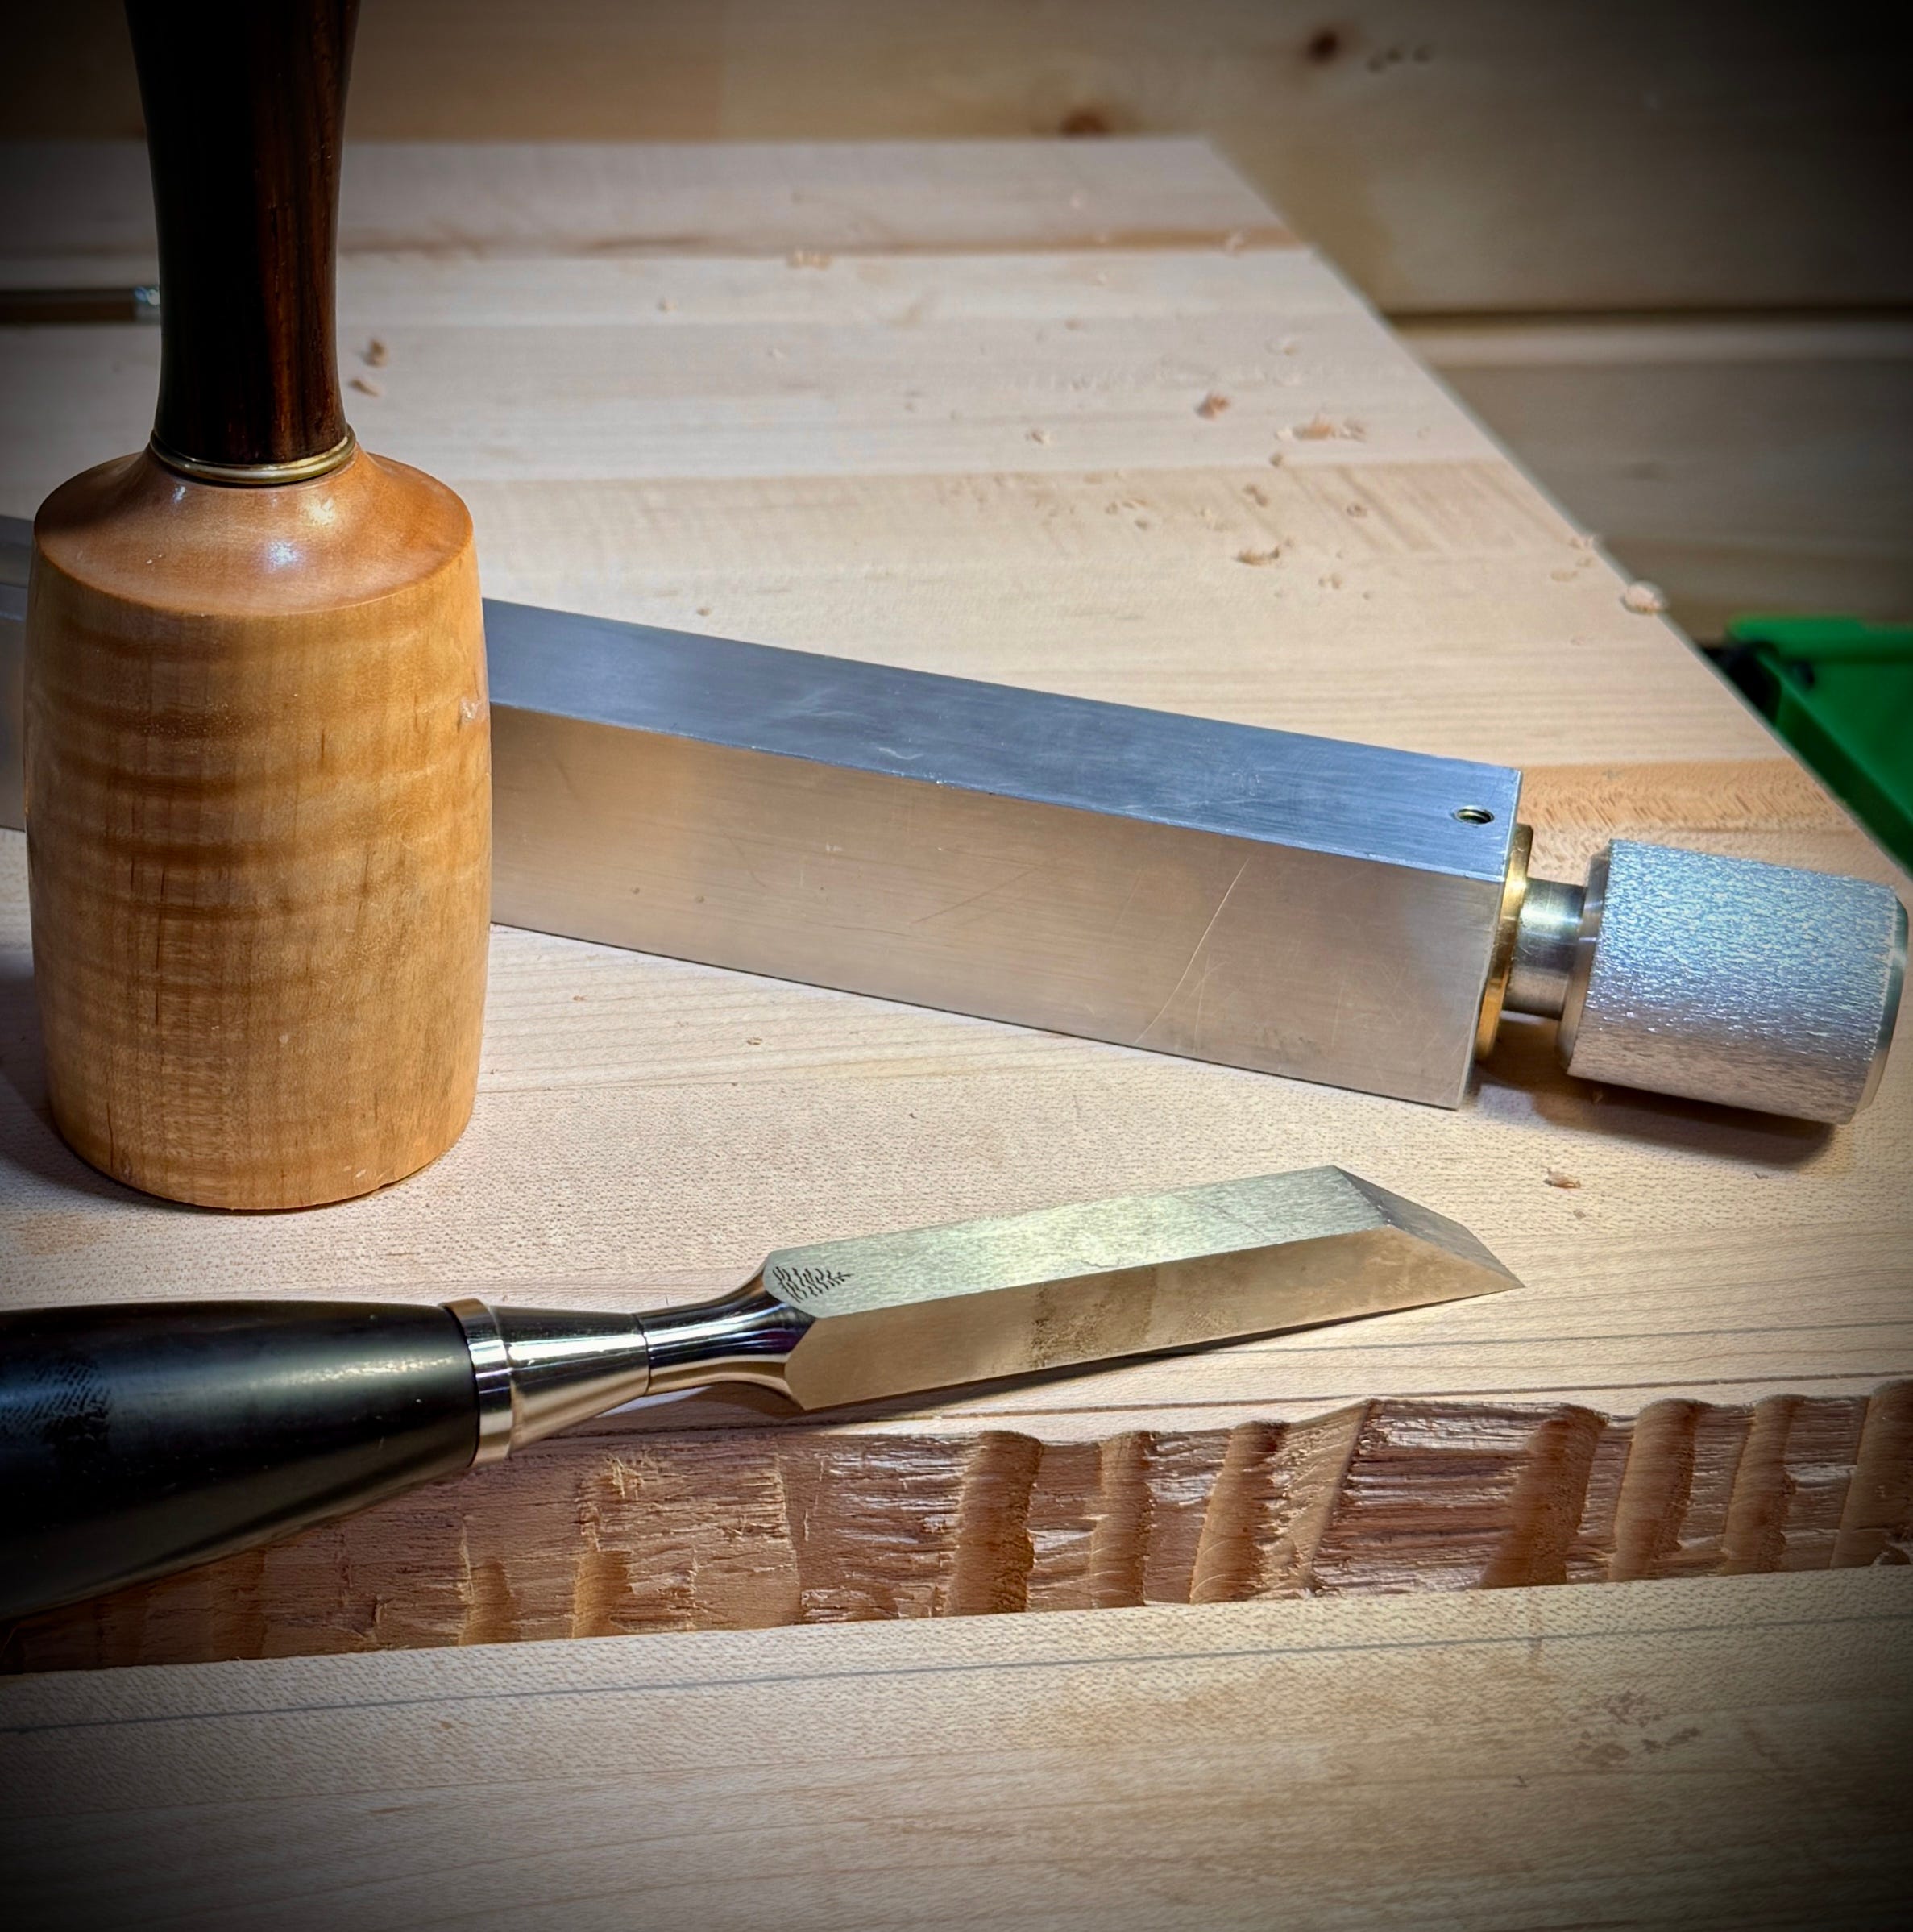
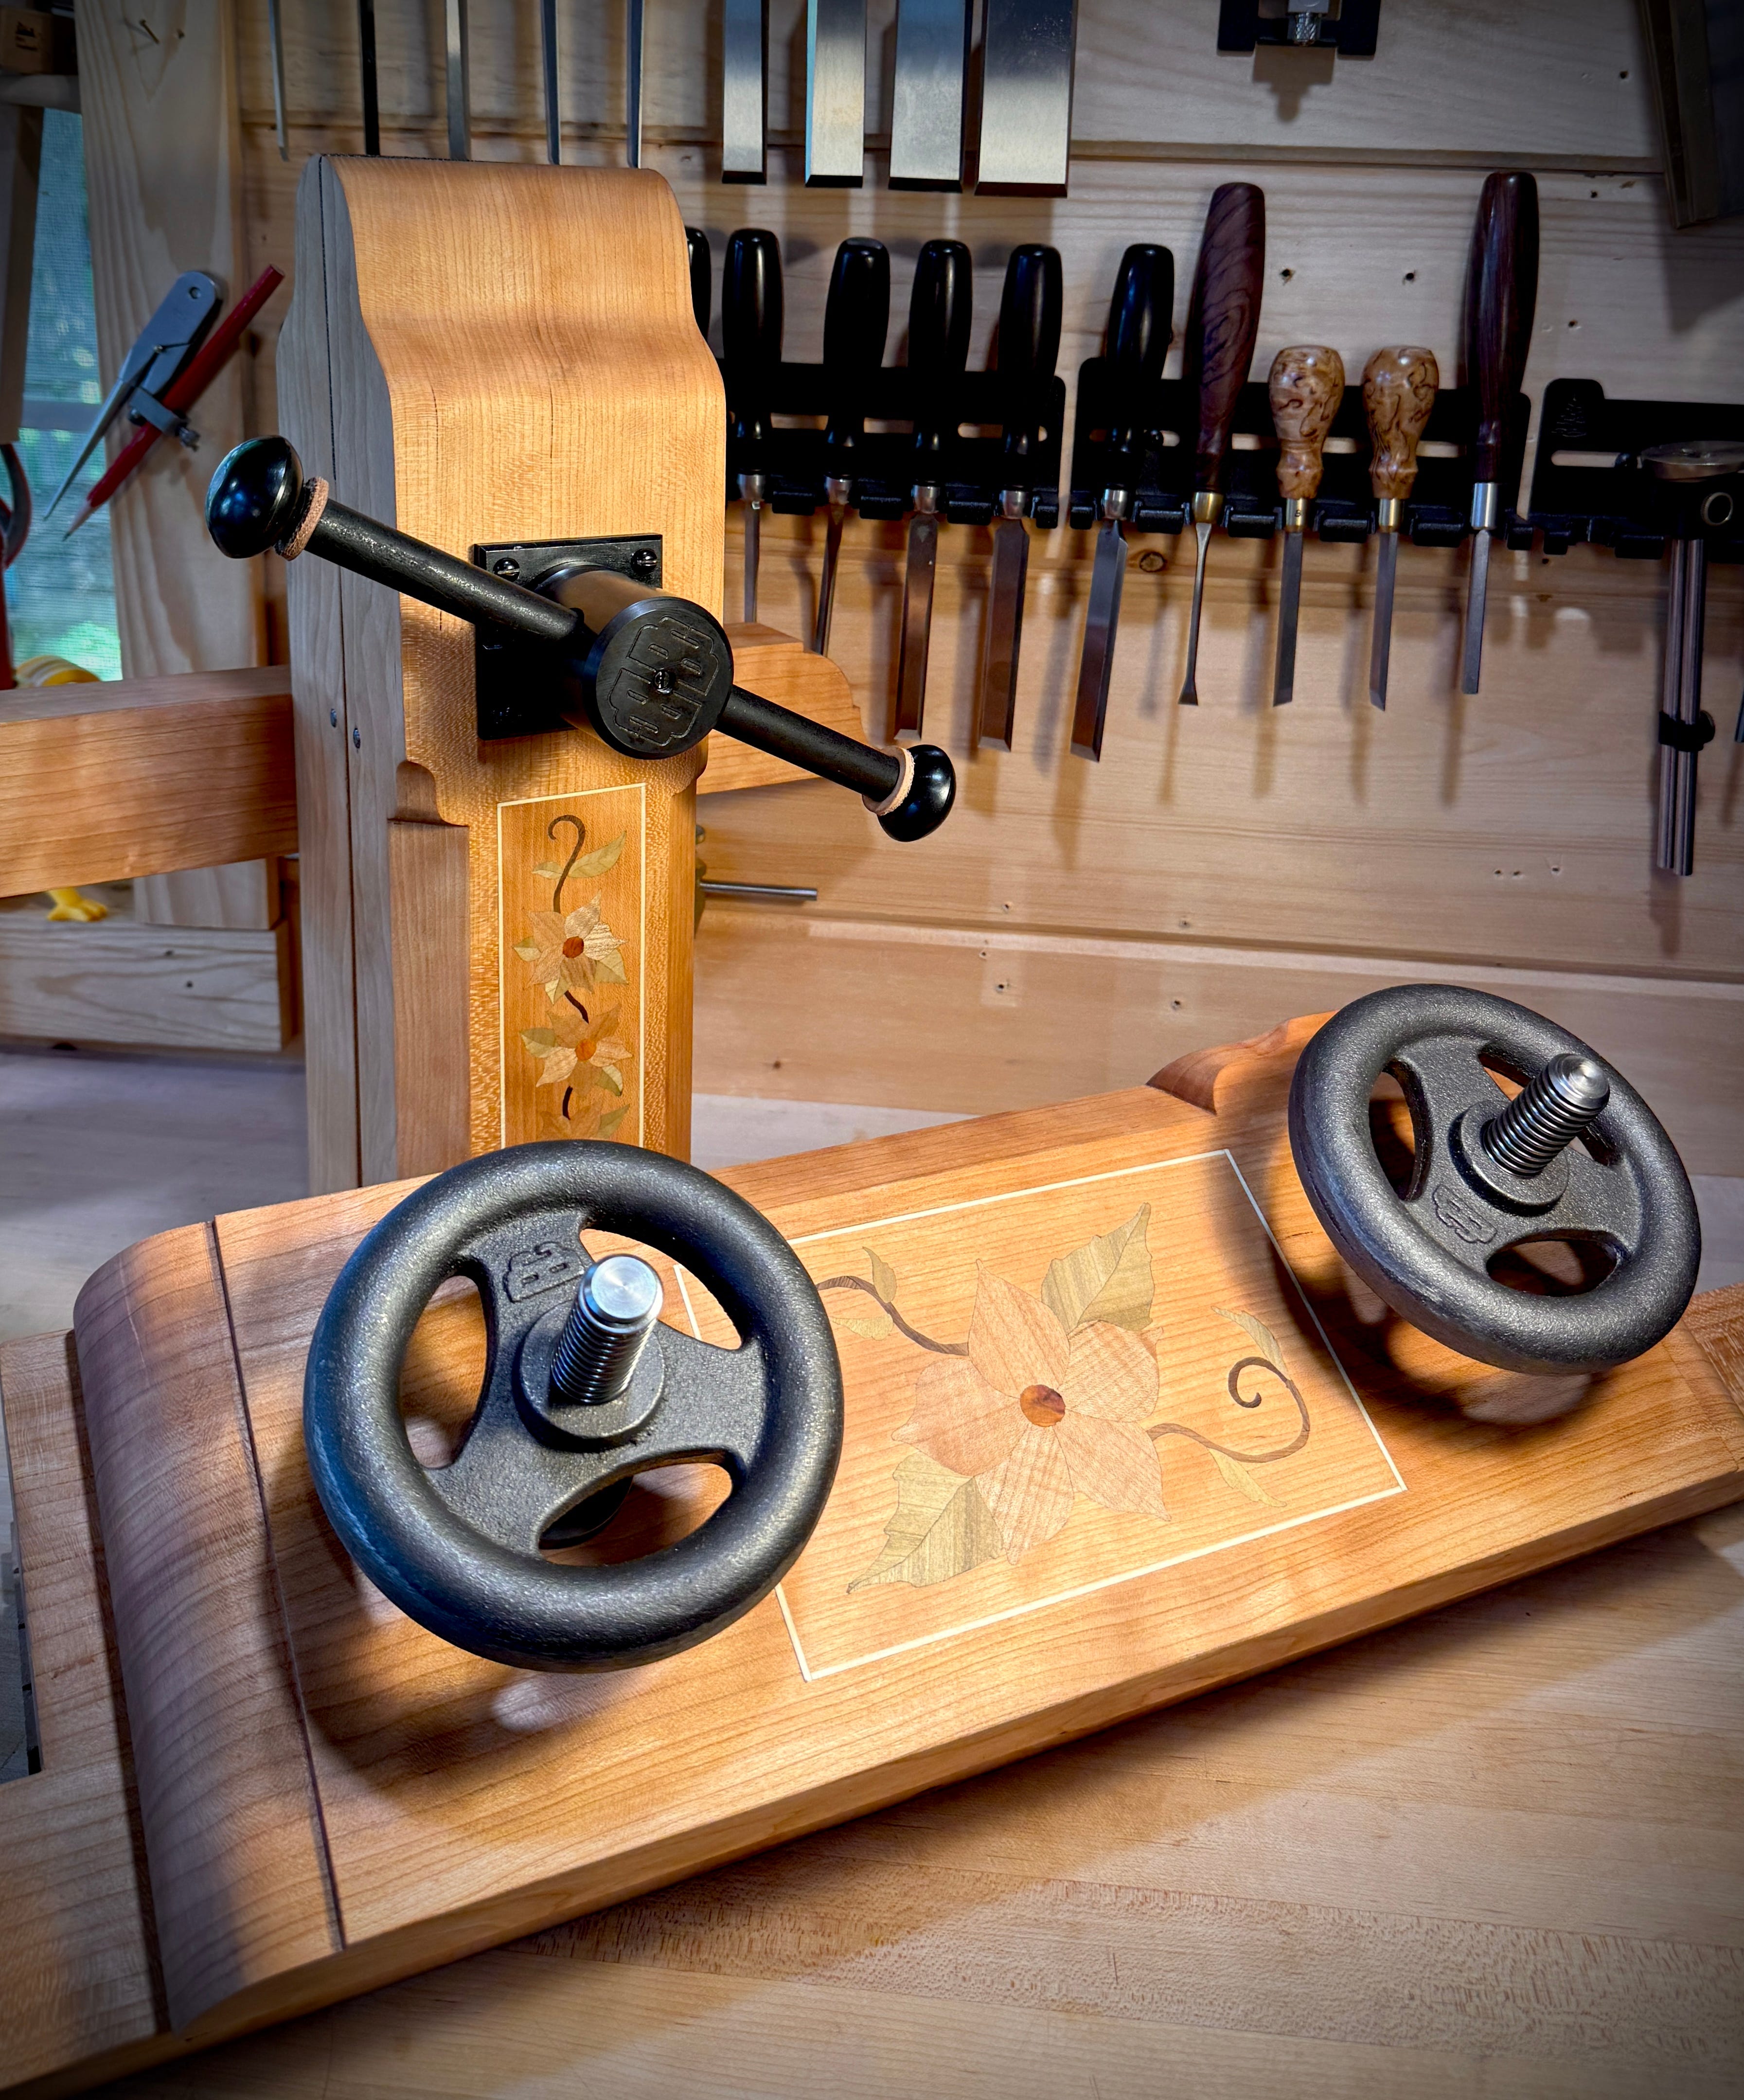
After the vise is fit, a user-made face plate is necessary to cover the top of the mortise and keep things in place. The standard move here is to just mill up a piece of wood, cut a slot in it and screw it down. But I know how to work with veneer and do marquetry, so why would I do something so simple?
I had to think about this one for a bit, because I really wanted whatever I did to play with the dog that advances left and right as the vise is used. I talked it over with my wife for a bit, and I finally got hit with the idea to mimic one of those old timey love testers they used to have in bars and arcades.
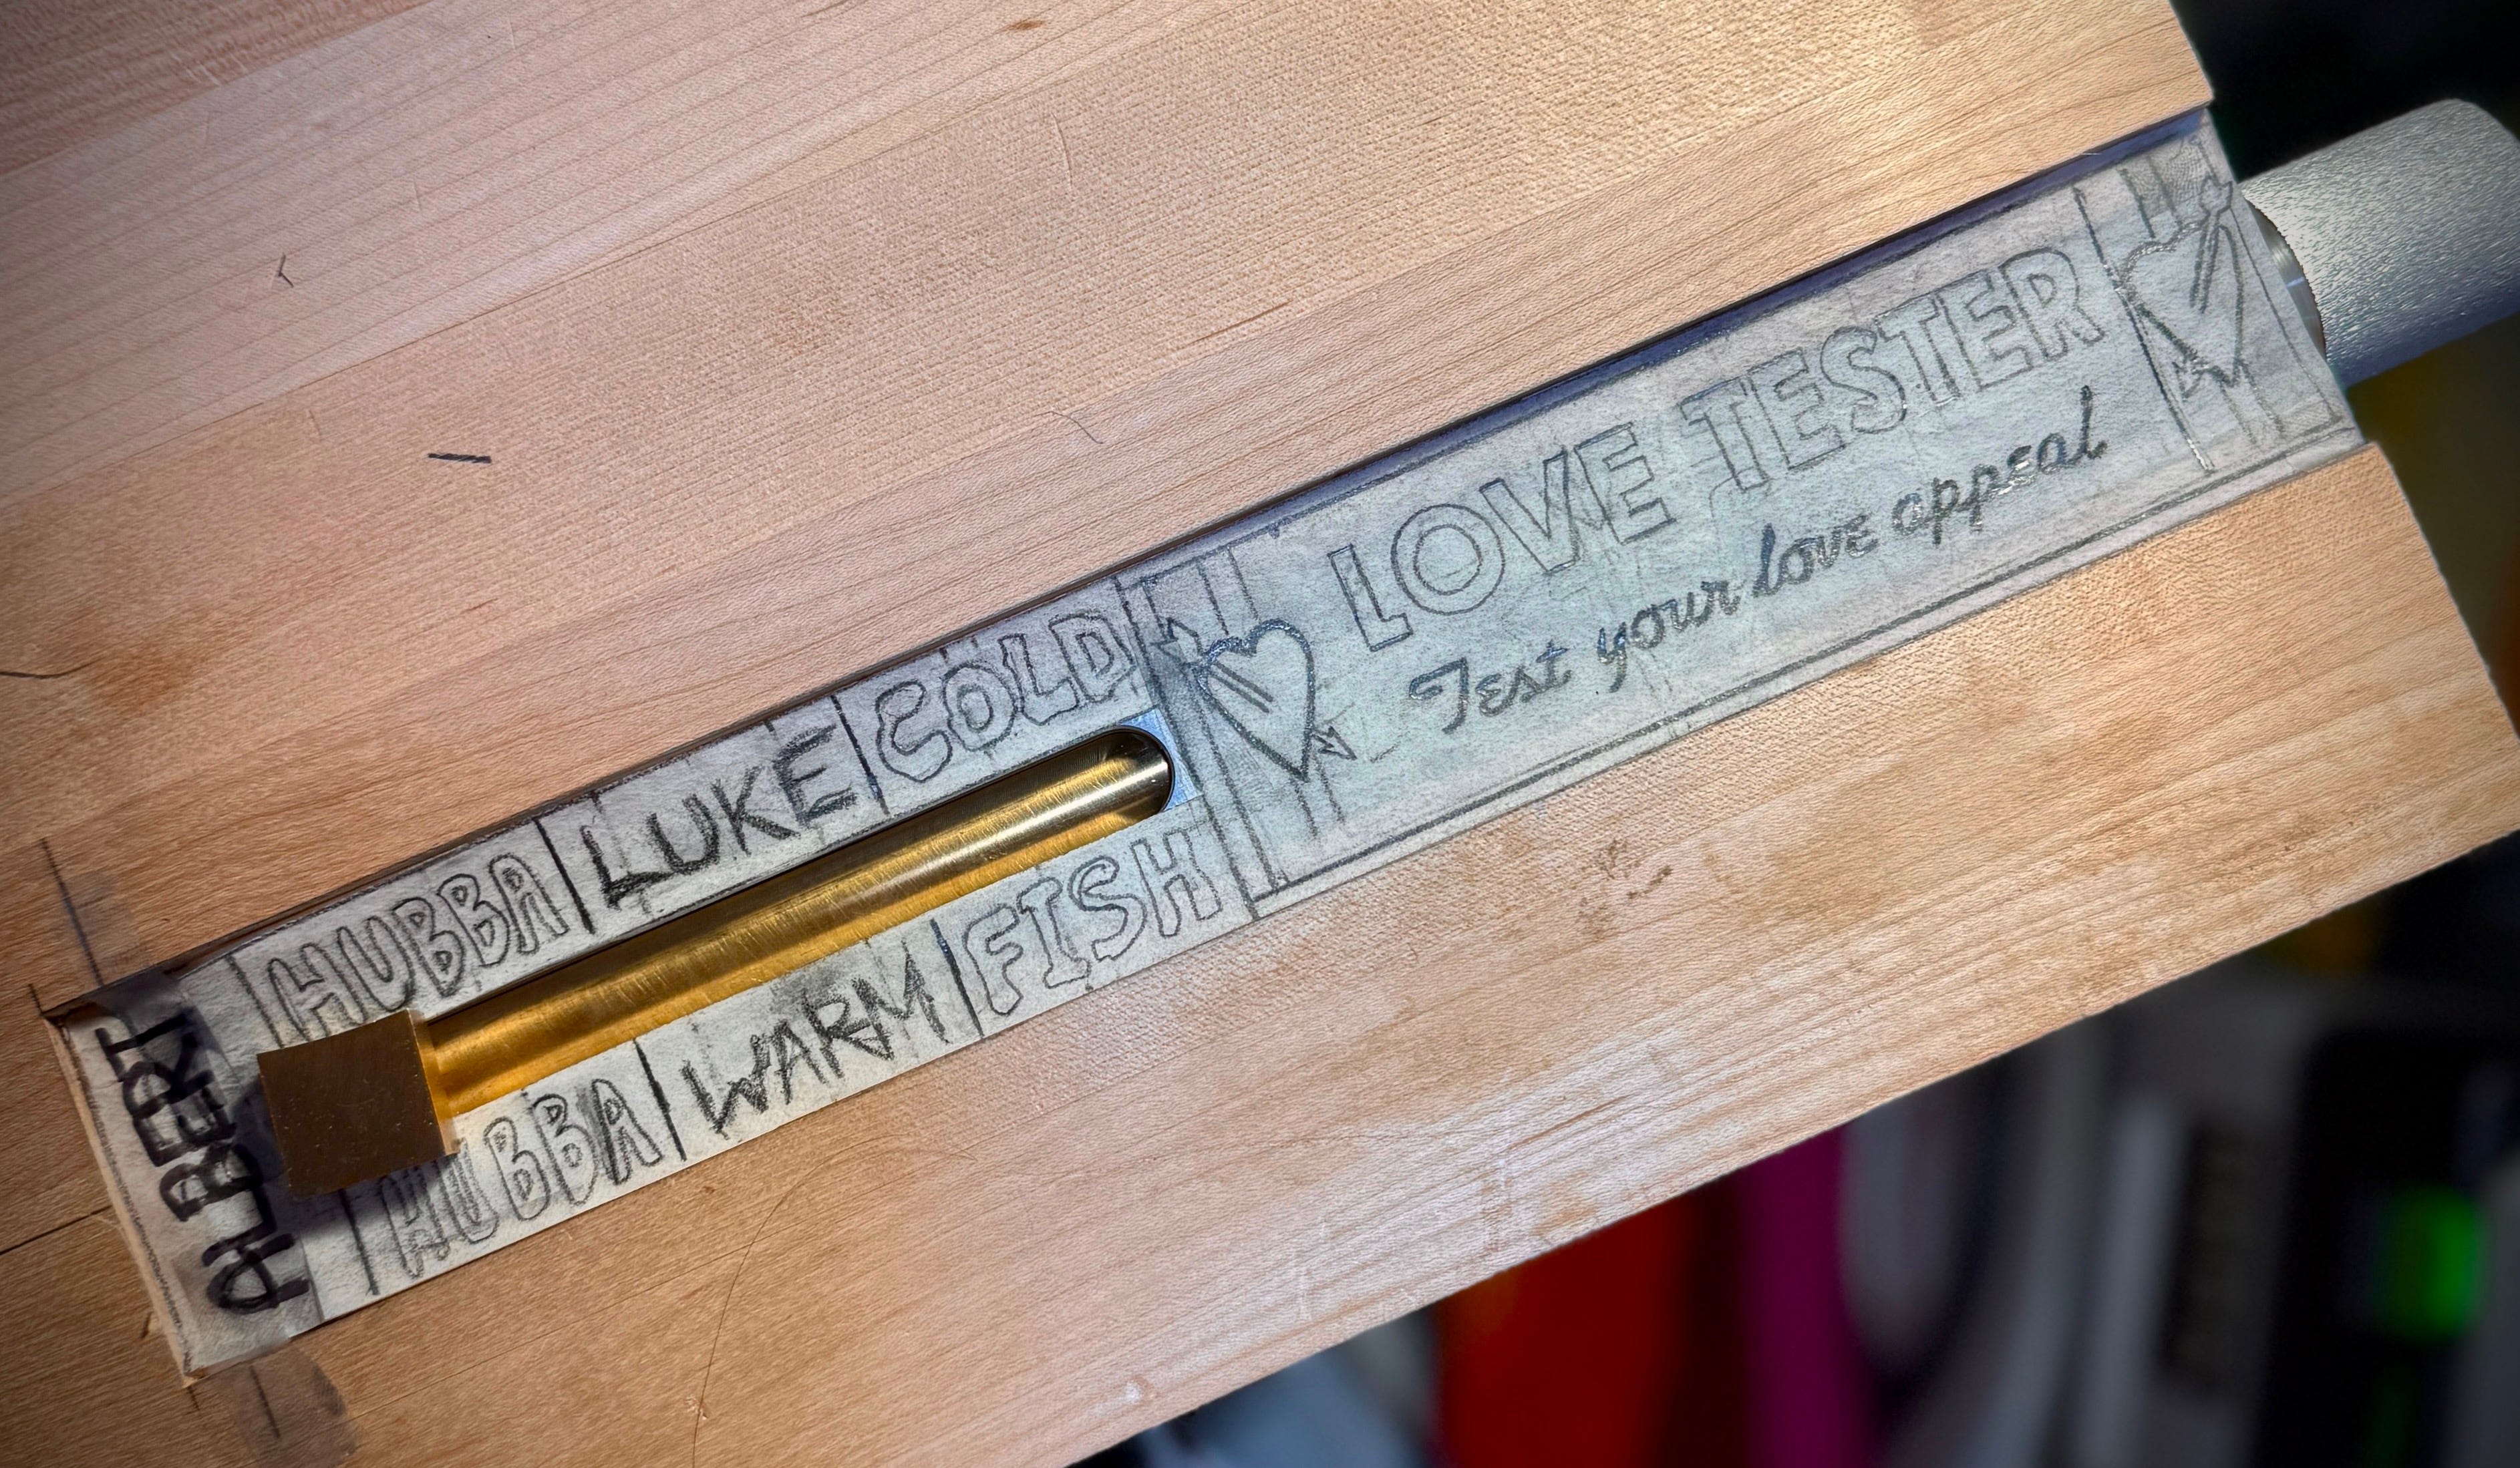
If that photo isn’t clear enough, here’s a quick video where I very seriously explain things:
The marquetry on this one isn’t particularly hard, and I can make things a lot easier on myself with a bit of preparation. I’ll be going over that more in depth for paid subscribers, along with another really fun thing my wife suggested. Stay tuned…
How did you attach the benchtop to the base?
the other albert i'm sure. for real though, you looked dogged at hth man. glad you're taking things slower and spending more time with the family