

Shaking it off
My plans to use a wide board were almost foiled by ring shake. But I have an idea.

For the past year in between classes, commissions, and writing, I’ve been working on building a blanket chest for my mom.
The chest is supposed to be a thank you gift, and I have quite a bit to be thankful for. When I first told her my plans to knock down my crummy shed and put up a proper shop, she immediately offered to pay for the whole thing. The only reason I’m currently working out of such an amazing space is because of her generosity.
Whenever I build things like this, I try to find the widest boards possible. The sides of my chests are always solid pieces that are dovetailed (as opposed to a frame and panel situation), and I want to minimize glue lines and grain disruption. In the past, I’ve been able to build some chests that use only two boards to achieve a pretty substantial depth (~20”).
I also try to make sure all the boards are from the same log/tree to minimize color disruption. That part can be tricky depending on where you source your lumber, but luckily I have a guy.
Back when I was sourcing material for my mom’s chest, Shea let me know that he had just put a whole bunch of 20-21” wide defect-free boards of eastern white pine in the racks. That kind of material is absolute gold to a certain contingent of people — boards that wide mean no edge joining at all for blanket chests. I wasn’t going to miss out.
I headed my ass down to Timberville, spent a ton of time selecting boards, and paid Shea to surface them with his equipment. I then took everything home and put it into storage where it sat until I had enough time to tackle the project. That’s where I messed up.
When I bought the material, I didn’t really have a great place to store it. Thinking things would probably be fine, I put all the boards against each other sitting upright in my house’s furnace room. There’s so many things that are wrong with that, but they all boil down to really poor air circulation. Those wide flat sawn boards didn’t stand a chance. They cupped like crazy.
Recall that I had all the material surfaced (and it was incredibly wide!), so jointing out the cup wasn’t an option. Instead, I took all the boards and stored them properly in my shop for a few months. To my surprise, good air circulation, time, and more favorable environmental conditions got most of the boards back to flat. At least flat enough to work with.
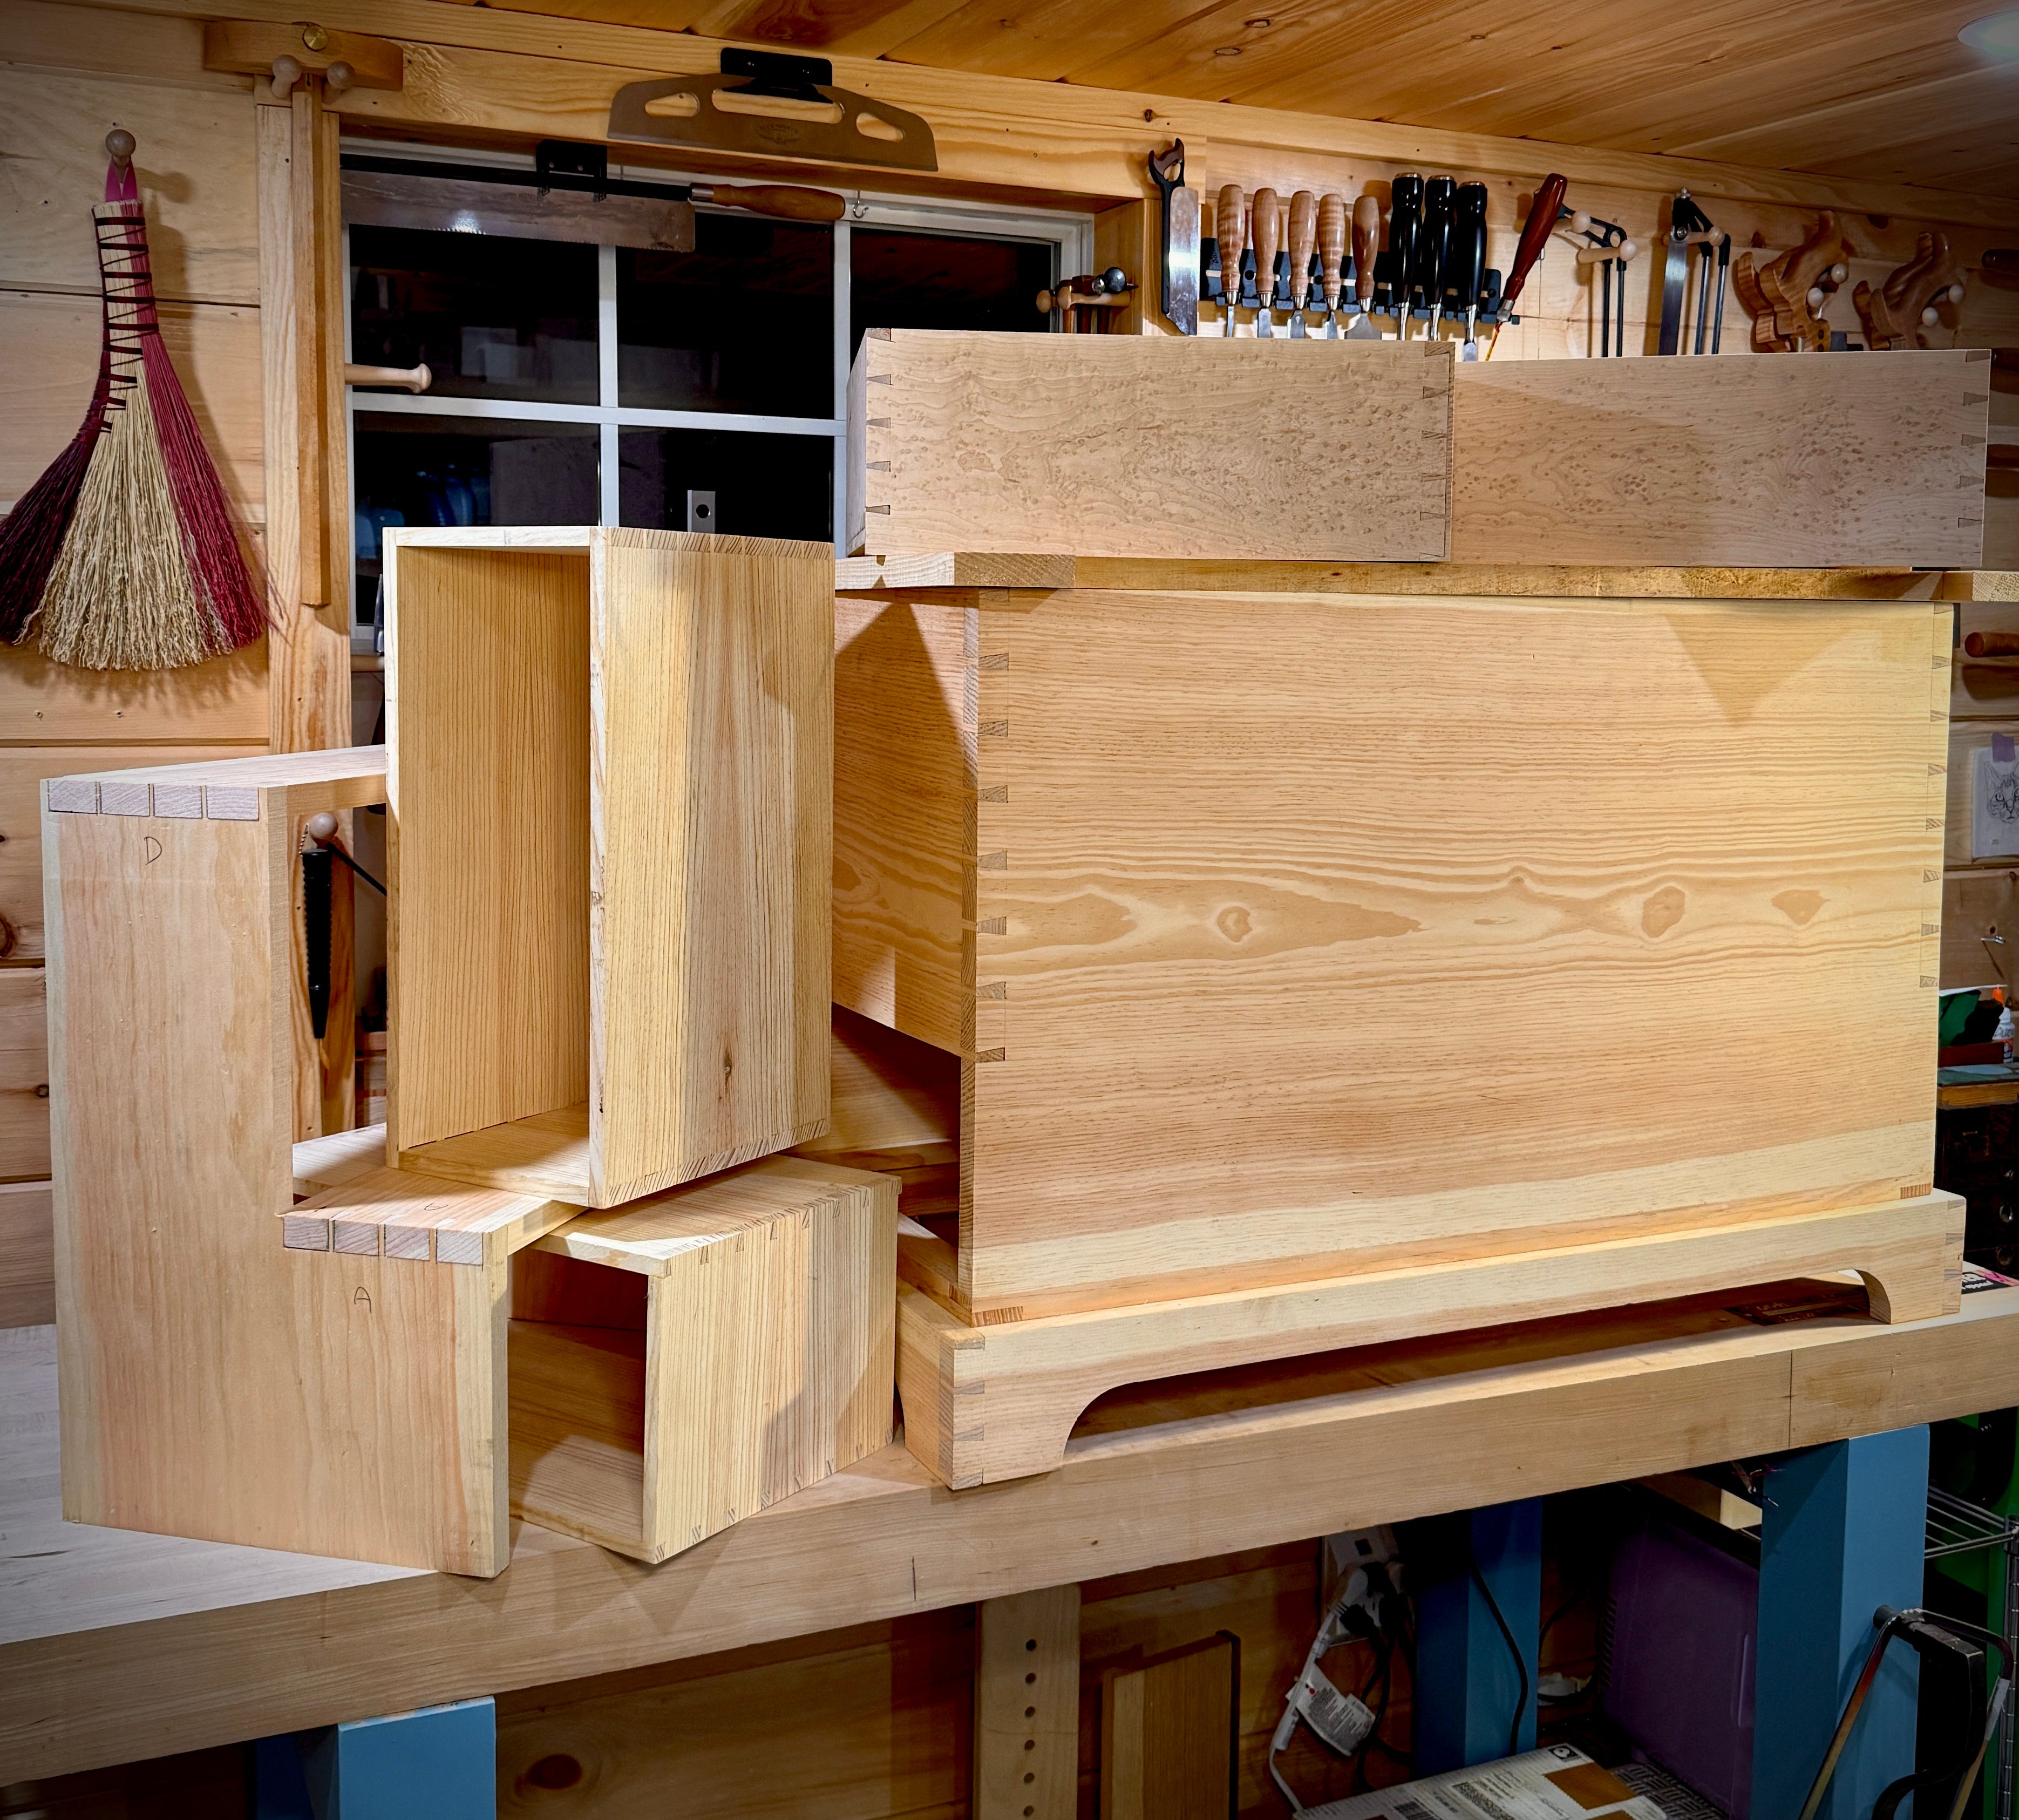
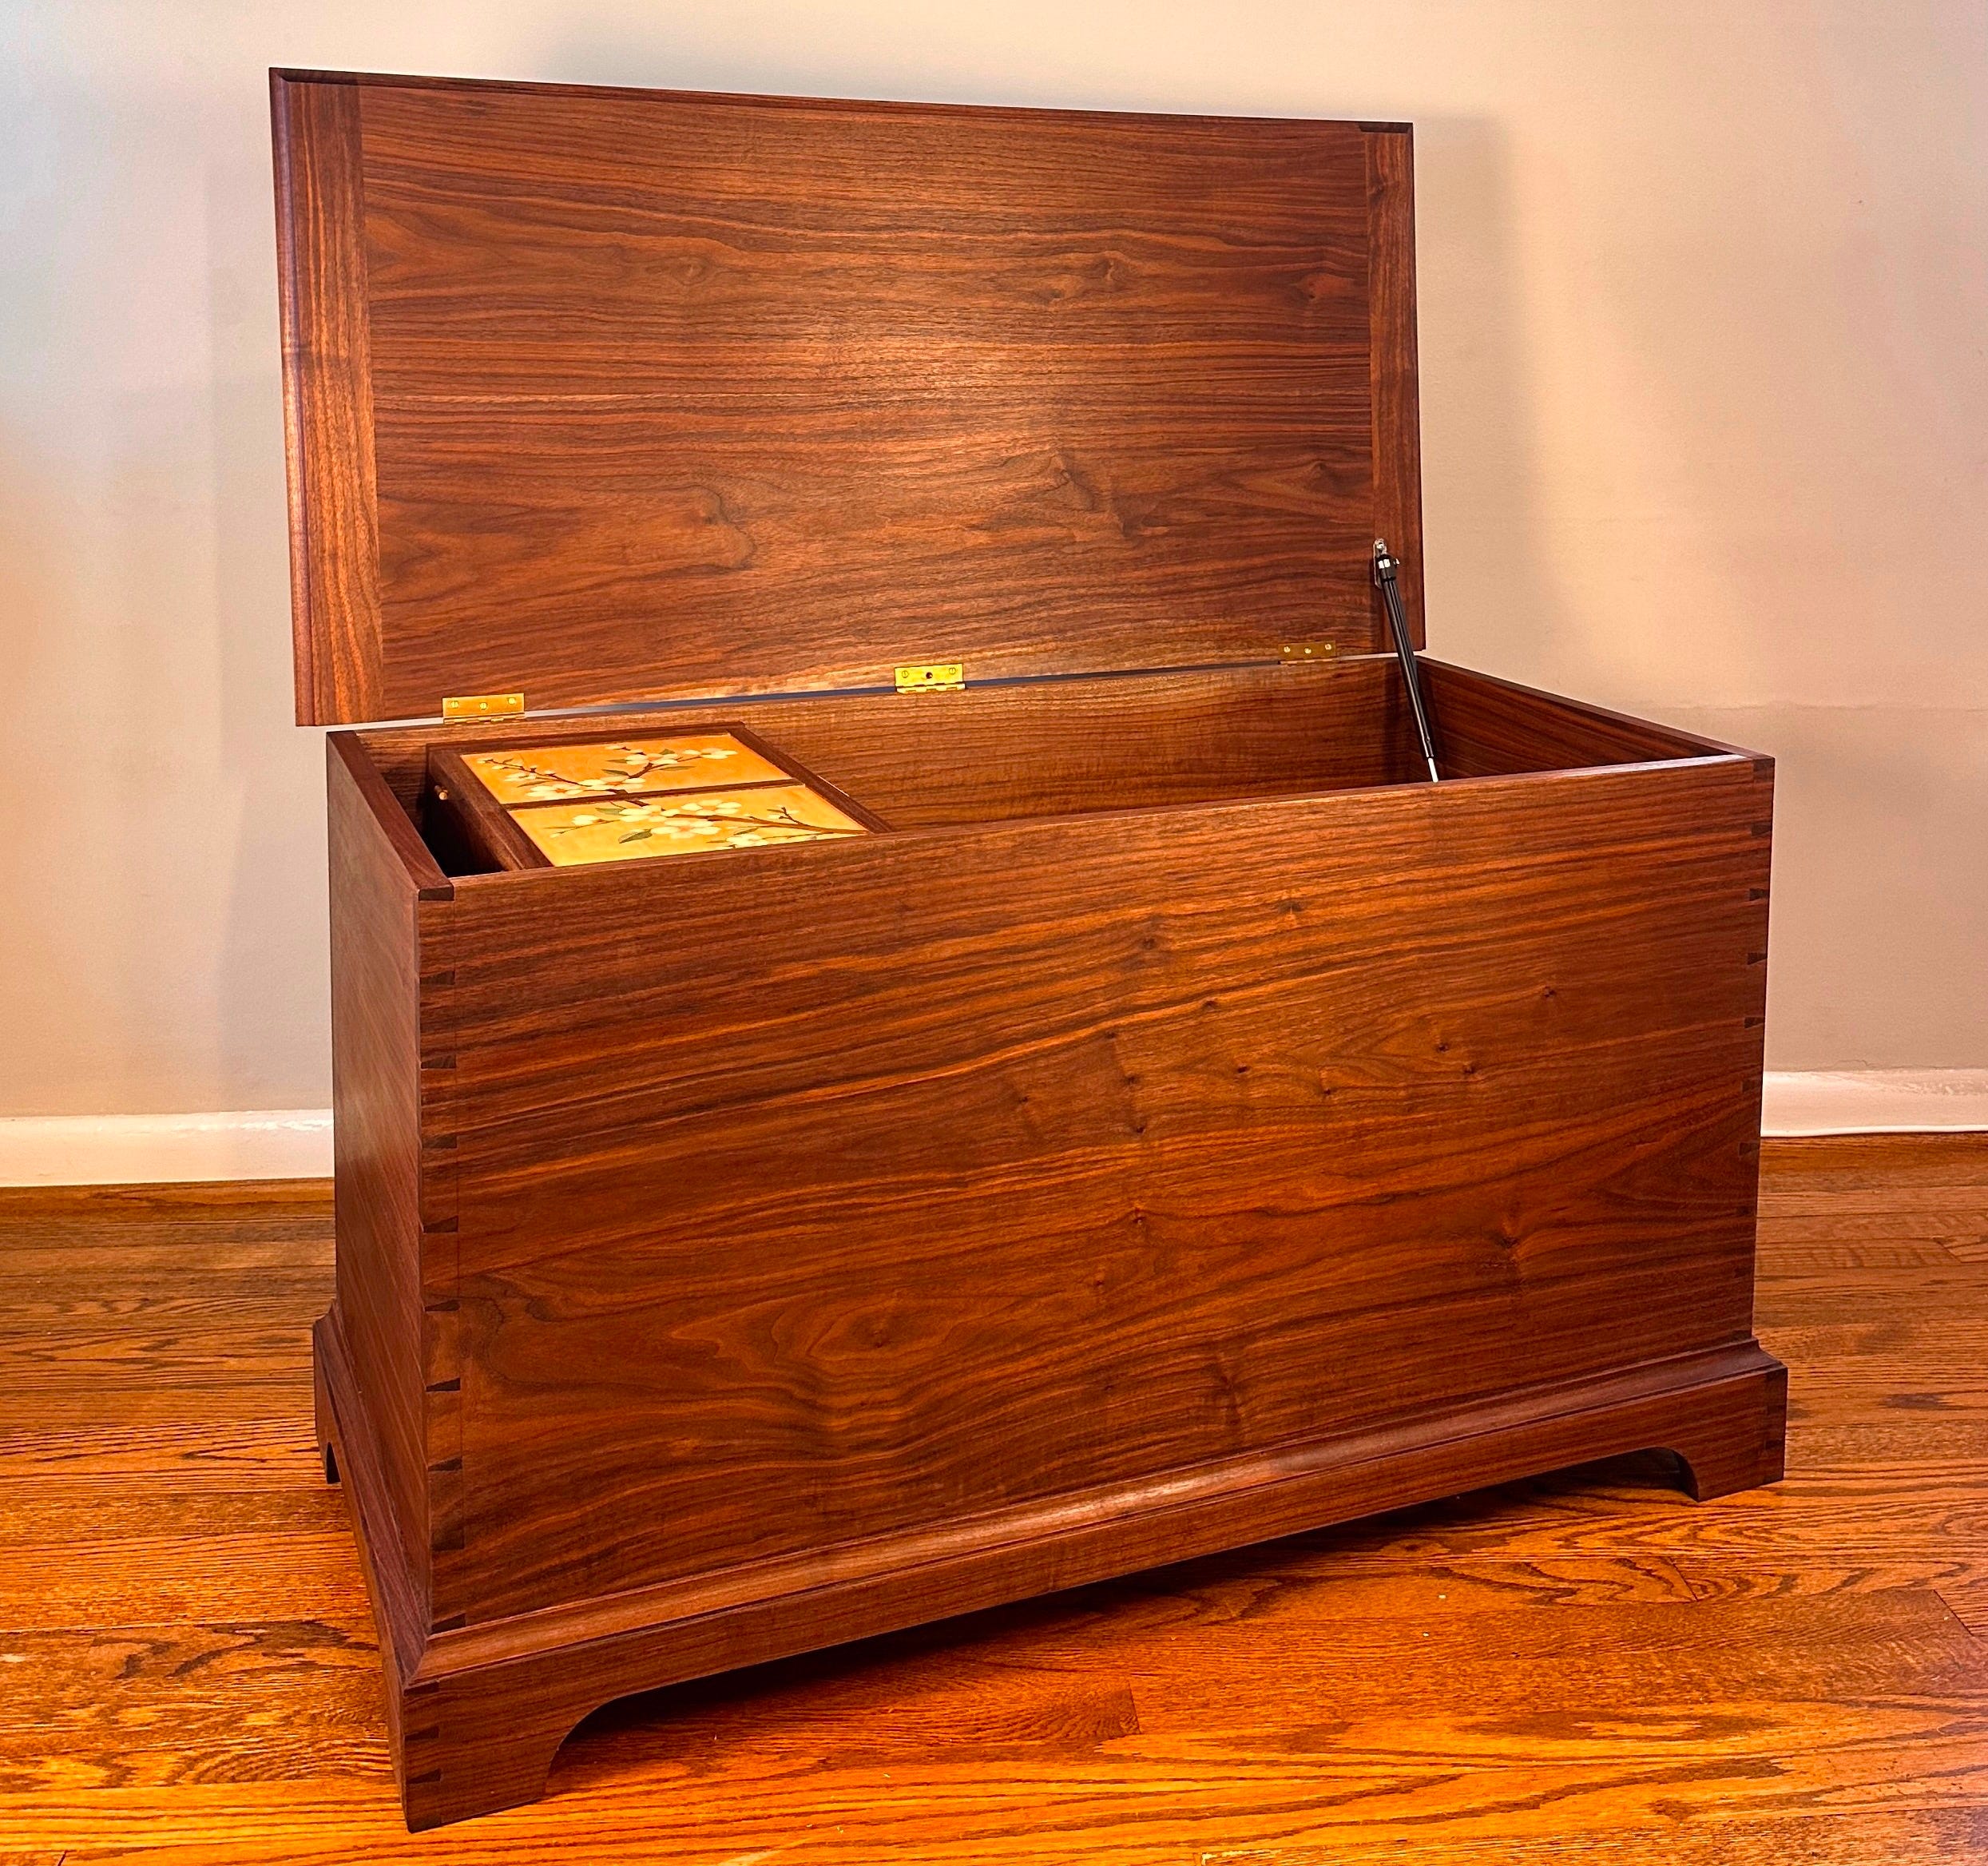
So for the past year I’ve been chipping away at the chest. And I’ve done quite a lot! As of now, I have the case together and sitting on a plinth. There’s a beautiful figured oak false bottom inside the case that sits above two drawers, both of which have been finished and fit. The only tasks left are to cut molding to ease the plinth to case transition and make the top.
About the top. Since the sides of the chest are single boards, I really wanted the top to be as well. Of course, keeping it flat would mean breadboards and battens (I use both just in case), but the uninterrupted width would be worth it. The problem was that when all those boards cupped, one of them opened up some ring shake right in the center. Unfortunately, this was the last board I had.
Ring shake is really fun. It’s when the growth rings of a tree separate from one another. It manifests in wood as a crack that curves along the ring. It can be just at the surface or all the way through.
Because when I started actually working on the chest, the top was a future Albert problem, I didn’t put much thought to it. At the time, I just threw my hands up and figured I’d cut the board into rails and stiles and make a frame and panel or something.
The other day when I pulled the top out to finally figure out what to do, I noticed that the ring shake was much less visible than before. As the board flattened from being stored properly, the crack had closed together substantially. After thinking for a bit, I came up with a plan to move forward with a single board top, ring shake and all.
The good news about the crack was not only that it had closed up, but it also wasn’t very deep. A deep crack, regardless of whether it's visible or not, would have made me abandon my plan — the structural stability of the top would have been too compromised for me to feel comfortable. But a shallow crack in a board that has breadboards and battens on it to counteract any splitting seemed fine.
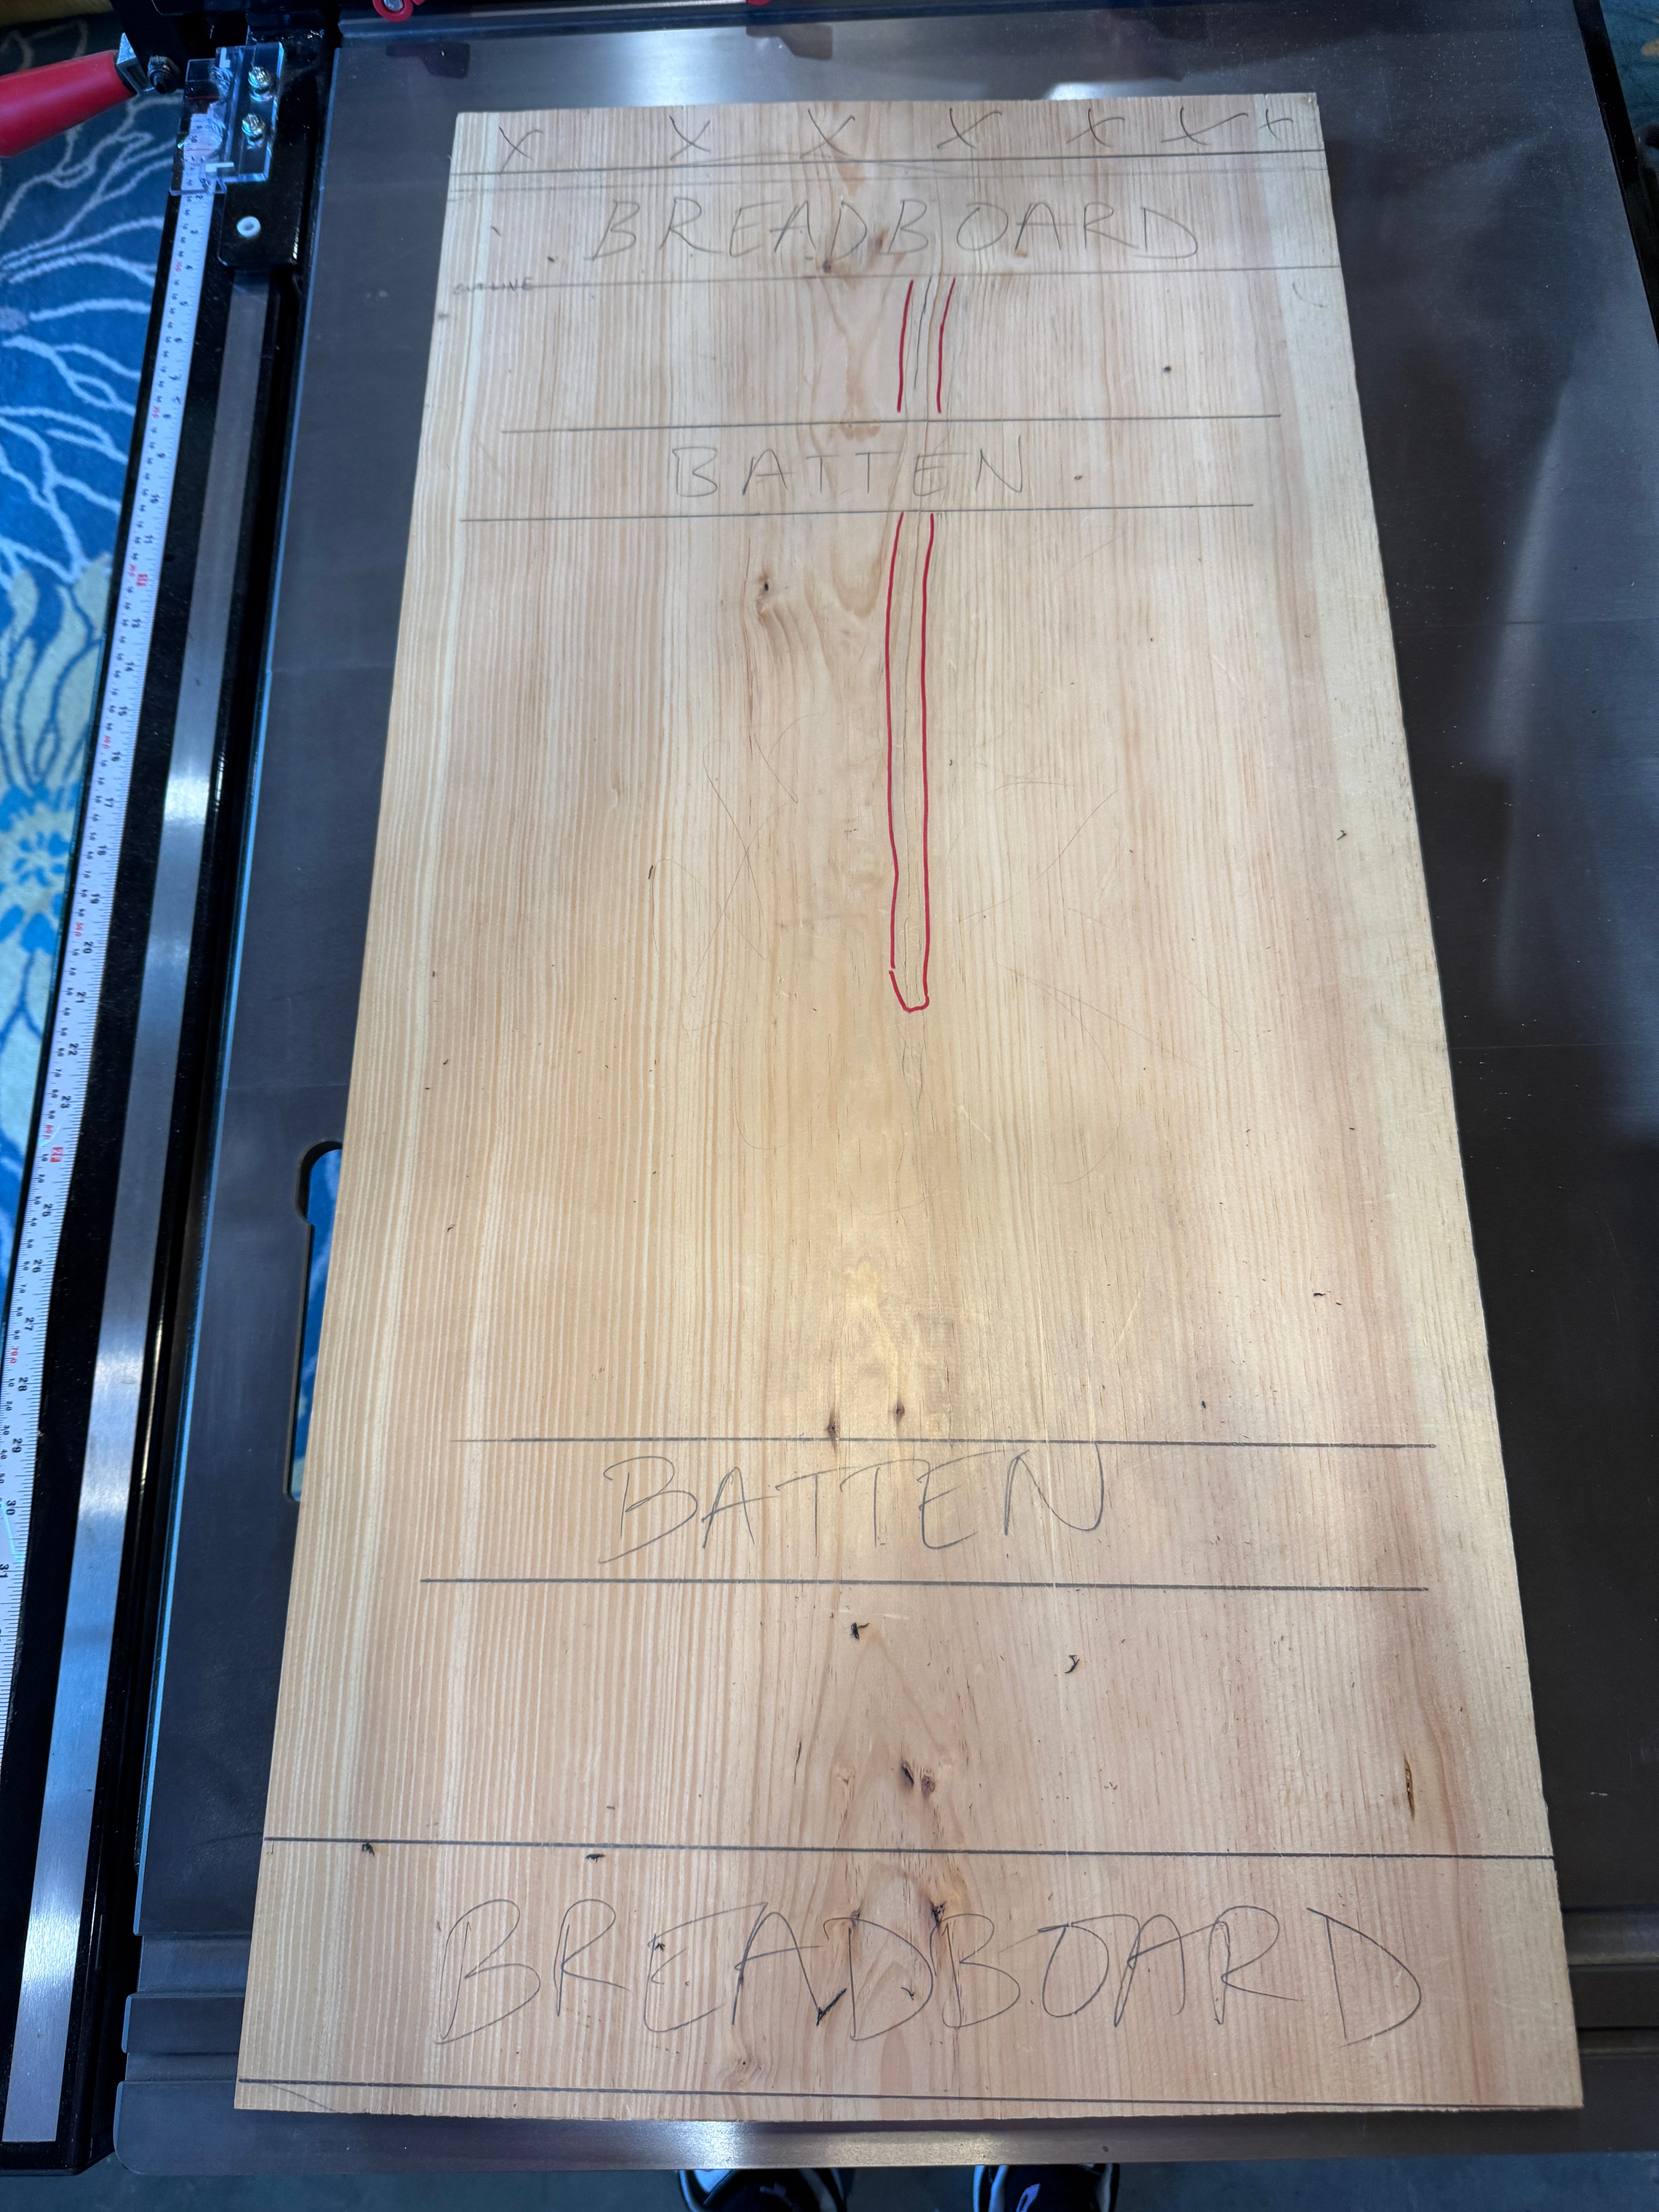
Because the crack is largely aesthetic (at least in this application), I plan on obscuring it the way I know how — marquetry and inlay. In the image below, you can see the region with the ring shake outlined in red.
I wanted to hide the defect, but not in a way that made it obvious that there was anything wrong to begin with. The inlay I was applying needed to match the scale of the top (and also be a compelling image), which meant planning on inlaying a lot more material than strictly necessary.
